 Save
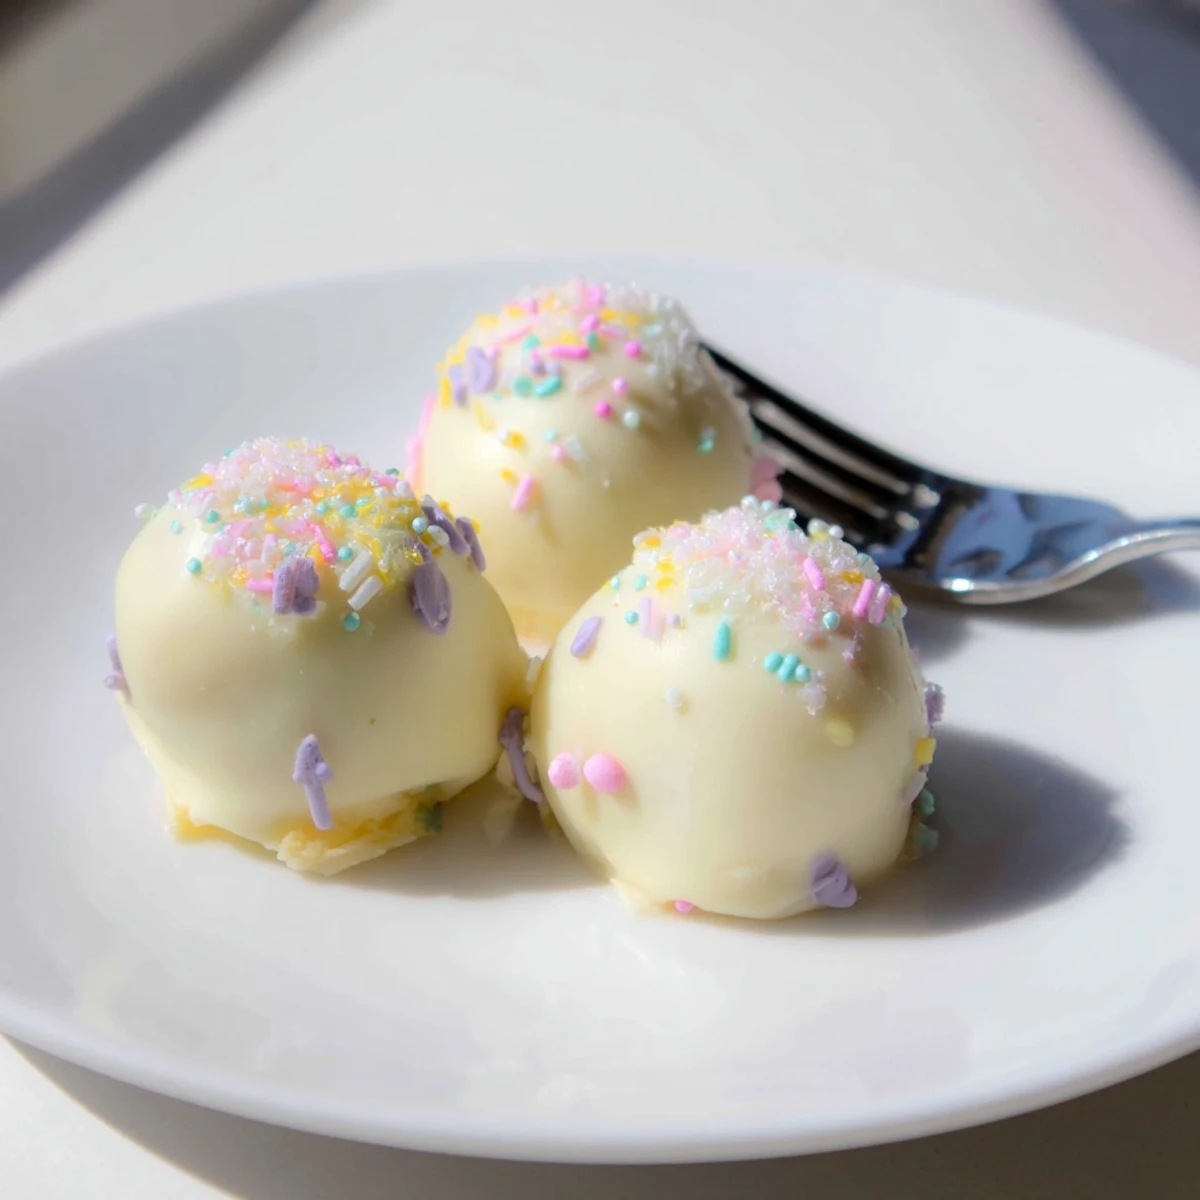
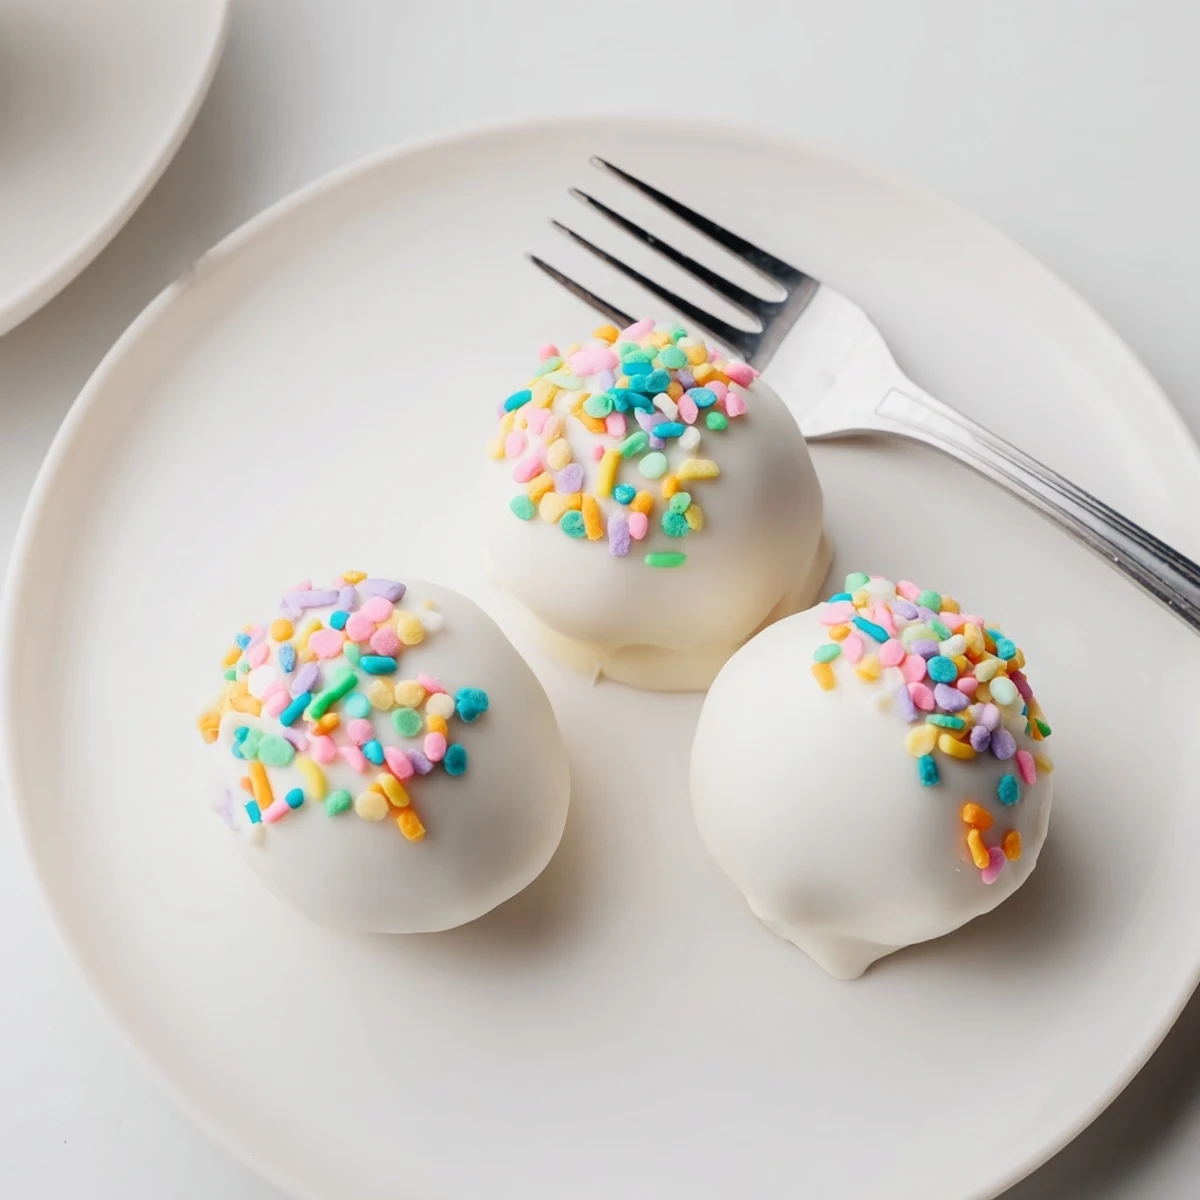
Save These delightful no-bake treats capture the classic flavors of banana pudding in bite-sized form. Softened cream cheese blended with instant banana pudding creates a smooth, creamy filling, while crushed vanilla wafers add the perfect crunch throughout each sphere. After chilling until firm, the truffles are dipped in melted white chocolate for a sweet finish that complements the banana flavor beautifully. Top with pastel sprinkles or colored sugar for instant Easter festivity. The entire process takes just 25 minutes of active time, plus chilling. These make perfect additions to spring dessert tables, Easter basket treats, or edible gifts. Store in the refrigerator for up to five days—though they rarely last that long!
The rain was tapping against my kitchen window last spring when I decided to experiment with banana pudding in truffle form. Something about the combination of creamy pudding and those nostalgic vanilla wafers just felt like it needed to be handheld. Now these little Easter treats have become my go-to for spring gatherings, and I love how they disappear faster than traditional banana pudding ever did.
Last Easter my sister-in-law took one bite and immediately asked for the recipe. She could not believe these were just banana pudding and crushed cookies transformed into something fancy. The kids were grabbing them faster than I could set them on the platter.
Ingredients
- 1 cup cold whole milk: Cold milk helps the pudding set up properly and whole milk gives that rich creamy texture we want
- 1 package instant banana pudding mix: This is our flavor base and thickener all in one
- 4 oz cream cheese softened: Adds structure and creaminess so the truffles hold their shape beautifully
- 1 ¾ cups vanilla wafer crumbs: These bring that classic crunch and nostalgia factor
- 8 oz white chocolate or candy melts: Creates the perfect sweet coating that sets up firm
- Easter themed sprinkles or colored sugar: Makes them festive and fun for spring celebrations
Instructions
- Make the pudding base:
- Whisk the cold milk and instant pudding mix in a medium bowl for about 2 minutes until it noticeably thickens. This step needs some arm power but its worth it for that proper pudding texture.
- Add cream cheese:
- Beat in the softened cream cheese with an electric mixer until completely smooth and no lumps remain. The mixture should look glossy and creamy.
- Form the dough:
- Gently fold in the vanilla wafer crumbs until everything comes together into a thick dough that holds its shape when you squeeze it.
- Roll the truffles:
- Use a tablespoon or small cookie scoop to portion the dough then roll between your palms into 1 inch balls. Place them on a parchment lined baking sheet as you work.
- Chill until firm:
- Refrigerate the truffle balls for at least 30 minutes until they are firm to the touch. This step is crucial or they will fall apart when dipping.
- Melt the coating:
- Melt the white chocolate or candy melts in a microwave safe bowl in 20 second intervals stirring between each until completely smooth and fluid.
- Dip and decorate:
- Dip each chilled truffle into the melted chocolate letting excess drip off then immediately add Easter sprinkles before the coating sets. Work quickly because the chocolate firms up fast.
 Save
Save My daughter insisted on helping with the sprinkles last year and honestly her random sprinkle patterns made them even more charming. There is something about making food together that turns simple treats into lasting memories.
Make Ahead Magic
These truffles are actually better when made a day ahead. The flavors meld together and the coating firms up perfectly. I always make them the night before Easter and they stay fresh in the fridge for up to five days.
Serving Suggestions
Arrange these on a pretty pastel platter or nesting in Easter cupcake liners for an extra festive touch. They look stunning nestled in a bed of edible Easter grass or surrounded by chocolate eggs.
Easy Variations
Sometimes I swap in graham crackers or even Biscoff cookies instead of vanilla wafers for a different flavor profile. You can also add a drop of banana extract if you want to amp up that tropical banana essence.
- Try using pastel candy melts instead of white chocolate for extra color
- Roll the edges in crushed sprinkles instead of dipping for a different look
- Add a tiny vanilla wafer half on top before the chocolate sets for decoration
 Save
Save Hope these bring a little extra joy to your spring table. Happy Easter.
Recipe FAQs
- → Can I make these truffles ahead of time?
-
Absolutely! These truffles store beautifully in the refrigerator for up to 5 days. Prepare them a day or two before your Easter gathering for stress-free entertaining. The flavors even develop more after sitting overnight.
- → What's the best way to melt the white chocolate?
-
Melt white chocolate in 20-second intervals in the microwave, stirring thoroughly between each interval. This prevents scorching and ensures smooth, pourable consistency. White chocolate burns easily, so patience is key.
- → Can I use fresh bananas instead of pudding mix?
-
While fresh banana adds wonderful flavor, it introduces too much moisture for truffle consistency. The instant pudding mix provides concentrated banana flavor without excess liquid. You can add mashed fresh banana to the pudding mixture, but reduce the milk slightly to compensate.
- → What if I don't have vanilla wafers?
-
Graham crackers, Nilla wafers, or even buttery round crackers work as substitutes. The flavor profile will shift slightly, but you'll still get that essential crunch. Crush them finely for the best texture in the filling.
- → How do I prevent the truffles from sticking when dipping?
-
Ensure the truffle centers are thoroughly chilled—30 minutes minimum—before dipping. Work quickly and keep the baking sheet in the refrigerator between batches if your kitchen is warm. The cold centers help the chocolate set faster.
- → Can I freeze these truffles?
-
Yes! Place undecorated dipped truffles on a baking sheet and freeze until solid, then transfer to an airtight container. Thaw in the refrigerator overnight before adding sprinkles and serving. Decorate after thawing for best results.
