 Save
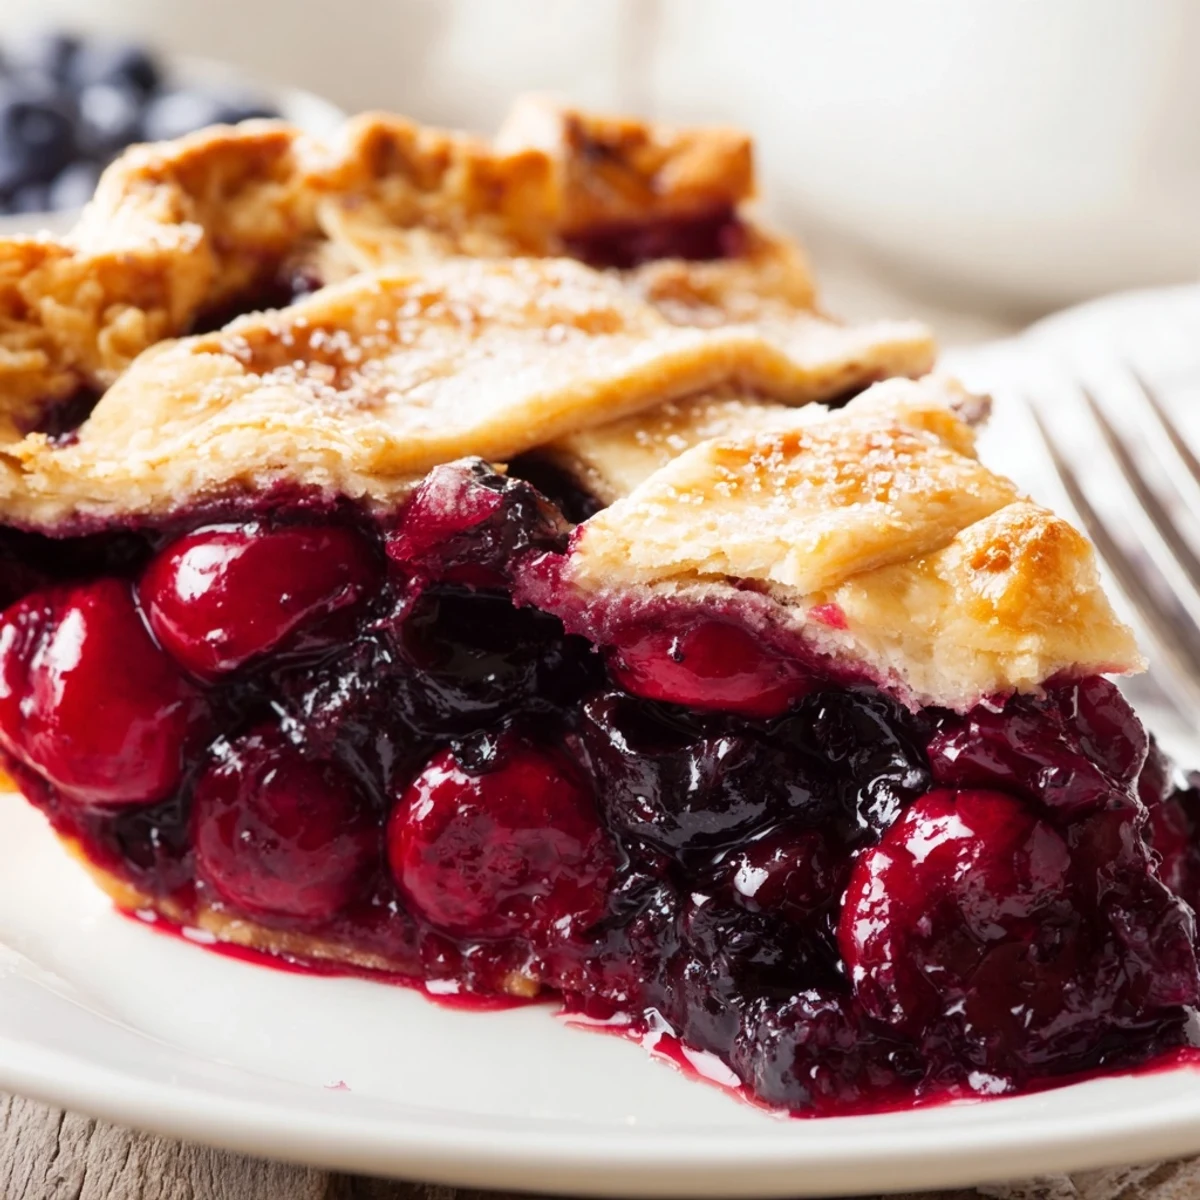
Save This double-berry pie combines sweet cherries and juicy blueberries in a flaky, butter-rich crust. Prepare the dough and chill for at least an hour, then toss the fruit with sugar, cornstarch, lemon and vanilla to thicken the filling. Bake at 400°F for 20 minutes, reduce to 350°F and bake 30 more until bubbling and golden. Brush with egg wash, cool fully before slicing, and serve with vanilla ice cream or whipped cream.
Bright summer afternoons seem to invent their own soundtrack, doesn’t it? The sizzle of butter, the gentle thud of berries hitting the mixing bowl, and that intoxicating perfume of cherries and blueberries mingling as you prep this pie. I found myself humming along with the kitchen clock the first time I tossed these fruits together—a not-so-subtle hint to hurry before I ate them all straight from the bowl. Somehow, baking this pie always feels like the promise of a celebration, even on the quietest Tuesday.
Once, I baked this pie for a backyard picnic where a sudden rainstorm sent us all dashing indoors, dripping and laughing with plates balanced in our hands. The berries were still warm, juice pooling just so, and even the grayest clouds seemed to soften around every forkful. That day, pie rescued the party (and a few damp spirits along the way) with every slice.
Ingredients
- All-purpose flour: I always sift the flour for a lighter, flakier crust, and keep an extra dusting on hand for rolling.
- Unsalted butter: Use it straight from the fridge and cube it fast; the colder it stays, the better those delicious buttery pockets.
- Salt: Never skip this, even in pie – it sharpens every flavor, crust and filling alike.
- Sugar (granulated and coarse): Some for the crust, some for the topping, most for the filling—it balances the tartness of the fruit.
- Ice water: Only enough to barely bring the dough together; it’s what keeps the crust so tender.
- Fresh or frozen cherries: Sweet, tart, or both – just don’t forget to pit (I’ve learned stains the hard way).
- Fresh or frozen blueberries: If using frozen, don’t thaw; this keeps the filling from getting soupy.
- Cornstarch: The magic thickener that turns the fruit juices into that luscious, sliceable filling.
- Lemon juice: Lifts all the berry flavors, no matter how ripe they are.
- Vanilla extract: Just a splash deepens the aroma and adds that bakery-magic note.
- Ground cinnamon (optional): A whisper of spice for cozy complexity.
- Egg and milk: Whisked together for a shiny, crisp top crust – the classic pie finish.
Instructions
- Start the crust:
- Whisk together the flour, sugar, and salt in a big bowl, then briskly work in the cold butter with your fingertips until you have a shaggy crumbly mess.
- Bring it together:
- Dribble in ice water a bit at a time, using your fingers (or a fork) to pull the dough together, just until it holds when gently squeezed.
- Rest and chill:
- Split your dough in half, shape into discs, wrap well, and let them rest in the cold; trust me, the wait is worth it for flaky layers.
- Mix up the filling:
- In a wide bowl, gently tumble together cherries, blueberries, sugar, cornstarch, lemon, vanilla, cinnamon, and a pinch of salt until every berry shimmers.
- Roll out the base:
- On a well-floured surface, roll your first chilled disc into a round, ease it into your pie dish, and nudge it into the corners.
- Fill the pie:
- Tip the fruits and all their juices into your prepared crust, then level them gently with a spoon.
- Add the lid:
- Roll out the next disc and drape it over or weave into a lattice; trim and pinch the edges so they look homey and generous.
- Finish and bake:
- Brush the top with your egg-milk mixture and sprinkle with coarse sugar if you like; bake until deeply golden and bubbling away at the edges.
- Cool and serve:
- Let the pie cool until the filling settles and slices cleanly, even if the aroma dares you to cut it sooner.
 Save
Save There’s a sweet magic in watching forkfuls vanish more quickly than I can serve, seeing stained smiles and hearing the distracted hum of contentment fill the room. This pie doesn’t just end a meal; it gathers people close and makes the whole table feel like summer itself.
Tips for a Flaky, Golden Crust
Honestly, keeping everything cold is not just baker wisdom—it’s the difference between soggy and spectacular. I’ve learned to stick cubed butter and even the mixing bowl in the freezer for a few minutes if my kitchen’s too warm.
Getting the Most from Your Berries
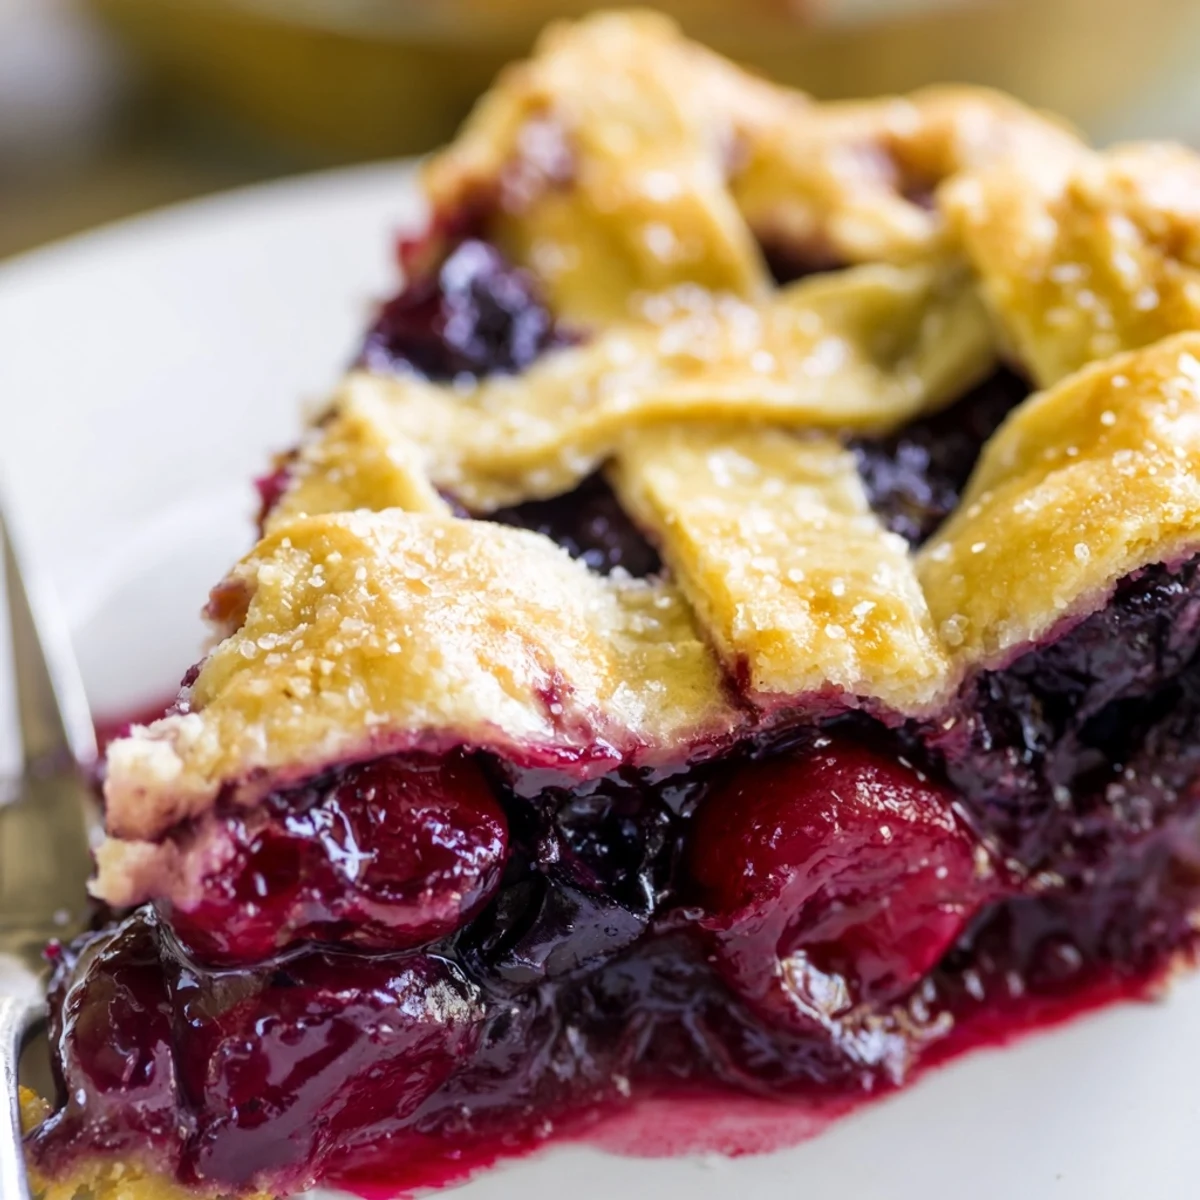
Right before adding cornstarch, I taste the berries, because every batch is a little different: sometimes I need a dash more lemon or sugar. Mixing gently keeps most berries whole, so each slice is studded with juicy bursts, not mush.
Serving and Storing Pie Perfection
Allowing the pie to cool on a wire rack gives the filling time to set, making clean slices (and leftovers) dreamy. Covered loosely, leftovers stay fresh for two days on the counter, but they’re never around that long at my place.
- Pop a slice in the oven for five minutes for that fresh-baked warmth.
- Vanilla ice cream is hands-down the best companion.
- Stash a napkin nearby—the juiciest pies are the messiest fun.
 Save
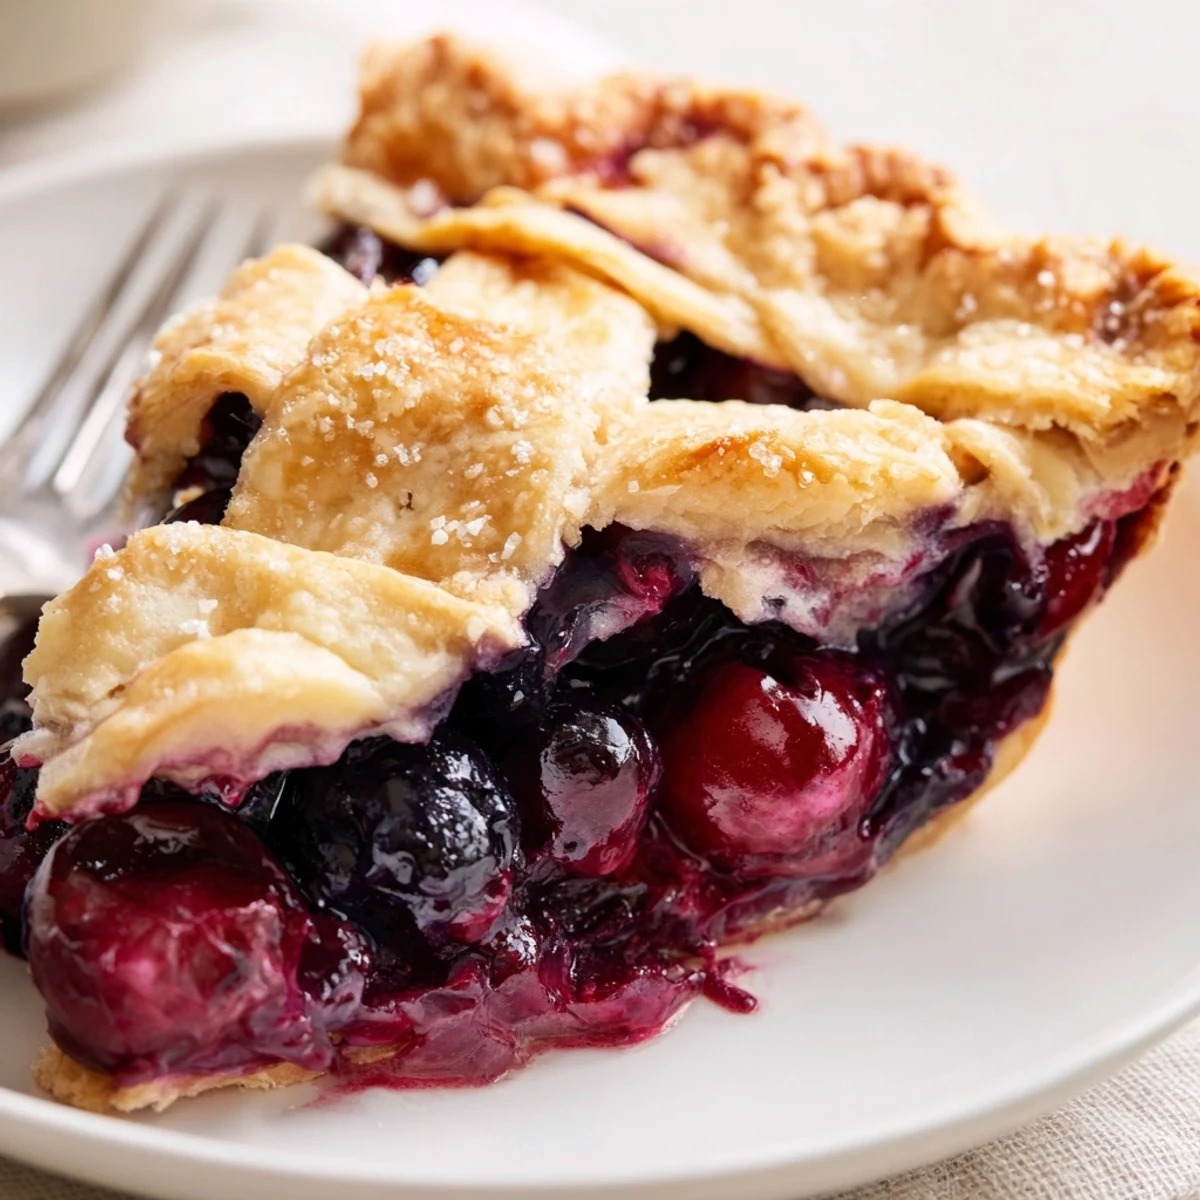
Save Let this cherry and blueberry pie be your excuse to celebrate something today (even if it’s just finishing the dishes). Here’s to sweet bites and moments worth sharing.
Recipe FAQs
- → How do I prevent a soggy bottom crust?
-
Toss fruit with enough cornstarch to absorb excess juices and let the mixture rest briefly to thicken. Drain any released liquid before filling, chill the dough well, and bake on the lower oven rack to help the bottom set. Blind-baking the bottom shell for a short time can also help if sogginess is a persistent issue.
- → Can I use frozen cherries and blueberries?
-
Yes. Thaw and drain the fruit, then toss with sugar and an extra bit of cornstarch to account for released moisture. Work quickly to avoid excess leakage and keep the filling cold until it goes into the crust.
- → What’s the best way to make a lattice top?
-
Roll the second dough disc evenly, cut into even strips, then weave over and under the filled pie in alternating rows. Trim and crimp the edges to seal. Chill briefly before baking to help the strips hold their shape.
- → How can I tell when the filling is done?
-
Look for a deep golden crust and bubbling filling that oozes through slits or lattice gaps. Active bubbling indicates the thickener has cooked and the filling has set; if the crust browns too quickly, tent with foil and continue baking until bubbling.
- → Any tips for a flakier crust?
-
Keep ingredients and tools cold, handle dough minimally, and use cold, cubed butter. Incorporate butter until pea-sized pieces remain for flaky layers. Chill the dough before rolling and again after assembling to maintain structure while baking.
- → How should leftovers be stored and reheated?
-
Cool completely, then cover and store at room temperature for up to 2 days or refrigerate up to 4 days. Reheat slices in a 325°F oven for 10–15 minutes to refresh the crust; avoid microwaving to prevent a soggy base.
