 Save
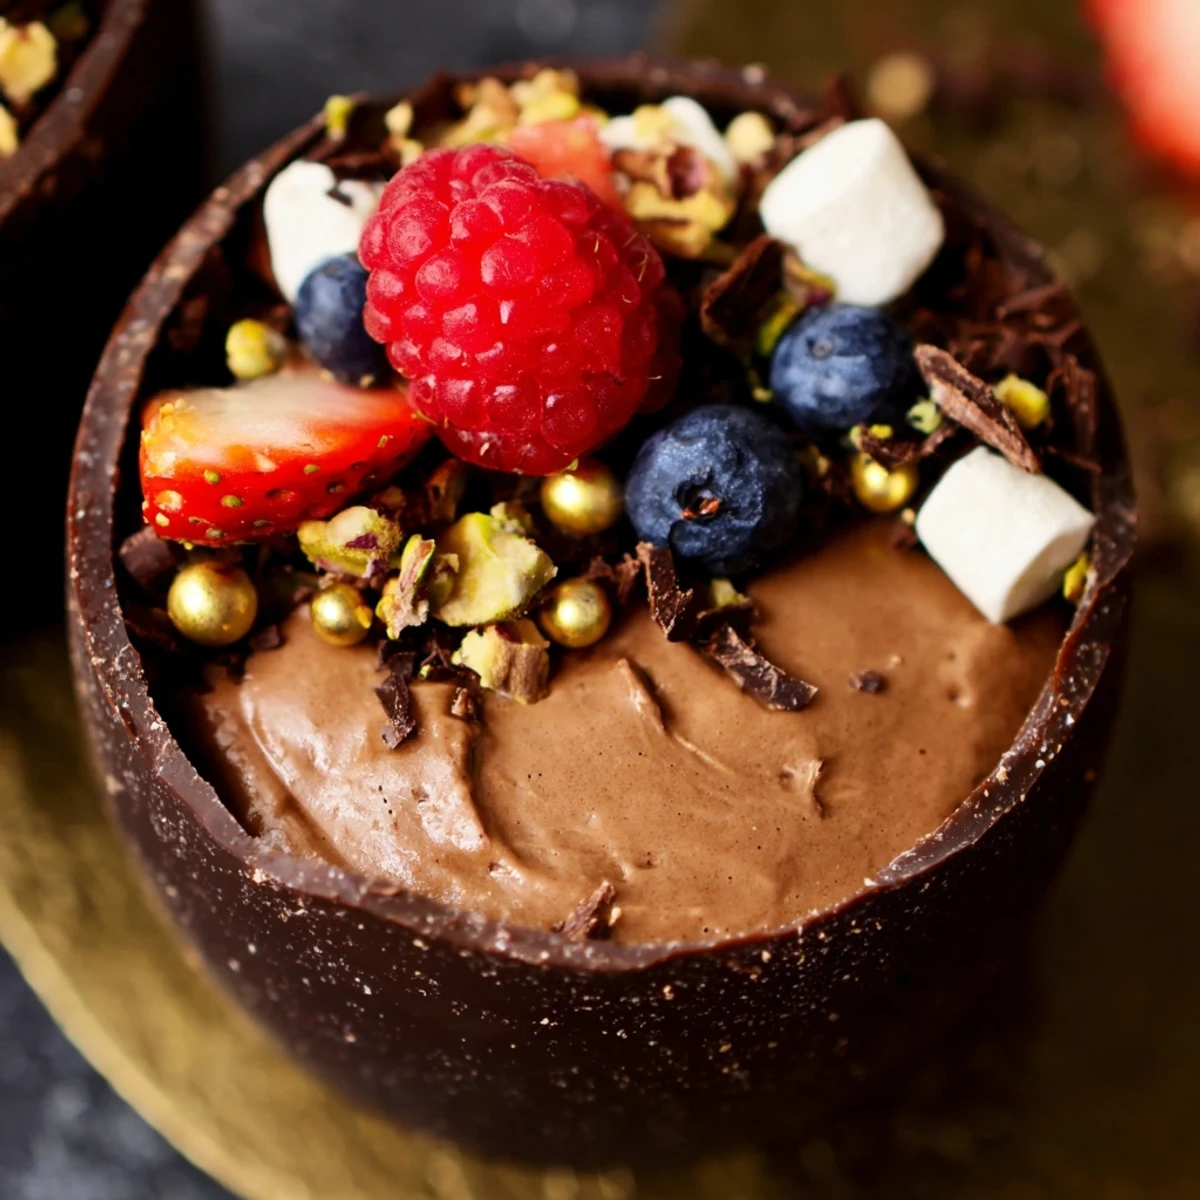
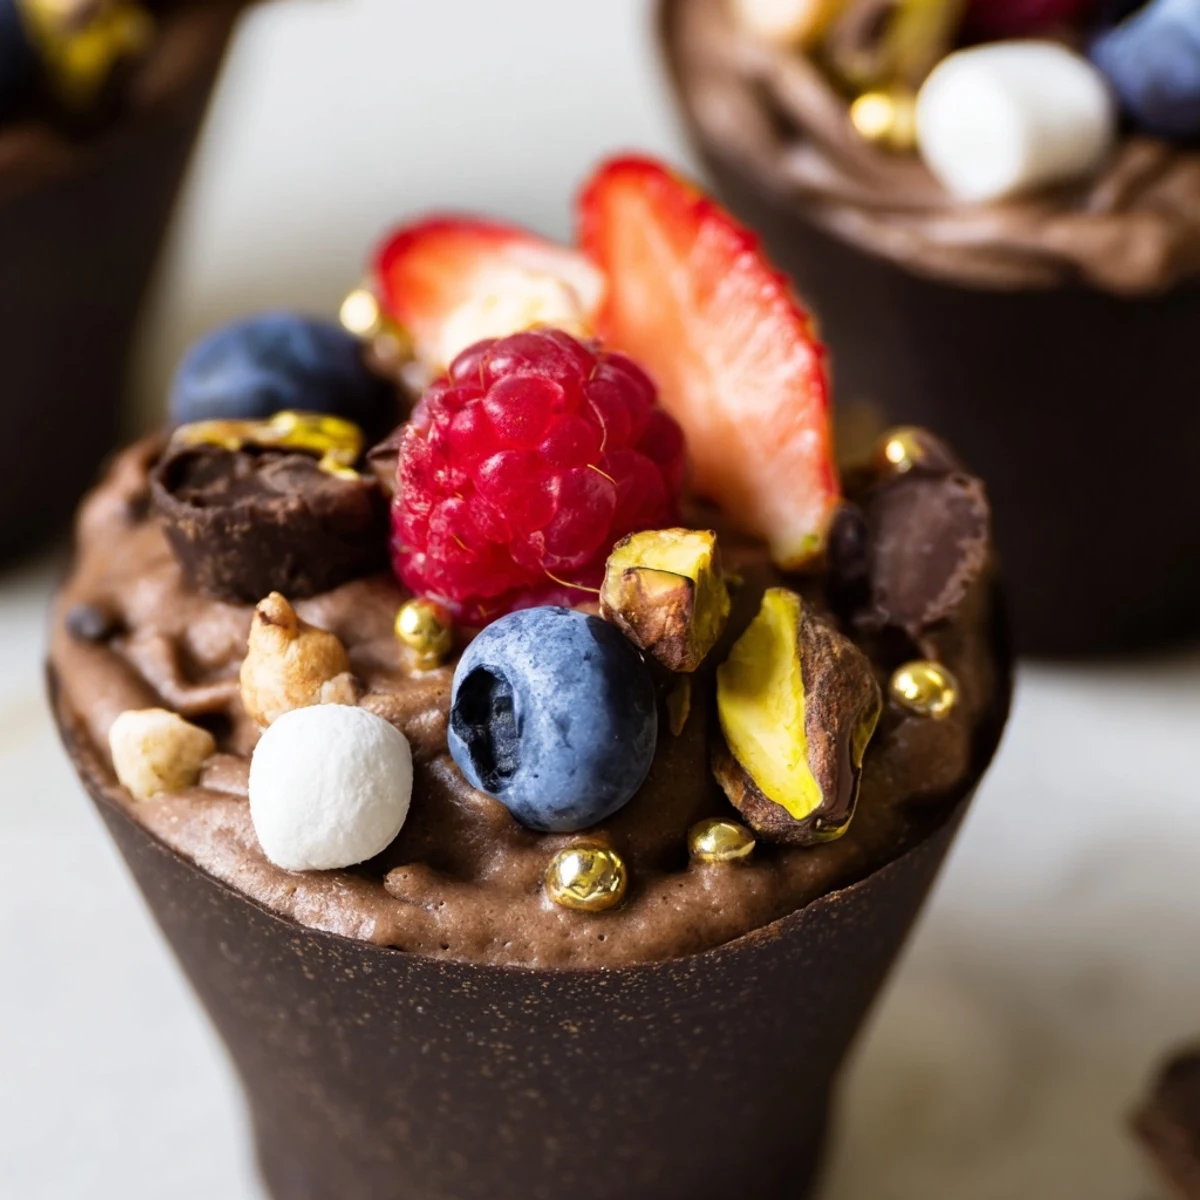
Save Create stunning individual dessert cups featuring handmade dark chocolate shells filled with silky chocolate mousse. Each cup is generously topped with fresh mixed berries, crunchy chopped nuts, mini marshmallows, and decorative chocolate curls. These elegant grazing cups elevate any dessert table with their sophisticated presentation and luxurious combination of textures and flavors.
The evening I first made these, my kitchen smelled like a chocolate shop and I may have eaten more mousse than actually made it into the cups. These grazing cups started as an experiment for a dinner party and ended up being the most requested dessert I've ever made.
Last Valentine's Day, I set up a toppings bar and let everyone build their own creation. Watching friends carefully place each berry and decide between hazelnuts or pistachios turned dessert into a surprisingly interactive experience.
Ingredients
- 200 g dark chocolate (at least 60% cocoa), chopped: Higher cocoa percentage gives your cups structural integrity and that sophisticated bittersweet edge that balances sweet toppings
- 200 ml heavy cream: Cold cream whips up faster and holds its structure longer, so pop it in the freezer for 10 minutes before whipping
- 100 g dark chocolate, chopped: This melts into the mousse base, creating that silky smooth texture that makes people pause mid-bite
- 2 tbsp powdered sugar: Powdered sugar dissolves instantly into the cream without leaving gritty spots behind
- 1 tsp vanilla extract: Pure vanilla extract rounds out the chocolate's intensity and adds that comforting aroma
- 1 cup fresh mixed berries: The tartness cuts through rich chocolate while pops of color make these cups irresistible
- 2 tbsp chopped nuts: Toast them lightly beforehand to bring out their natural oils and deepen their flavor
- 2 tbsp mini marshmallows: These add playful texture and nostalgia that adults secretly love too
- 2 tbsp chocolate curls or shavings: Use a vegetable peeler on room temperature chocolate for professional looking curls
- 1 tbsp edible gold leaf or pearls (optional): Just a touch transforms these into something fit for a celebration
Instructions
- Melt and Shape the Chocolate Cups:
- Work in 30 second bursts, stirring between each, until your chocolate flows like warm honey. Paint the inside of each liner with deliberate strokes, paying extra attention to creating a thick base so the cups won't crack when you peel them away later.
- Chill Until Set:
- The freezer works faster than the refrigerator if you are pressed for time, but don't let them freeze completely or they might develop condensation spots when they warm up.
- Whip the Cream Base:
- Watch for soft peaks that gently fold over themselves when you lift the whisk. Over-whipping makes the folding step nearly impossible, so stop the moment you see that perfect cloud-like consistency.
- Create the Mousse:
- Temper your melted chocolate by stirring in one spoonful of whipped cream first. This prevents the chocolate from seizing and seizing from turning your silky mousse into a grainy disappointment.
- Fill the Cups:
- Pipe the mousse in gentle swirls or use two spoons for a more rustic look. Leave room at the top because those toppings need somewhere to perch without toppling over.
- Add the Finishing Touches:
- Work quickly once the cups leave the refrigerator because chocolate starts softening the moment it hits room temperature. Arrange berries like tiny jewels and scatter toppings with a light hand.
- Final Chill:
- Twenty minutes in the refrigerator lets everything settle into each other and firms up the mousse just enough that each bite holds its shape beautifully.
 Save
Save My sister now requests these for every birthday celebration. The first time she saw them arranged on a silver tray, she actually gasped and asked which bakery I'd visited.
Making Chocolate Cups That Don't Crack
The thickness of your chocolate coating determines everything. Thin spots create weak points that shatter the moment you try removing the liner. I've learned to do two thin coats instead of one thick layer, chilling briefly between each. This method takes slightly longer but virtually eliminates broken cups and that frustration of starting over with melted chocolate pooling everywhere.
Topping Combinations That Work
Think about textures when planning your toppings bar. You want something creamy, something crunchy, something tart, and something fresh. Seasonal berries always shine, but don't overlook crushed pretzels for salt contrast or candied citrus peel for brightness. I once set out eight different toppings and watched guests create combinations I never would have imagined.
Timing Your Assembly
The window between perfectly chilled mousse and slightly softened chocolate is surprisingly short. I recommend having all toppings prepped and arranged before you even start filling cups. Work in small batches, filling just three or four cups at a time, then topping them immediately. This prevents the mousse from warming up and losing that airy texture that makes these so special.
- Clear a large section of counter space before you begin assembling
- Keep unfilled cups chilled until the moment you need them
- Have serving trays ready so finished cups can go straight into the refrigerator
 Save
Save There's something deeply satisfying about serving a dessert that makes people feel special without requiring you to spend hours in the kitchen. These cups have become my secret weapon for moments that call for celebration.
Recipe FAQs
- → How far in advance can I make these chocolate cups?
-
The chocolate cups can be prepared up to 2 days in advance and stored in an airtight container at room temperature. Fill with mousse and toppings within 4-6 hours of serving for optimal texture.
- → Can I use milk or white chocolate instead?
-
Absolutely. Milk chocolate creates a sweeter, creamier profile while white chocolate offers delicate vanilla notes. Adjust chilling times as white chocolate softens faster at room temperature.
- → What other toppings work well with these cups?
-
Consider crushed cookies, caramelized nuts, fresh mint, shaved coconut, dried fruit, or even small pieces of brownie. Seasonal fruits and edible flowers add beautiful color variation.
- → How do I prevent the chocolate cups from cracking?
-
Ensure the chocolate is properly tempered by melting gently and not overheating. Apply thick, even layers and chill completely before removing from liners. Handle cups carefully when peeling away liners.
- → Can these be made without silicone liners?
-
Small paper cupcake liners work well. Alternatively, create freeform cups using inverted silicone molds or paint melted chocolate onto the inside of clean plastic containers, then chill until set.
- → What's the best way to achieve stiff peaks in whipped cream?
-
Chill your bowl and whisk in the freezer for 10 minutes beforehand. Use cold heavy cream and whip on medium-high speed, watching carefully as overwhipping can turn cream into butter.
