 Save
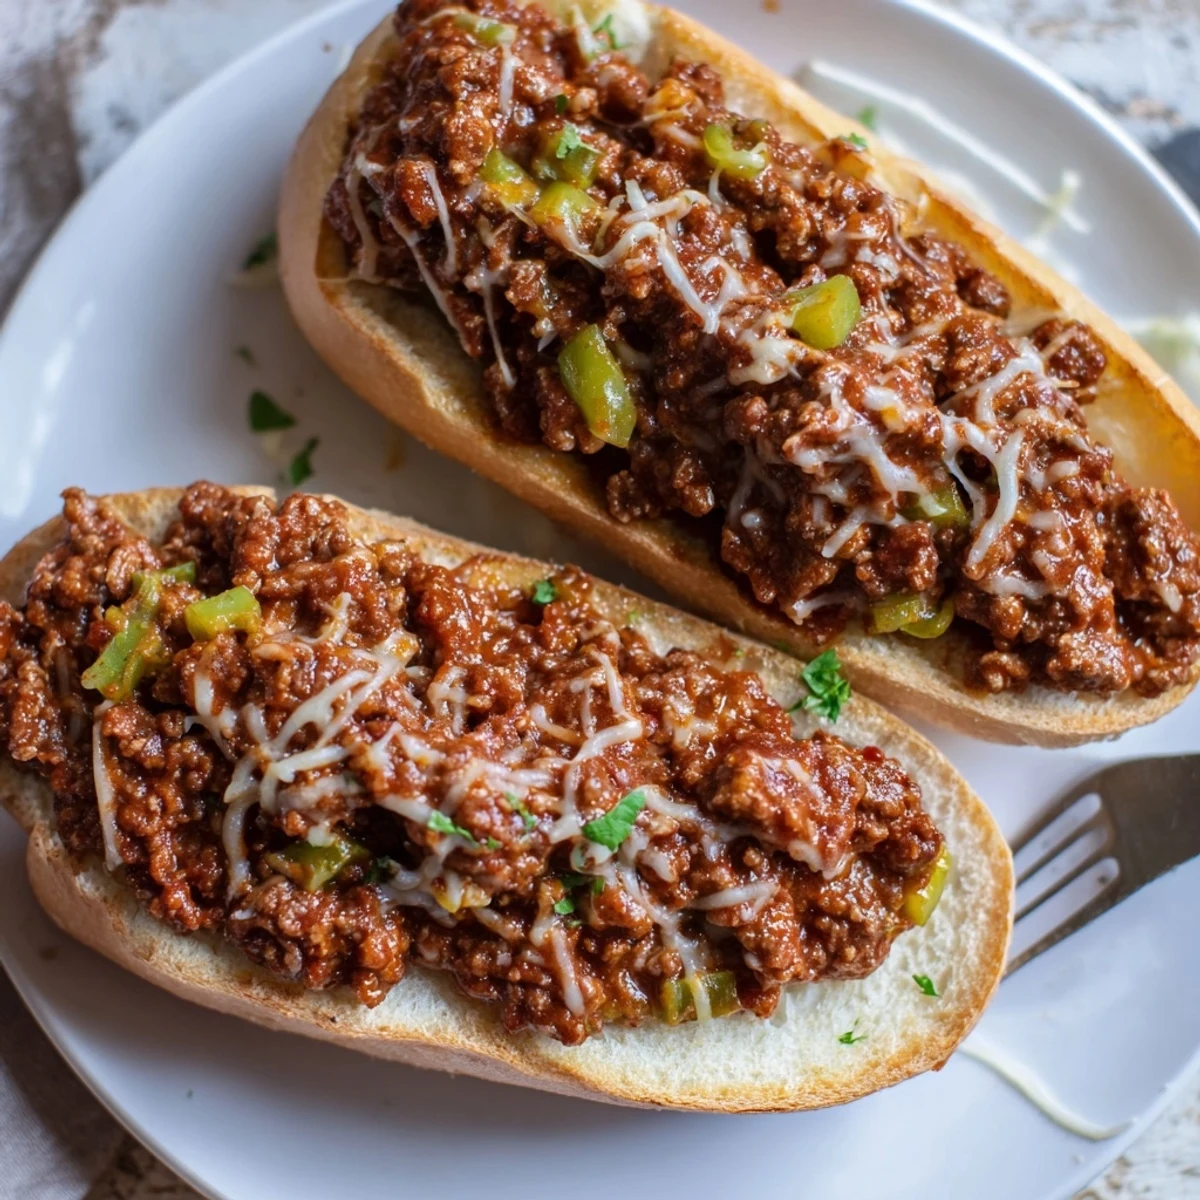
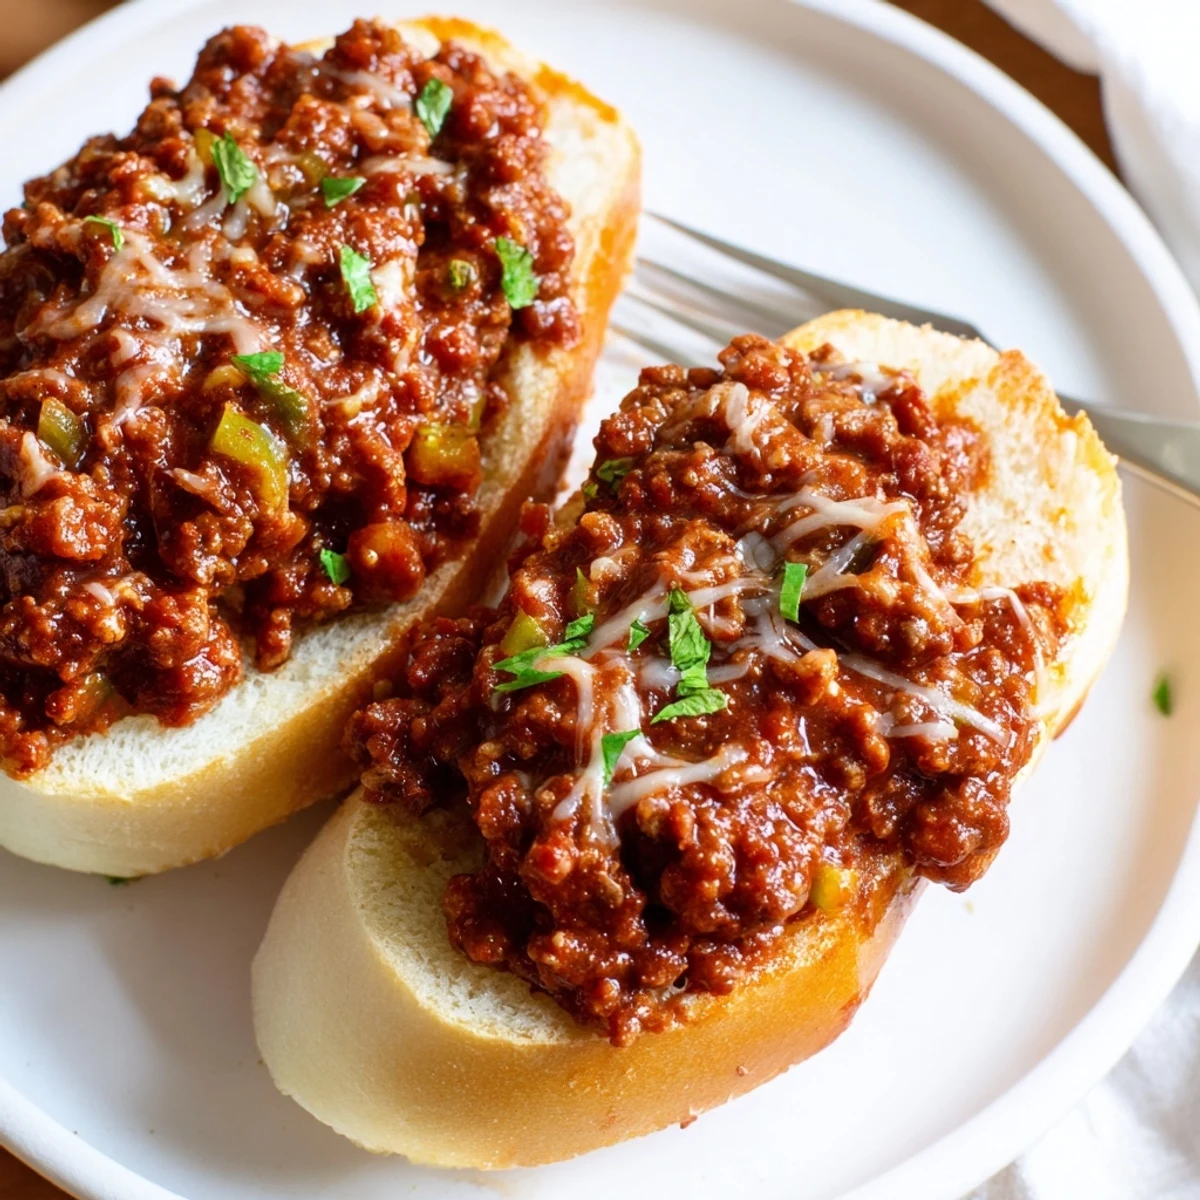
Save This version pairs a rich, tomato-forward beef filling flavored with smoked paprika, Worcestershire and brown sugar with buttered, garlic-smeared bread. Brown the beef, soften onion and pepper, simmer the sauce until thick, toast the loaf halves, pile on the filling, top with mozzarella and Parmesan, and bake until bubbly. About 40 minutes; serves four.
The sizzle of onions hitting the skillet always signals something hearty is on the way, especially on days the house feels a bit too quiet. One overcast afternoon, I realized we were all craving comfort food, but I wanted something with a playful, unexpected twist. That’s when the idea to marry classic sloppy joes with buttery garlic bread popped into my head, and it was as if the kitchen woke up. The oven fogged the windows, laughter bounced off the countertops, and suddenly dinner felt like an event.
Last summer, two cousins appeared on the doorstep unannounced just as I was mincing garlic. Their eyes widened at the smell—the garlic and butter melting together—and we ended up making a double batch, everyone stealing bits of melted cheese from the edges before dinner even started. It felt spontaneous, a little unruly, and absolutely perfect.
Ingredients
- Ground beef: Using lean beef keeps the filling rich without too much grease, just be sure to drain any excess fat for a clean flavor.
- Yellow onion: Finely chopped onion lets you sneak in sweetness and depth, but I’ve learned that patience while sautéing makes all the difference.
- Green bell pepper: The pop of freshness balances the hearty meat—don’t skip it, even if you’re tempted.
- Garlic (for both filling and bread): Freshly minced is key; powdered just never hits the same aromatic note.
- Tomato sauce & tomato paste: These work together to create a beautifully thick, tangy-sloppy base; extra paste means more richness.
- Ketchup: Brings that sweet tang—don’t be shy!
- Worcestershire sauce: A dash deepens the flavor in a way no one can quite put their finger on.
- Smoked paprika: The faint whiff of smokiness elevates this far beyond your lunchroom memories.
- Brown sugar: Just enough to tuck all the tomato tang in seamlessly.
- Salt and black pepper: Don’t wait until the end—season in layers for the brightest flavors.
- Dried oregano: Adds a cozy earthiness that smells amazing as it simmers.
- Baguette or Italian loaf: Choose one with a sturdy crust to hold up; pressing down gently at the end will give you that irresistible crunch.
- Unsalted butter: Softened butter is easier to swirl with garlic and parsley—remember to let it sit out for a bit.
- Fresh parsley: The color and bite are worth chopping fresh; it pops against all that cheese.
- Mozzarella cheese: The melt factor here is non-negotiable.
- Parmesan cheese: I add a little more for a burst of salty umami on top—plus crispy edges are a prize.
Instructions
- Warm up the oven:
- Preheat your oven to 400°F (200°C) and line a baking sheet so you can get to the good part faster.
- Brown the beef:
- Set a large skillet over medium heat; crumble in the beef and stir, letting it take on a deep, savory color while the aroma fills the kitchen.
- Soften the veggies:
- Add the finely chopped onion, bell pepper, and garlic; cook for a few minutes, scraping the browned bits from the pan as they work their magic and turn tender.
- Simmer the sauce:
- Pour in tomato sauce, tomato paste, ketchup, Worcestershire, smoked paprika, brown sugar, salt, pepper, and oregano; let it quietly bubble for 8-10 minutes, thickening as it simmers and releasing all those familiar, cozy scents.
- Prepare the garlic butter:
- In a bowl, mash softened butter with the minced garlic, parsley, and a sprinkle of salt; I love how the green flecks shine against the golden butter.
- Slice and butter the bread:
- Carefully slice your loaf in half lengthwise and slather each open side with the garlic butter until every inch glistens.
- Toast the bread:
- Lay the bread cut-side up on your baking sheet and bake for about five minutes—just enough to catch a hint of crusty gold while the kitchen smells like heaven.
- Add the filling and cheese:
- Spoon generous heaps of sloppy joe filling over the bottom half, then blanket with mozzarella and Parmesan so every bite will be gooey and stringy.
- Melt the cheese:
- Slip it back into the oven until the cheese bubbles and browns in spots, about another five minutes—it’s all about that melty top.
- Sandwich and serve:
- Lift on the top bread half, press gently to seal all the goodness inside, and cut into hearty portions; they’re best eaten warm, with extra napkins close by.
 Save
Save There was a time when we ended up eating these on the back patio, napkins fluttering like flags and everyone diving in with both hands. The messier it got, the more it felt like a celebration, not just another weekday dinner.
Making It Your Own
I’ve tried swapping in ground turkey for the beef and even snuck in some plant-based crumbles when friends with different diets came over. Each little adjustment turned into a new favorite, proving this recipe is endlessly forgiving and welcoming to any twist you want to throw at it.
Serving Up Fun
There’s no wrong way to enjoy a slab of garlic bread sloppy joe—pair it with a simple salad, coleslaw, or chips, or just hand it out with extra napkins and let the crowd dig in. I love seeing the look of surprise when someone realizes just how well the crusty bread and saucy filling play together.
Troubleshooting and Quick Fixes
The trickiest part is keeping your bread crisp and your filling thick—too much sauce, and you’ll need a fork, not enough, and it feels dry. If things look a bit runny, simmer the filling a few more minutes and you’ll nail it every time.
- Don’t rush the bread toasting—golden edges make all the difference.
- For extra crunch, toss the top of the bread under the broiler for one minute before sandwiching.
- Let the assembled loaf cool just a minute before cutting to avoid hot cheese slides.
 Save
Save Every time I serve this, someone insists on the recipe—and the best part is watching people forget their forks and just dive in. Hope your kitchen fills with the same spirit of fun (and cheese pulls) the next time you make it.
Recipe FAQs
- → Can this be made ahead?
-
Yes. Prepare the beef filling up to a day in advance and refrigerate in an airtight container. Reheat gently on the stove before assembling to avoid soggy bread. You can also toast the bread ahead and warm briefly before serving.
- → What bread works best?
-
A sturdy French baguette or Italian loaf holds up well and gives a crisp crust with soft interior. Thicker-cut artisan loaves or ciabatta work too; avoid very thin or pre-sliced sandwich bread to prevent sogginess.
- → How do I add heat or adjust spice?
-
Stir in chopped jalapeños, a pinch of chili flakes, or a few dashes of hot sauce into the filling while it simmers. Start small, taste, and increase heat gradually to keep the balance with the tomato and sugar.
- → Any good substitutions for beef?
-
Use ground turkey or chicken for a leaner profile, or plant-based crumbles for a vegetarian-friendly option. Adjust cooking time until crumbles are browned and sauce has thickened to the desired consistency.
- → How should leftovers be stored and reheated?
-
Store filling and bread separately in the fridge for up to 3 days. Reheat filling on the stove until hot, re-toast bread in the oven, then assemble. Avoid storing fully assembled sandwiches to keep the bread from becoming soggy.
- → How can I prevent soggy bread?
-
Drain excess fat from the cooked beef, simmer the sauce until thick, and toast the cut bread with garlic butter until lightly golden before adding the filling. A thicker sauce and a brief bake after adding cheese help maintain structure.
