 Save
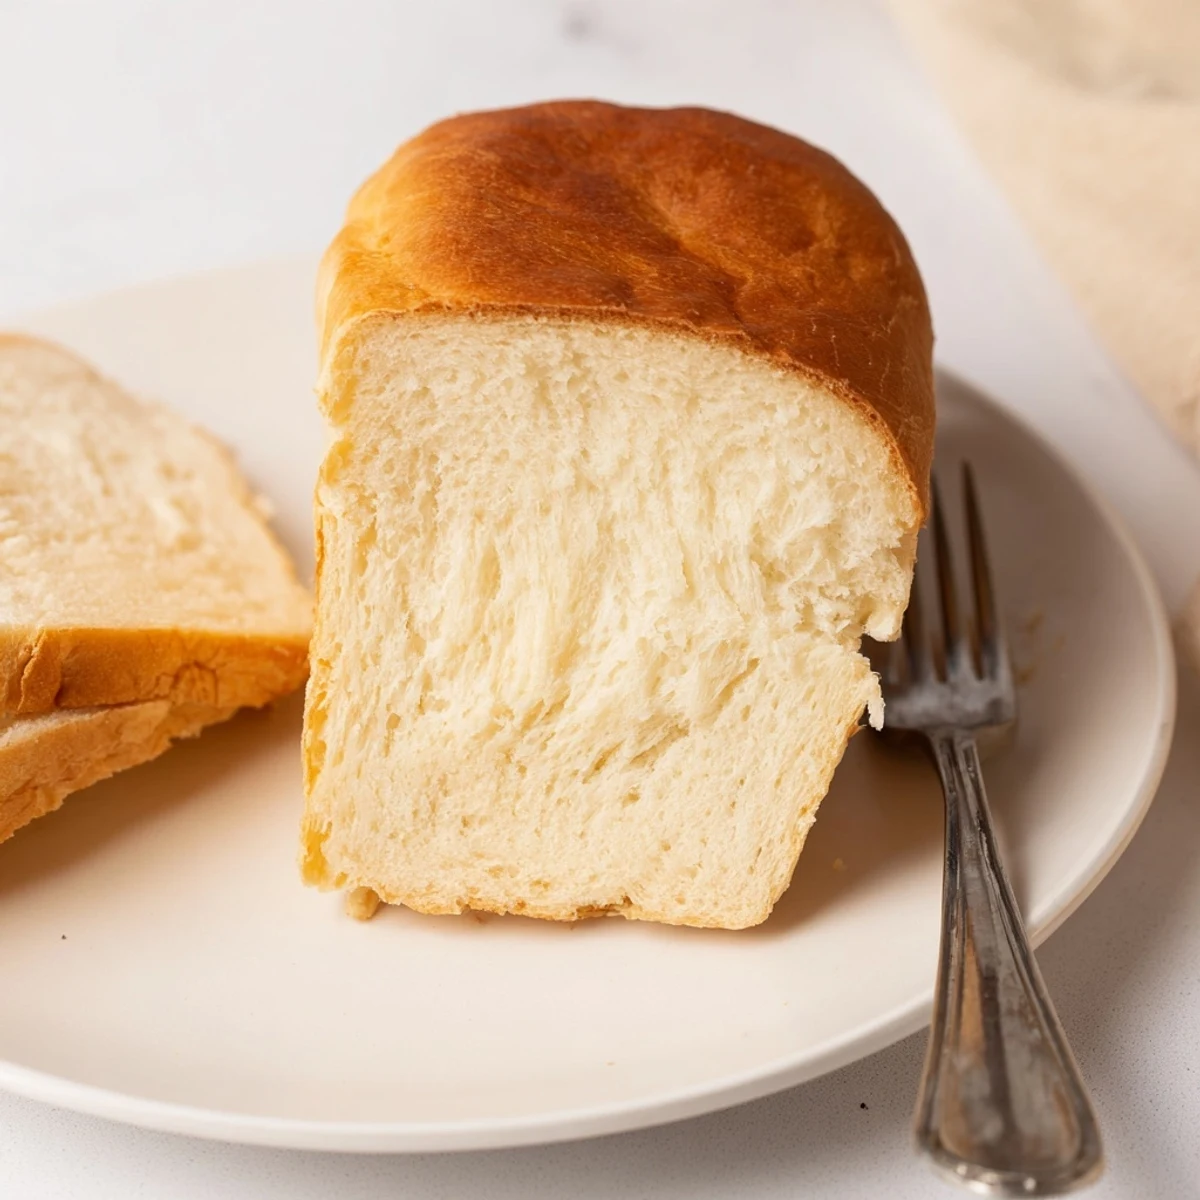
Save This classic Amish white bread delivers everything you want in a homemade loaf—soft texture, tender crumb, and just a hint of sweetness. The straightforward method combines warm water, yeast, sugar, and oil with flour to create a dough that rises beautifully into golden, bakery-worthy loaves.
What makes this bread special is its versatility. Slice it thick for sandwiches, toast it until golden for breakfast, or simply enjoy a warm slice with melted butter. The two-loaf yield means you can enjoy one now and freeze the other for later.
With only 15 minutes of active prep time and simple ingredients you likely have on hand, this beginner-friendly bread baking project fits easily into any schedule.
Theres something deeply meditative about making bread from scratch, watching simple flour and water transform into something that fills the whole house with warmth. I started making this Amish white bread on snowy Sundays when the world felt quiet and slow, and now its become the kind of recipe I can make without even measuring anymore. The first time my youngest came home from school and walked through the door asking what smelled so good, I knew this recipe was a keeper.
Last winter my neighbor stopped by while I had two loaves rising on the counter, and she ended up staying for tea just to watch them bake. We sat there watching through the oven door as the dough puffed up and turned that perfect golden brown. Now whenever I smell fresh bread, I think of rainy afternoons and unexpected company and the way something so simple can bring people together.
Ingredients
- 5 ½ to 6 cups all-purpose flour: Start with 5 cups and add more only if needed, the humidity in your kitchen affects how much flour the dough will absorb
- 2 ¼ teaspoons active dry yeast: One standard packet works perfectly, but make sure your water isnt too hot or itll kill the yeast
- 2 teaspoons salt: Dont skip this even in a sweet bread, it balances the flavor and helps the dough develop structure
- 2 cups warm water: Think bathwater temperature, around 110 to 115 degrees Fahrenheit is ideal for activating yeast
- ⅓ cup granulated sugar: This feeds the yeast and adds just enough sweetness to make it perfect for morning toast
- ¼ cup vegetable oil: Keeps the bread tender and gives it that soft, close crumb structure that makes excellent sandwich bread
Instructions
- Wake up the yeast:
- Dissolve the sugar in warm water, then sprinkle yeast on top and watch it bloom into a foamy layer
- Build the foundation:
- Stir in the oil and salt, then gradually incorporate flour until the dough comes together in a shaggy mass
- Knead with purpose:
- Turn onto a floured surface and work the dough for 6 to 8 minutes until it feels smooth and springs back when pressed
- First rise:
- Place in a greased bowl, cover with a warm towel, and let it double in size for about an hour
- Shape the loaves:
- Punch down gently, divide in half, and form each piece into a loaf before placing in greased pans
- Second rise:
- Let the loaves rest covered for 30 to 40 minutes until they crest about an inch above the pan rims
- Bake to golden:
- Bake at 350 degrees for 30 to 35 minutes until the tops are beautifully browned and the loaves sound hollow when tapped
 Save
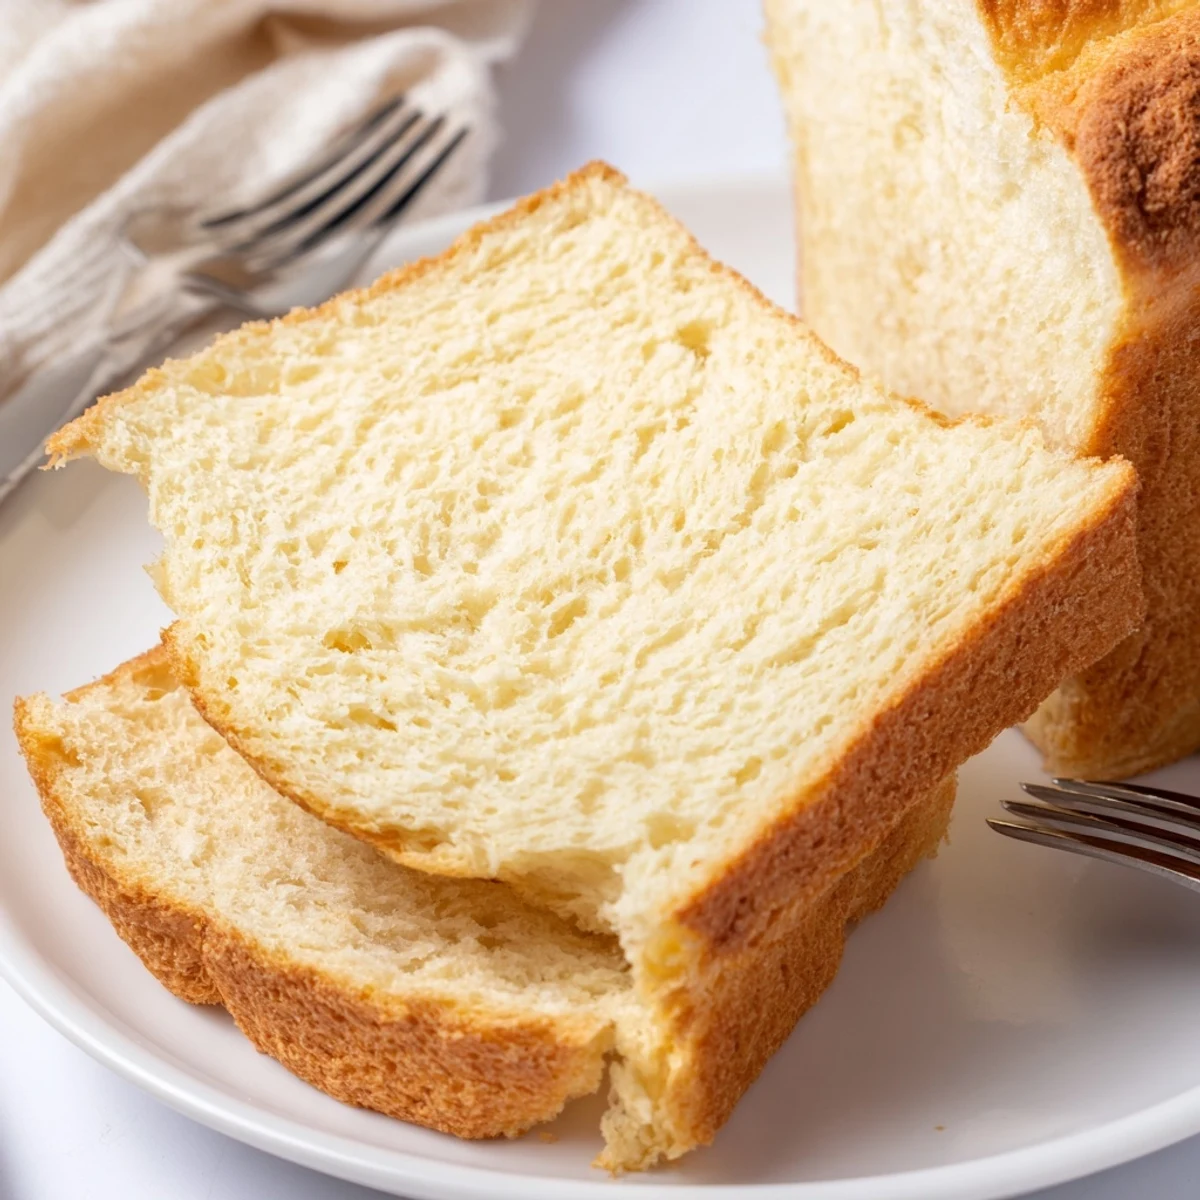
Save My grandmother used to say you could tell a good bread maker by their hands, and after years of making this recipe I understand what she meant. Theres a rhythm to the kneading, a feel to the dough when its ready, that comes only from practice. I love slicing into a still-warm loaf and watching steam curl up into the kitchen air.
Getting The Perfect Rise
Ive learned through plenty of failed attempts that yeast is surprisingly particular about its environment. Too cold and it moves sluggishly, too hot and it dies off completely. Find that cozy warm spot in your kitchen and be patient, good bread refuses to be rushed.
Making It Your Own
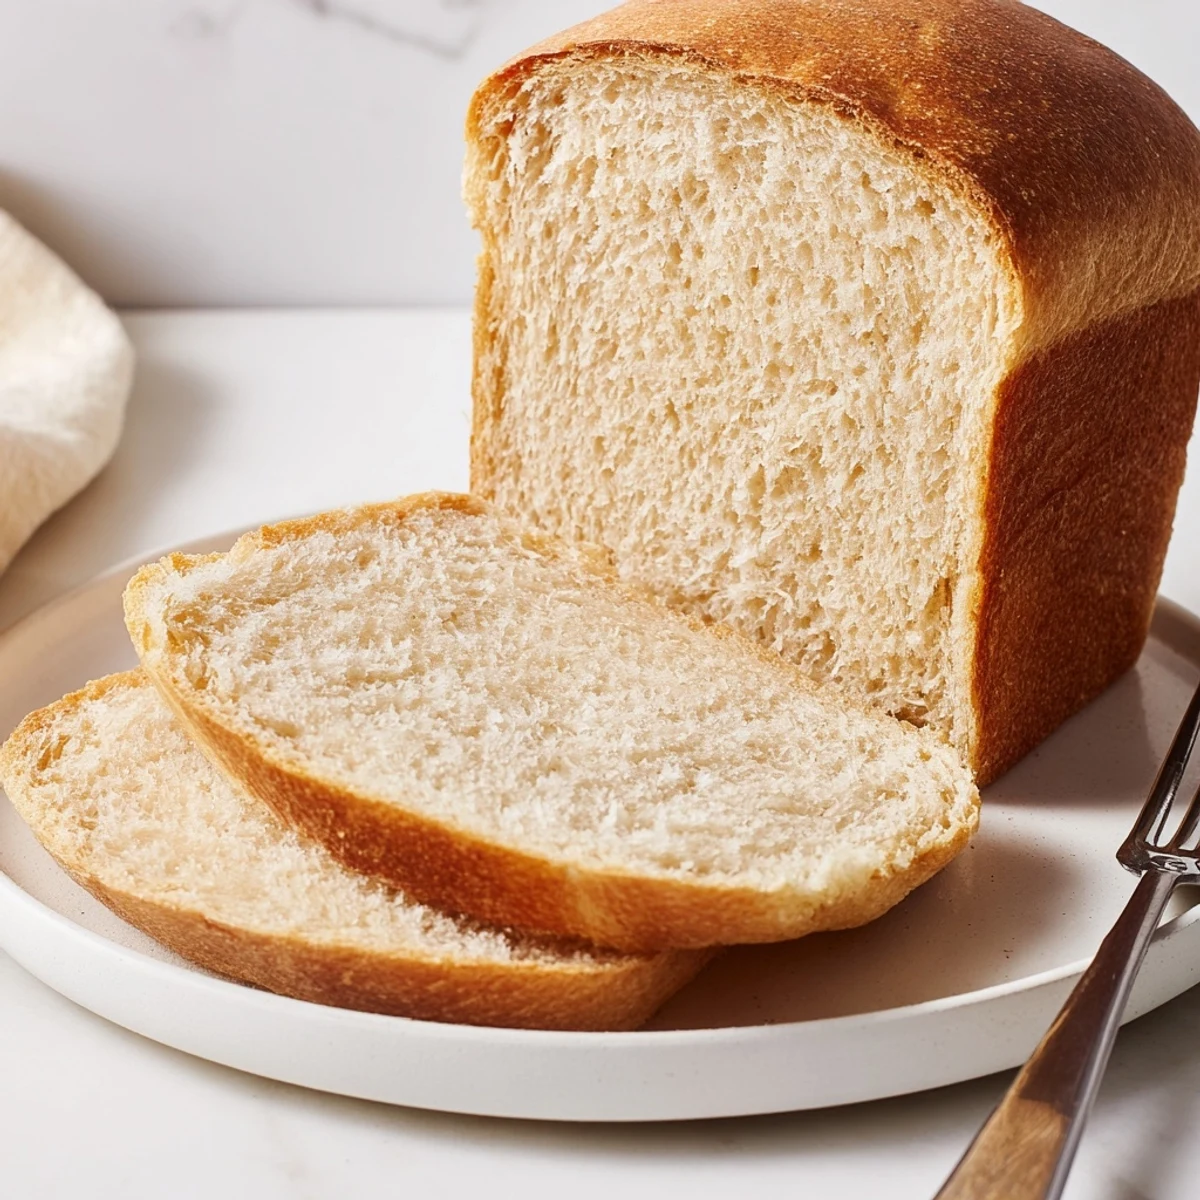
While this is the classic Amish recipe, I sometimes swap half the white flour for whole wheat when I want something heartier. The texture changes slightly but that homey comfort remains exactly the same, and my family actually prefers the nuttier flavor for their morning toast.
Storing And Serving
Fresh bread has a short shelf life but that never matters in my house because it disappears within days. If you manage to have leftovers though, heres how to keep them at their best.
- Wrap cooled loaves tightly in plastic wrap and store at room temperature for up to three days
- Freeze whole or sliced bread with wax paper between slices for easy toaster access
- Brush warm loaves with butter immediately after baking for the softest crust imaginable
 Save
Save Theres nothing quite like homemade bread fresh from the oven, slathered with butter that melts into every warm bite. I hope this recipe finds its way into your regular rotation and brings as much comfort to your kitchen as it has to mine.
Recipe FAQs
- → Why is Amish white bread so soft?
-
The combination of vegetable oil and sugar keeps the bread tender and moist. The oil prevents the gluten from becoming too tough, while the sugar adds slight sweetness and helps retain moisture in the final loaf.
- → Can I use whole wheat flour instead of all-purpose?
-
You can substitute up to half of the all-purpose flour with whole wheat flour. Keep in mind that whole wheat absorbs more liquid, so you may need to add additional water to achieve the right dough consistency.
- → How do I know when the bread is fully baked?
-
The loaves should be golden brown on top. The most reliable test is tapping the bottom of the loaf—if it sounds hollow, it's done. You can also insert an instant-read thermometer into the center; it should read 190-200°F.
- → Why did my dough not rise?
-
Check that your water wasn't too hot, which can kill the yeast, or too cold, which makes yeast inactive. Also ensure your yeast is fresh—expired yeast won't proof properly. Make sure the dough is placed in a warm, draft-free spot.
- → Can I make this bread without a stand mixer?
-
Absolutely. This bread is designed to be mixed and kneaded by hand. The kneading process takes just 6-8 minutes by hand on a floured surface. Many bakers prefer the tactile experience of hand-kneading to feel when the dough becomes smooth and elastic.
- → How should I store the baked loaves?
-
Store completely cooled bread in a plastic bag or wrapped in plastic at room temperature for up to 3 days. For longer storage, slice the loaf and freeze in a freezer bag. Frozen slices thaw quickly and can be toasted directly from frozen.
