 Save
Save Whip room-temperature egg whites with cream of tartar until soft peaks form, then add sugar gradually and beat to stiff, glossy peaks. Fold in a pinch of salt and vanilla, transfer to a piping bag lined with red and blue gel stripes, and pipe 1–1.5" mounds. Bake low at 200°F (90°C) for about 1 hour 15 minutes, then cool inside the turned-off oven for an hour to dry fully. Use grease-free tools, vary colors as desired, and store airtight at room temperature for up to five days; yields about 40 kisses.
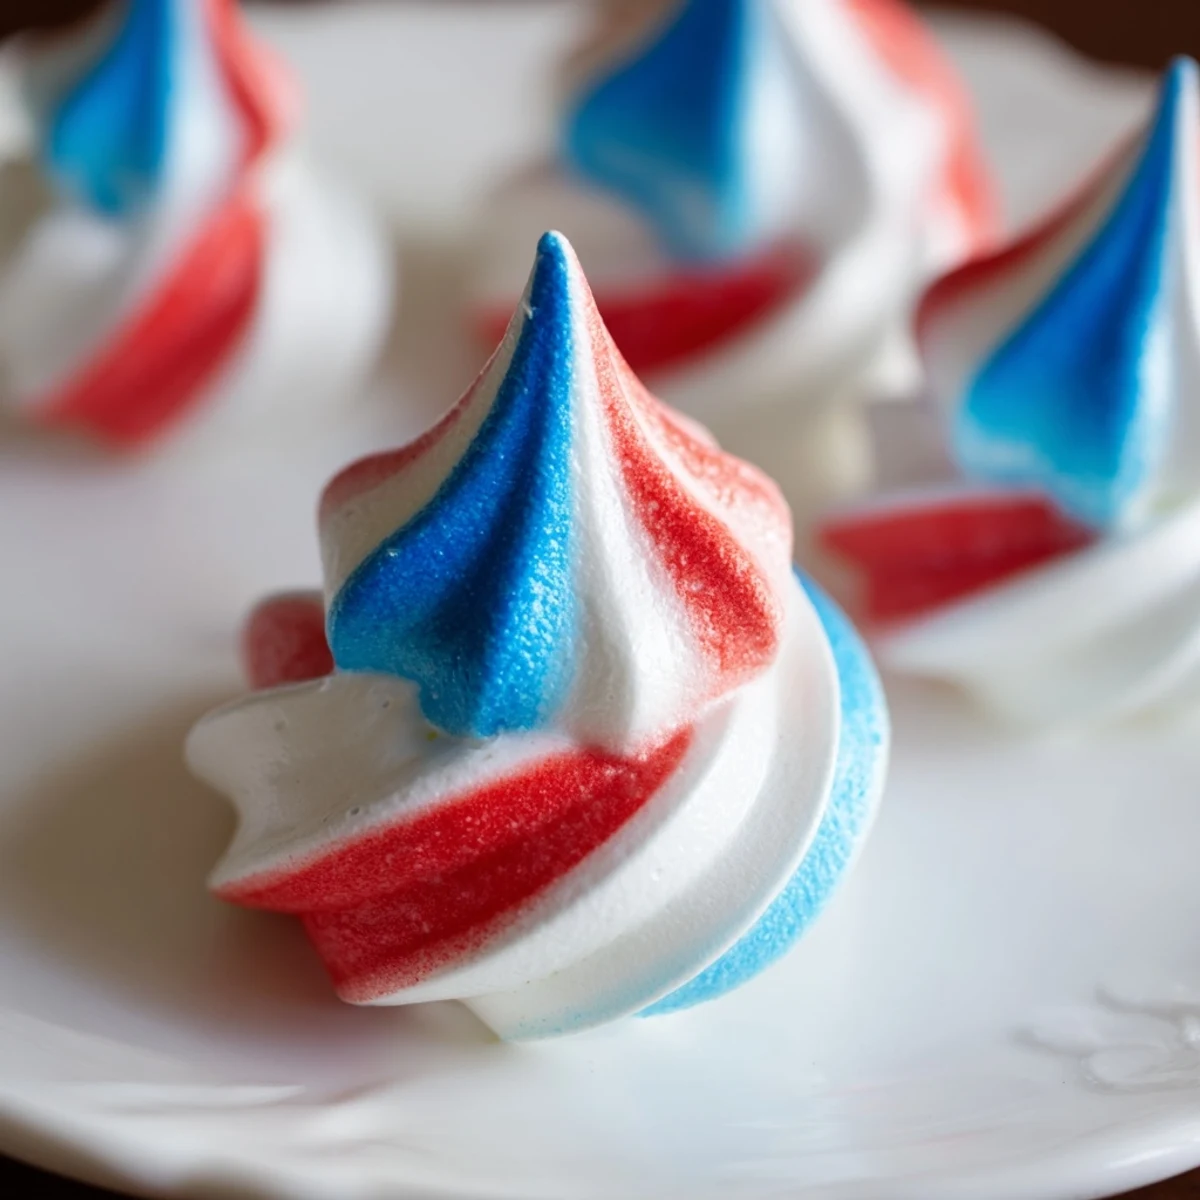
There's a certain hush in the kitchen just before you begin whipping egg whites—like the room itself is holding its breath. The first time I tried making these patriotic meringue kisses, I found myself transfixed by the glossy swirls that slowly formed, promising crisp sweetness. It's not just the colors that make them festive—it's the way they almost dissolve on your tongue, both airy and celebratory. Sometimes, the satisfaction of mastering a simple, showy dessert just brightens the whole day.
One Fourth of July, my niece wandered in with sparkler-smudged hands, eager to help pipe the colorful mounds. We both giggled when our first few meringues turned out adorably lopsided, but she declared them "the happiest mess" and insisted on sampling the evidence. Turns out, nobody complained about imperfect kisses as fireworks crackled outside. It's a favorite memory of making something beautiful simply for fun, no perfection required.
Ingredients
- Egg Whites: Letting them warm to room temperature made all the difference in volume and structure.
- Granulated Sugar: Adding it gradually keeps the meringue silky and prevents grittiness.
- Cream of Tartar: A pinch steadies the meringue, so don't skip it—it's like training wheels for egg whites.
- Salt: Just enough to sharpen the flavors and enhance the sweetness without overwhelming.
- Vanilla Extract: This subtle note rounds out the sugar with a cozy aroma I never skip.
- Red & Blue Gel Food Coloring: Gel colors give brighter, bolder stripes without thinning the mixture.
Instructions
- Set the Stage:
- Preheat the oven to 200°F and arrange parchment paper on your baking sheets; the gentle hum of the oven sets the mood for careful baking.
- Whip the Whites:
- In a spotless mixing bowl, combine egg whites and cream of tartar, then whisk until delicate soft peaks curl at the tips like ocean waves.
- Sweeten and Shine:
- Add sugar a spoonful at a time, listening to the grains dissolve as you beat the mixture to stiff, glossy peaks.
- Final Touch:
- Fold in salt and vanilla until just blended; pause to breathe in that dreamy aroma.
- Paint and Prep:
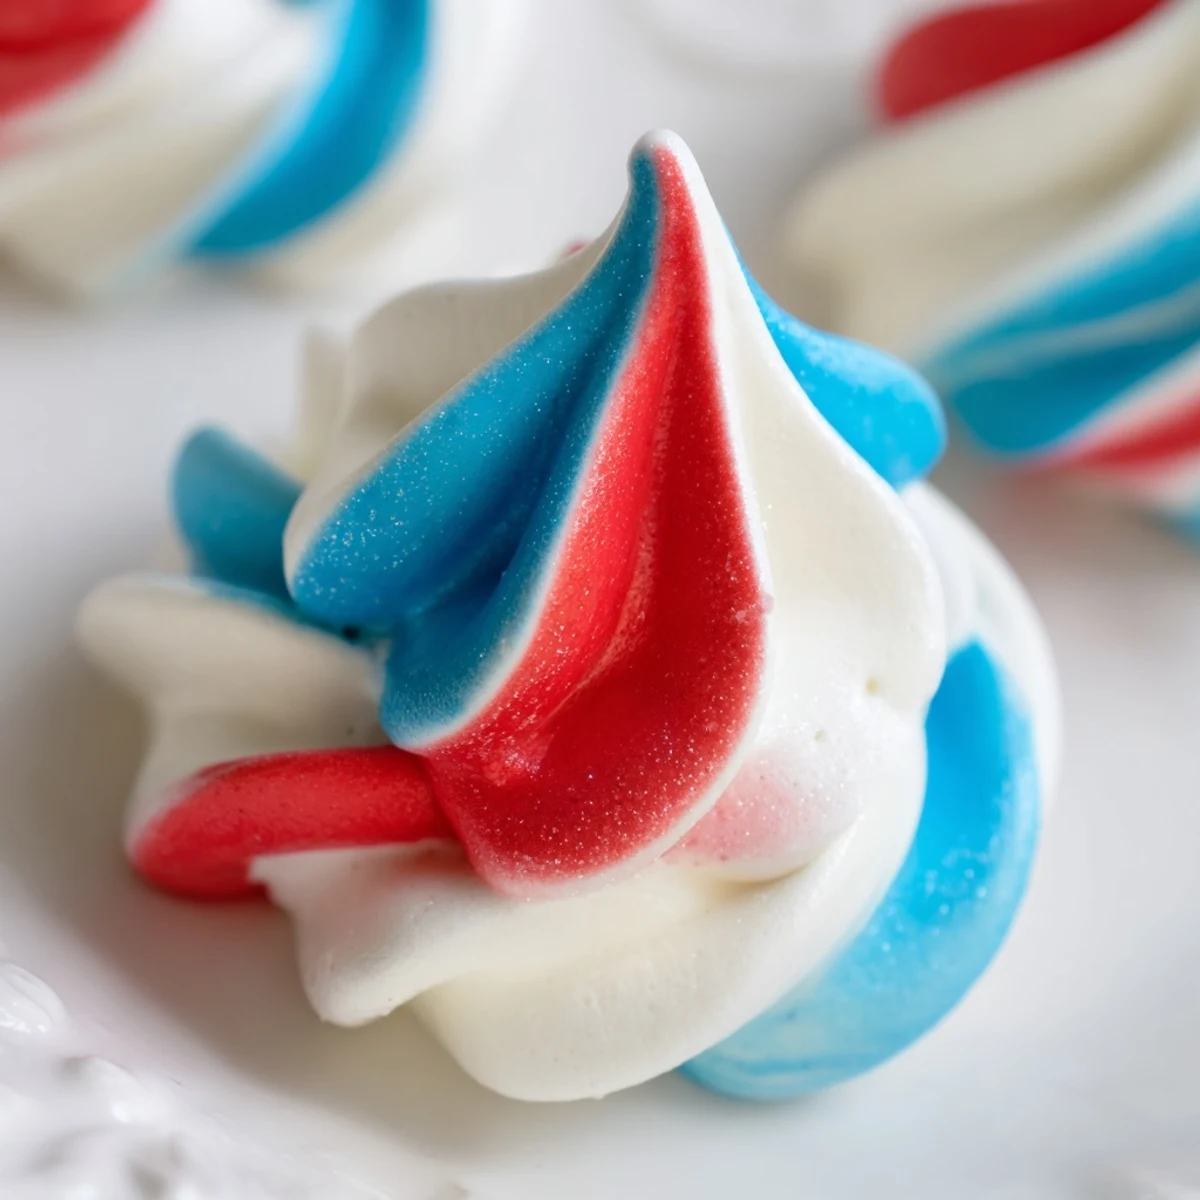
- Use a food-safe brush to swipe red and blue stripes inside the piping bag, leaving a space so some meringue stays white—think of it as edible fireworks.
- Fill the Bag:
- Spoon the meringue gently into your striped bag, doing your best not to muddle those bright streaks.
- Shape the Kisses:
- Pipe out cheerful little mounds onto the baking sheets, spacing them out so they don't crowd each other while baking.
- Bake and Rest:
- Bake for 1 hour 15 minutes, savoring the sweet smell; let cool completely in the oven with the door closed for perfect crispness.
- Release and Store:
- Peel meringues gently from the paper and stash away in an airtight container (if they last that long).
 Save
Save Sharing these at a backyard picnic, someone always asks if they're store-bought—then their eyes go wide when I say, "Nope, just a little kitchen magic." Watching meringue disappear in a snap beats any store treat, hands down.
Getting That Signature Swirl
Brushing gel color directly inside the piping bag felt intimidating at first, but it transformed each kiss into a mini work of art. If you want crisp definition between the colors, resist the urge to overfill the bag, and keep the stripes bold and generous. I've learned to rotate the bag slightly as I pipe for an extra touch of drama.
Party-Ready Planning
If you're prepping ahead, bake these a day or even two before your event—just seal them tightly once cool. I've popped extra kisses in cello bags as favors and tucked them in picnic baskets. They don't mind a humid day, as long as they stay sealed and away from sticky hands.
Easy Cleanup Wins
Make sure every bowl and beater is squeaky clean—I've learned even a smudge of grease thwarts the whole batch. Avoid plastic bowls which can trap oil; glass and metal are your safest bet. The parchment paper isn't just for nonstick, it makes peeling off delicate kisses a breeze.
- Use the food coloring sparingly at first—gel goes a long way.
- Let extra meringue sit a moment if you get interrupted—it holds up well.
- Let your kisses cool completely before moving for best crunch.
 Save
Save These bright little kisses are a burst of joy at any gathering and a secret confidence boost for any home baker. Make them once and you'll find reasons to swirl up another batch, whatever the season.
Recipe FAQs
- → How do I achieve stiff, glossy peaks?
-
Start with room-temperature egg whites and a grease-free bowl. Add cream of tartar to stabilize, then beat at medium-high speed. Add sugar tablespoon by tablespoon and continue beating until the mixture holds stiff, glossy peaks.
- → Why is cream of tartar used?
-
Cream of tartar helps stabilize the egg whites, promoting volume and preventing them from collapsing so the meringues dry crisp instead of weeping or becoming dense.
- → Can I use powdered or caster sugar instead?
-
Fine caster sugar dissolves quickly and works well; powdered sugar contains starch which can affect texture. Granulated sugar added gradually and beaten until dissolved gives the best glossy structure.
- → How do I get clear red and blue stripes?
-
Use concentrated gel food coloring and paint thin stripes inside a clean piping bag with a small, food-safe brush. Spoon the meringue in gently to avoid smudging the stripes, then pipe without overworking the bag.
- → What is the best way to store meringue kisses?
-
Keep them in an airtight container at room temperature away from humidity. Properly dried meringues stay crisp for up to five days; avoid refrigeration which can introduce moisture and soften them.
- → Can I make larger kisses or change colors?
-
Yes—pipe larger mounds for bigger cookies and increase bake time slightly, checking for dryness. Swap the gel colors to match other holidays or events; bolder colors may need less blending when piping.
