 Save
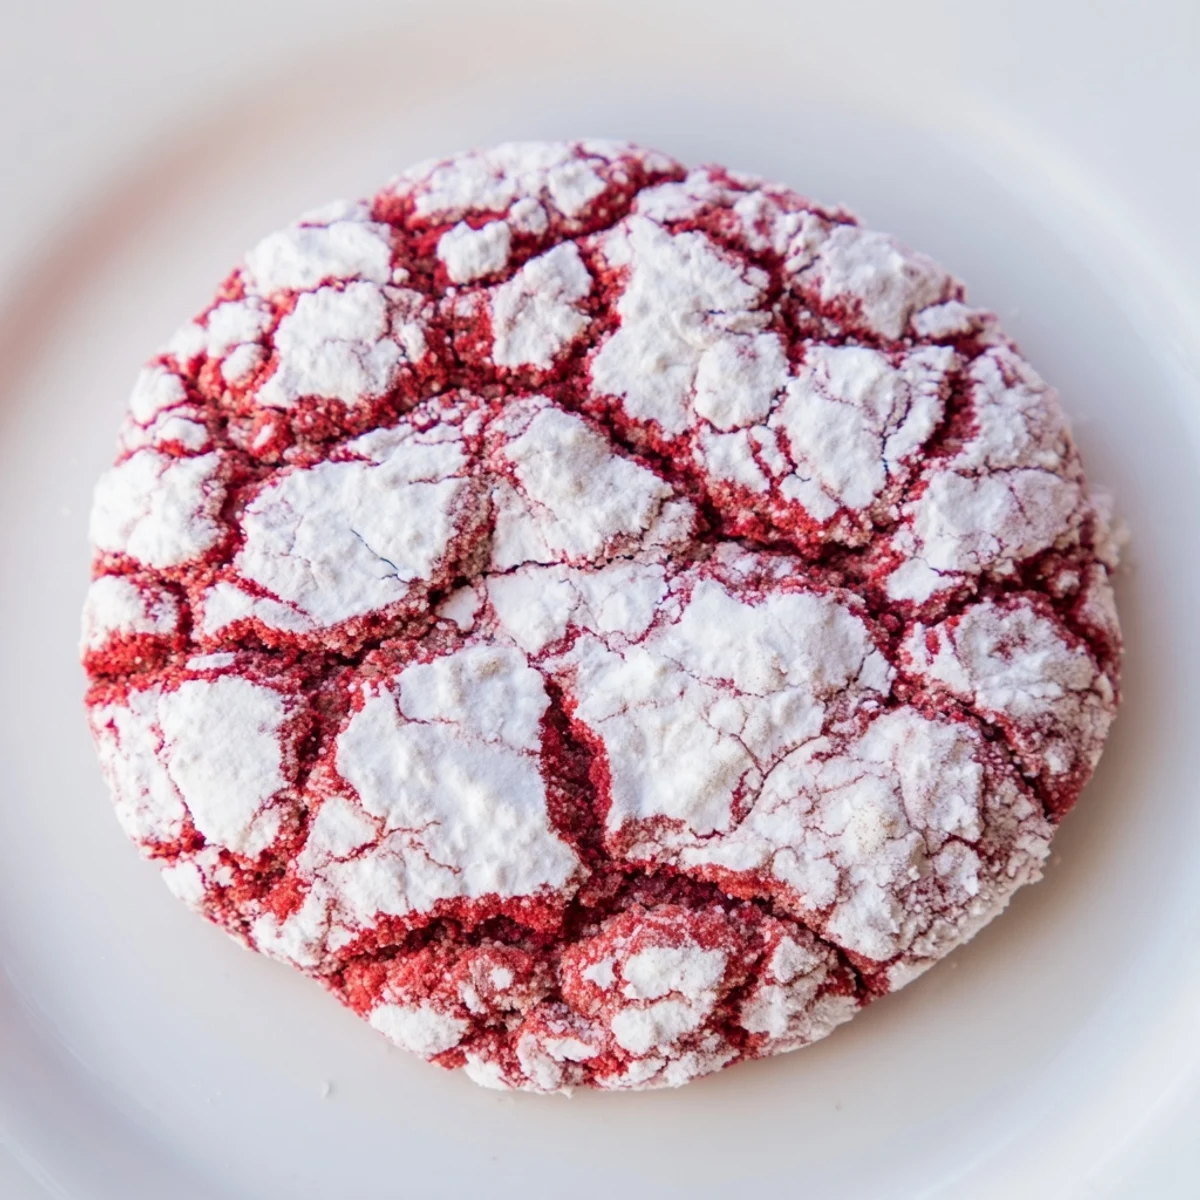
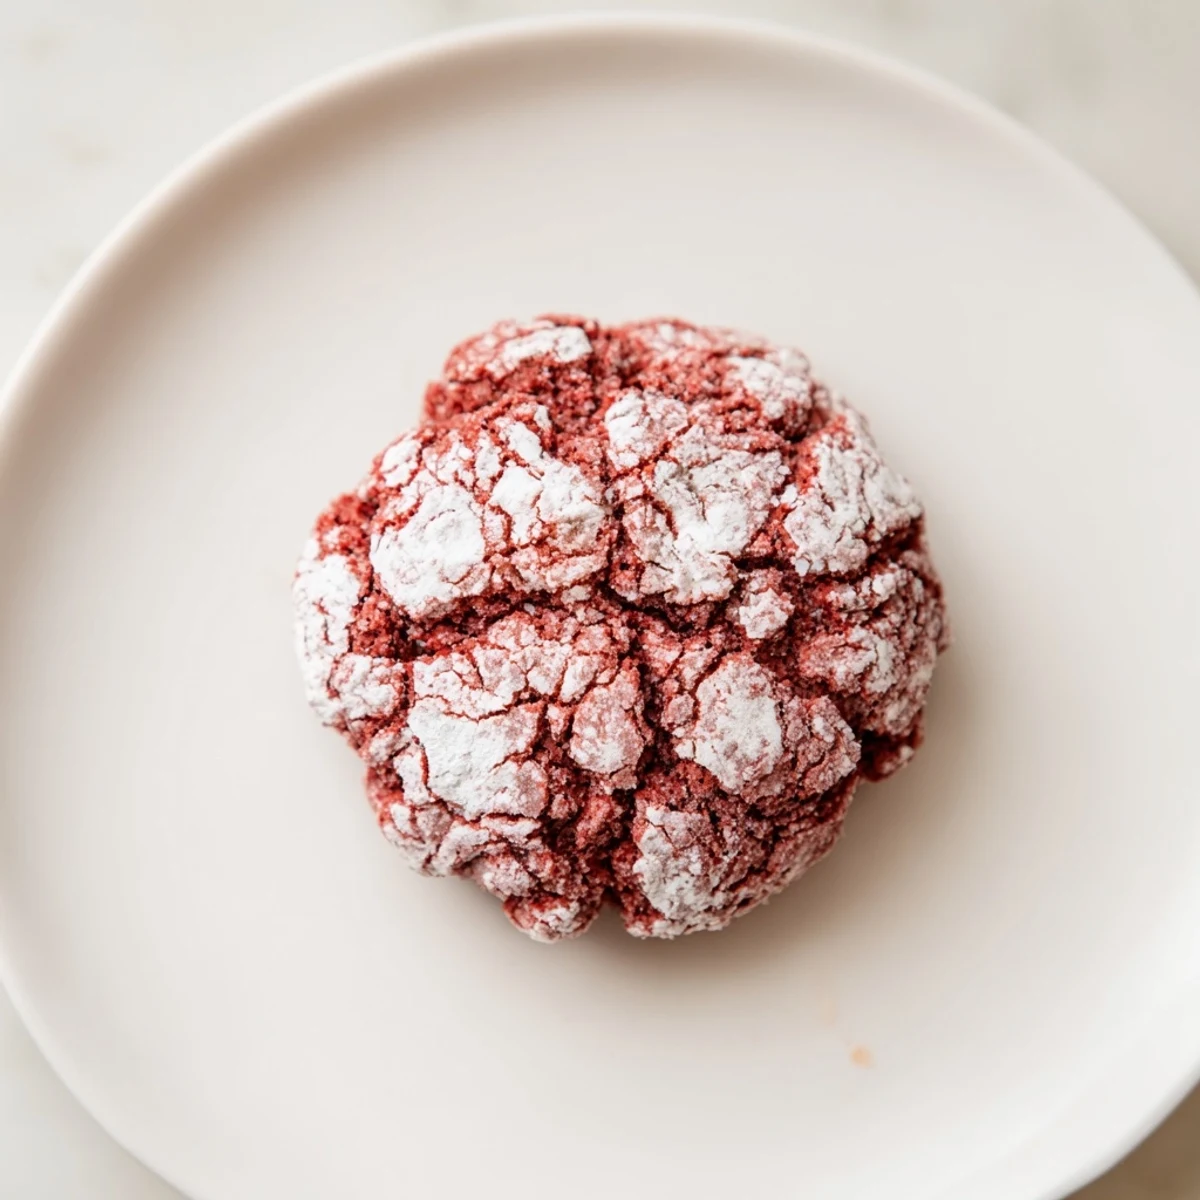
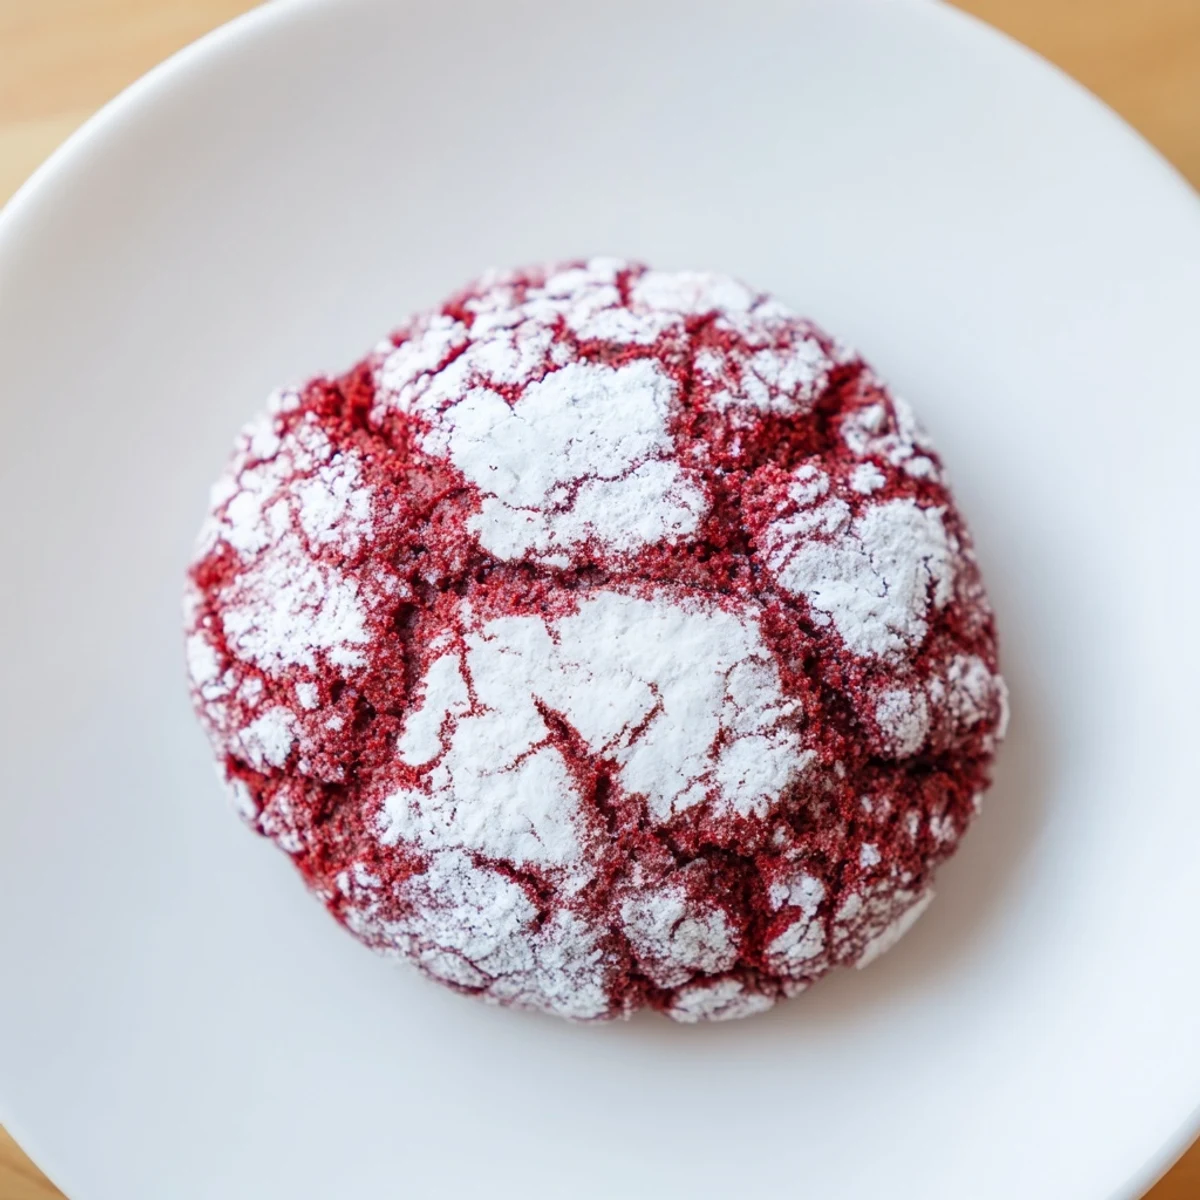
Save These red velvet crinkle cookies offer a soft and chewy texture with a subtle cocoa flavor. The dough, gently chilled before baking, is rolled in powdered sugar for a festive cracked finish that’s perfect for holidays or anytime a sweet treat is desired. Easy to prepare, these cookies provide a delightful balance of rich color and tender crumb.
The first time I made red velvet crinkle cookies, my kitchen looked like a crime scene. Red food coloring was everywhere, but when those cookies came out of the oven with their dramatic white cracks against deep red dough, I knew every speck of mess was worth it. These cookies have this magical way of looking impressive while actually being incredibly straightforward to make.
I brought a batch to my office cookie exchange last year, and honestly, they were gone before I could even grab one for myself. Three different coworkers asked for the recipe, which is basically the highest compliment a cookie can receive. Now they are my go to when I need something that looks like I tried harder than I actually did.
Ingredients
- Flour: All purpose gives the perfect structure, just measure it by weight if you can for consistent results
- Cocoa powder: Unsweetened adds that subtle chocolate undertone that makes red velvet so distinctive
- Baking powder and baking soda: This duo gives the cookies their rise and those signature cracks
- Salt: Do not skip it, it balances the sweetness and enhances the cocoa flavor
- Unsalted butter: Room temperature butter creams beautifully and creates the ideal cookie texture
- Granulated sugar: Creaming this with butter creates air pockets for a lighter texture
- Eggs: Room temperature eggs incorporate better and help bind everything together
- Vanilla extract: Pure vanilla makes such a difference in baked goods
- Red food coloring: Gel coloring gives the most vibrant red, but liquid works too
- White vinegar: This might seem odd, but it reacts with the cocoa and enhances the red color
- Powdered sugar: Rolling the dough balls in this creates the snow white crinkled exterior
Instructions
- Preheat and prep:
- Set your oven to 350°F and line two baking sheets with parchment paper so nothing sticks
- Whisk the dry ingredients:
- In a medium bowl, combine the flour, cocoa powder, baking powder, baking soda, and salt until well blended
- Cream the butter and sugar:
- Beat the softened butter and granulated sugar for about 2 to 3 minutes until the mixture looks light and fluffy
- Add the eggs:
- Add eggs one at a time, beating thoroughly after each one, then mix in the vanilla, red food coloring, and vinegar
- Combine everything:
- Gradually stir in the dry ingredients just until you no longer see streaks of flour
- Chill the dough:
- Cover the bowl and refrigerate for at least 30 minutes, up to 2 hours, so the dough is easier to handle
- Roll in sugar:
- Scoop tablespoon sized portions, roll them into balls, then coat each one generously in powdered sugar
- Bake:
- Place the sugar coated balls 2 inches apart on your prepared sheets and bake for 11 to 13 minutes until edges are set
- Cool completely:
- Let them sit on the baking sheet for 5 minutes before moving them to a wire rack to cool down
 Save
Save My niece now asks for these every time she visits, and she has started helping me roll the dough balls in powdered sugar. It has become our little baking tradition, complete with red stained fingers and powdered sugar on our noses. Some of my favorite memories happen in that messy, happy kitchen space.
Getting That Perfect Crinkle
The crinkle effect happens because the powdered sugar coating sets slightly before the dough spreads in the oven. If your kitchen is particularly warm, you might need to chill the dough balls after rolling them in sugar too. I learned this the hard way during a summer baking session when my cookies came out looking more pink than striking.
Color Variations
While traditional red velvet is classic, you can absolutely play with the food coloring to match different occasions or holidays. I have made these in green for Christmas, pastel colors for spring, and even a deep blue for a birthday. Just remember that gel food coloring will give you more vibrant results with less liquid, which can affect your dough consistency.
Make Ahead and Storage
You can prepare the dough up to 2 days in advance and keep it refrigerated until you are ready to bake. I often do this when I am hosting, then bake fresh cookies right before guests arrive so the house smells amazing. The baked cookies stay fresh in an airtight container for up to 5 days, though they rarely last that long in my house.
- Freeze scooped dough balls on a baking sheet first, then transfer to a bag for longer storage
- Brush excess powdered sugar off cooled cookies before storing to prevent them from getting soggy
- Baked cookies freeze beautifully for up to 3 months if you want to get ahead for holidays
 Save
Save There is something so satisfying about pulling a tray of these from the oven and seeing those perfect cracks appear. Hope they become as loved in your kitchen as they are in mine.
Recipe FAQs
- → What gives these cookies their red color?
-
The vibrant red hue comes from red food coloring added to the dough, creating the signature look of these treats.
- → Why are the cookies rolled in powdered sugar?
-
Rolling the dough balls in powdered sugar before baking creates the distinctive crinkled surface and adds a touch of sweetness.
- → Can these cookies be made gluten-free?
-
To make them gluten-free, substitute the all-purpose flour with a suitable gluten-free flour blend, ensuring similar texture and structure.
- → How can I keep the cookies soft?
-
Allow the cookies to cool on the baking sheet for a few minutes after baking, then store them in an airtight container to maintain softness.
- → Is it possible to add mix-ins to the dough?
-
Yes, you can fold in white chocolate chips or nuts to enhance texture and flavor according to your preference.
