 Save
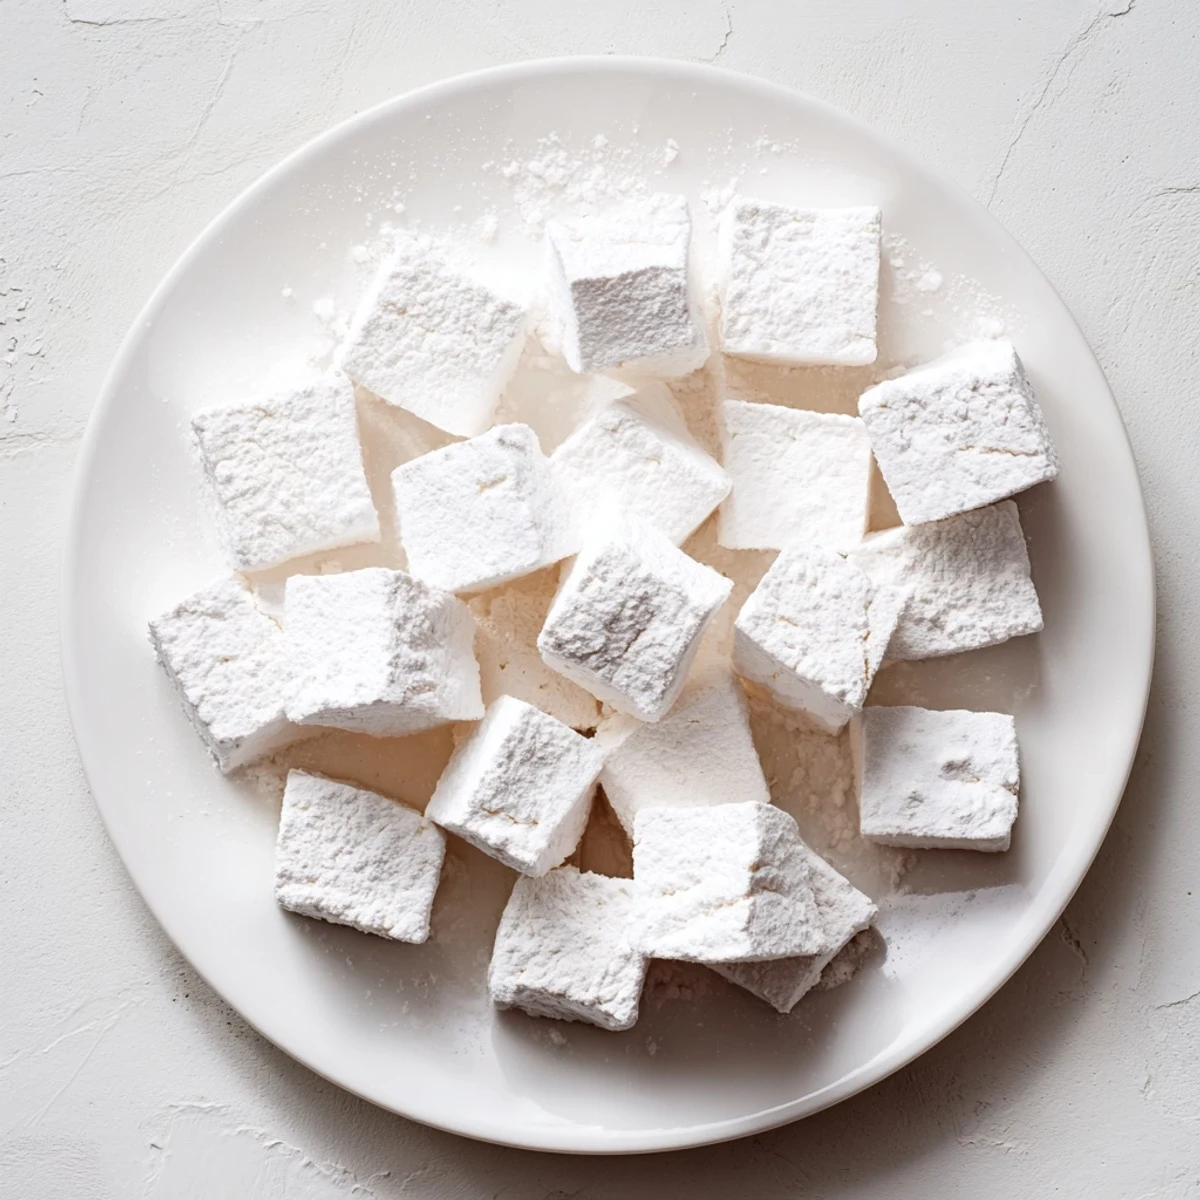
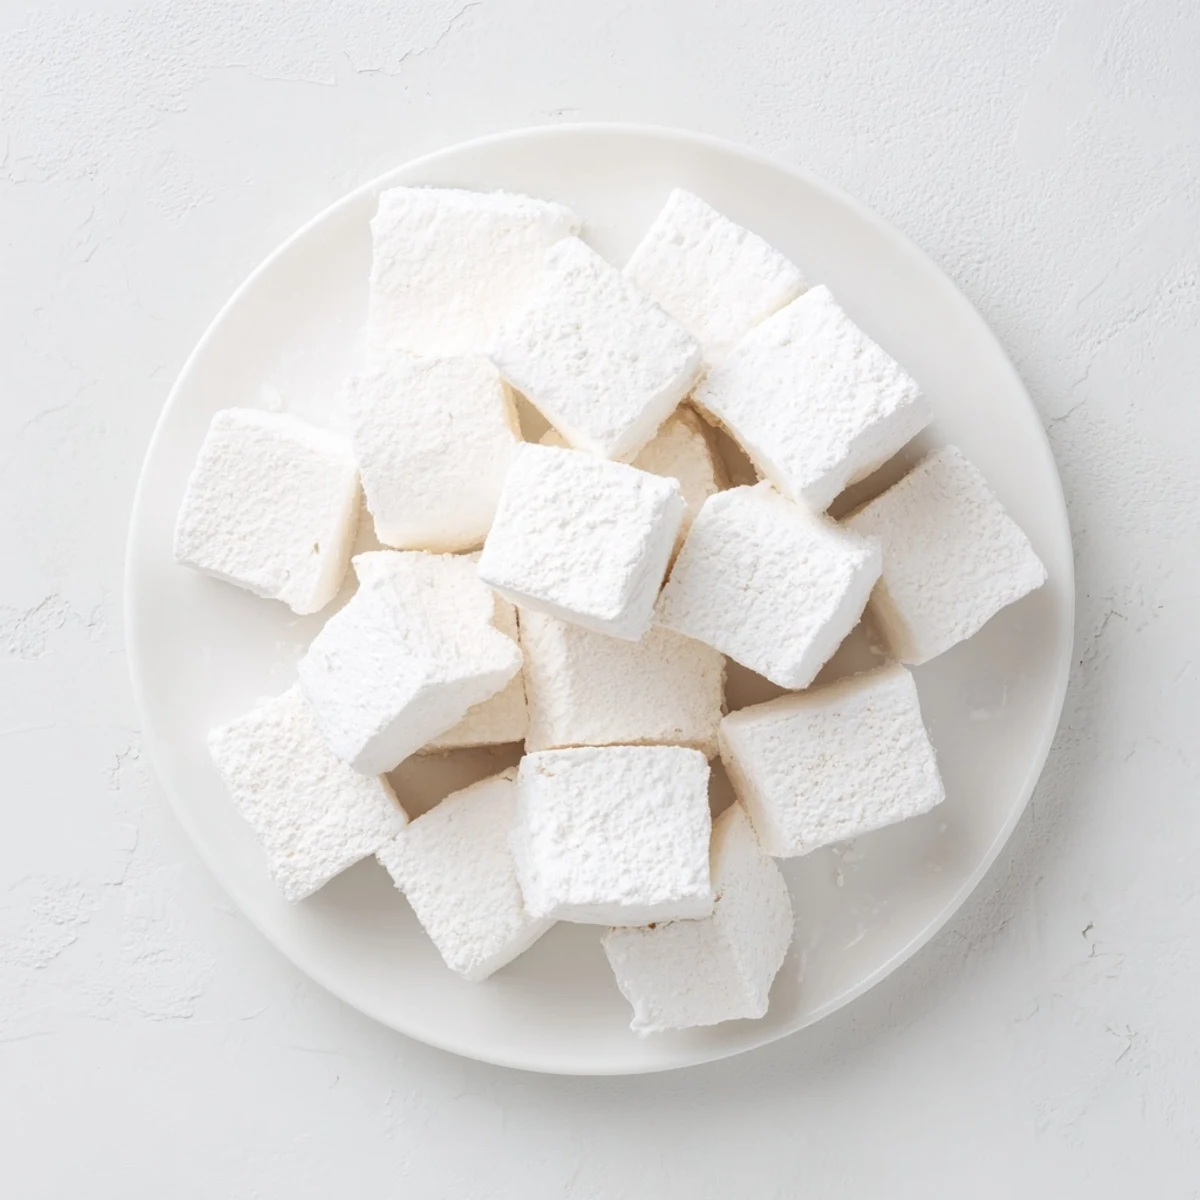
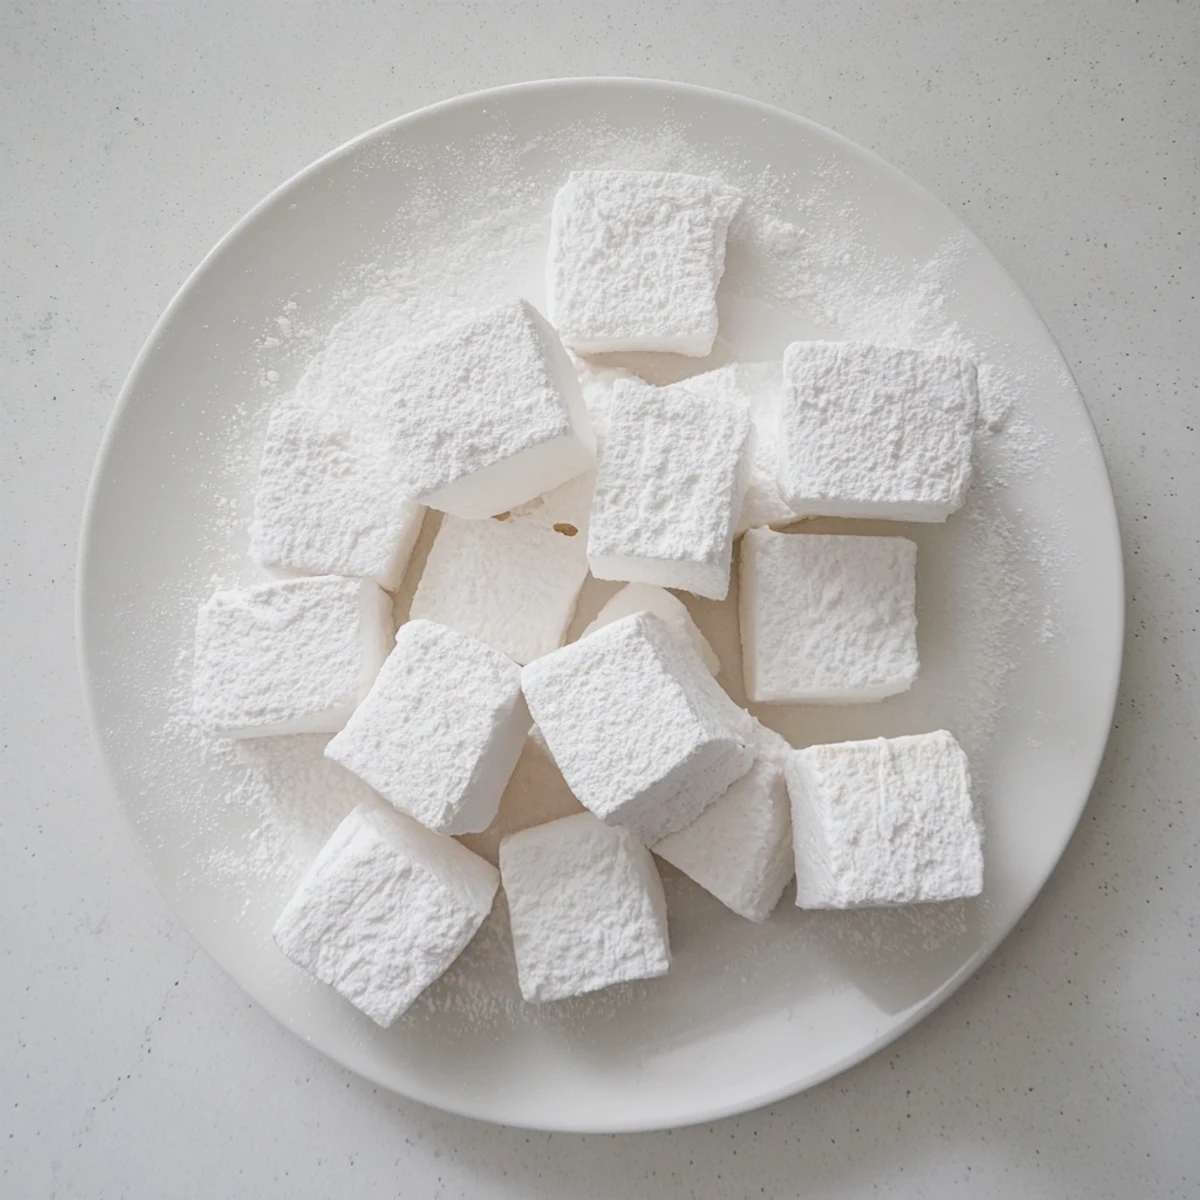
Save Craft irresistibly soft, pillowy marshmallows with a delicate vanilla essence using just sugar, corn syrup, gelatin, and pure vanilla extract. This straightforward technique produces fluffy, white clouds of sweetness that triple in volume during whipping. After setting for four hours or overnight, these homemade treats surpass store-bought versions in texture and fresh flavor. Dust with powdered sugar and cornstarch for the perfect coating, then cut into squares for snacking, dropping into hot chocolate, or toasting over a campfire for classic s'mores.
The first time I made homemade marshmallows, I stood there watching the mixer whip what looked like pure magic—this glossy, white cloud growing bigger by the second until it threatened to climb right out of the bowl. My kitchen smelled like warm sugar and vanilla, and I honestly could not believe that something this ethereal could come from such simple ingredients. Now I keep a stash in my pantry year round, because once you have had the real thing, the store bought version just tastes like sadness in a bag.
Last winter, my neighbor came over shivering from a walk in the snow, and I dropped two of these into a mug of steaming milk with a square of dark chocolate. She took one sip and looked at me like I had just revealed a secret that should have been shared years ago. Now every time it snows, there is a knock on my door.
Ingredients
- Granulated sugar: The foundation of your syrup, and do not even think about reducing it—sugar science is real here
- Light corn syrup: Prevents crystallization and keeps your marshmallows soft instead of turning into hard candy
- Unflavored gelatin: The magic ingredient that transforms liquid sugar into that fluffy, pillow like texture we all love
- Vanilla extract: Use the real stuff—imitation vanilla can taste sharp and artificial in something this delicate
- Confectioners sugar and cornstarch: This dusting mixture keeps the marshmallows from sticking to everything including themselves
Instructions
- Prepare your pan:
- Line a 9x9 inch pan with parchment paper and dust it generously with half of your confectioners sugar and cornstarch mixture, making sure to coat the sides completely
- Bloom the gelatin:
- Combine the gelatin with cold water in your stand mixer bowl and let it sit for at least 10 minutes—it will absorb the water and become firm
- Make the sugar syrup:
- Combine sugar, corn syrup, water and salt in a saucepan and stir gently over medium heat until the sugar dissolves completely
- Reach the right temperature:
- Stop stirring once dissolved, increase heat to bring it to a boil, and cook until it reaches exactly 240°F on your candy thermometer
- Combine and whip:
- With the mixer running on low, carefully pour that dangerously hot syrup into the gelatin, then gradually increase to high speed and whip for 8 to 10 minutes until tripled in volume
- Add flavor and pour:
- Mix in the vanilla for 30 seconds, then work quickly to pour the mixture into your prepared pan and smooth the top with a damp spatula
- Set and cut:
- Dust the top with remaining sugar mixture, let it sit uncovered for at least 4 hours, then turn out onto a board and cut into squares with a sharp knife dusted with powdered sugar
 Save
Save My daughter helped me make peppermint versions for Christmas one year, and watching her dip sticky fingers into the bowl to taste test was exactly the kind of messy kitchen memory that sticks with you. We gave them away in little mason jars with red ribbon, and people acted like we had handed them gold.
Getting the Texture Right
The difference between okay marshmallows and incredible ones comes down to whipping time—under whip and they are dense, over whip and they turn into something strange and stretchy. Watch for that glossy, stiff peak stage where the mixture holds its shape beautifully.
Flavor Variations
Beyond vanilla, try peppermint extract for holiday marshmallows, almond extract for something nutty and sophisticated, or even a tablespoon of espresso powder dissolved in a bit of water for mocha marshmallows that are insane in coffee. A few drops of food coloring when you add the extract makes them feel extra special.
Storage and Serving Ideas
These keep for a week in an airtight container, though I have never seen them last that long in my house. They are perfect for s'mores, obviously, but also try toasting them briefly under the broiler until golden and sandwiching them between chocolate cookies.
- Dust your knife with powdered sugar between cuts for cleaner edges
- Let the marshmallows sit overnight if possible—they cut much more cleanly when fully set
- Save the leftover sugar cornstarch mix for coating cut pieces
 Save
Save There is something deeply satisfying about making something from scratch that most people only know from a plastic bag. These marshmallows taste like effort and love, and honestly, that is the best ingredient of all.
Recipe FAQs
- → How long do homemade marshmallows take to set?
-
Allow marshmallows to set at room temperature for a minimum of 4 hours, though overnight resting produces the best texture. The slab should feel firm and dry to the touch before cutting.
- → Can I make marshmallows without a stand mixer?
-
A stand mixer is highly recommended as the mixture whips for 8-10 minutes and becomes very thick. Hand mixers may overheat, though some cooks succeed with them by taking breaks. The volume triples, requiring significant mixing power.
- → What temperature should the sugar syrup reach?
-
Cook the sugar syrup until it reaches exactly 240°F (115°C) on a candy thermometer. This soft-ball stage temperature ensures proper structure without making marshmallows too hard or sticky.
- → How should I store leftover marshmallows?
-
Keep cut marshmallows in an airtight container at room temperature for up to 1 week. Layer between parchment paper to prevent sticking. Avoid refrigeration as moisture makes them sticky.
- → Can I substitute the vanilla extract?
-
Yes! Replace vanilla with peppermint extract for holiday treats, almond extract for nutty notes, or add fruit extracts like strawberry or raspberry. Add food coloring with the extract for vibrant homemade marshmallows.
- → Why must I dust the pan and marshmallows with sugar and cornstarch?
-
The confectioners' sugar and cornstarch mixture prevents the sticky marshmallow from adhering to the pan, knife, or your hands. This coating is essential for clean cuts and easy handling throughout the process.
