 Save
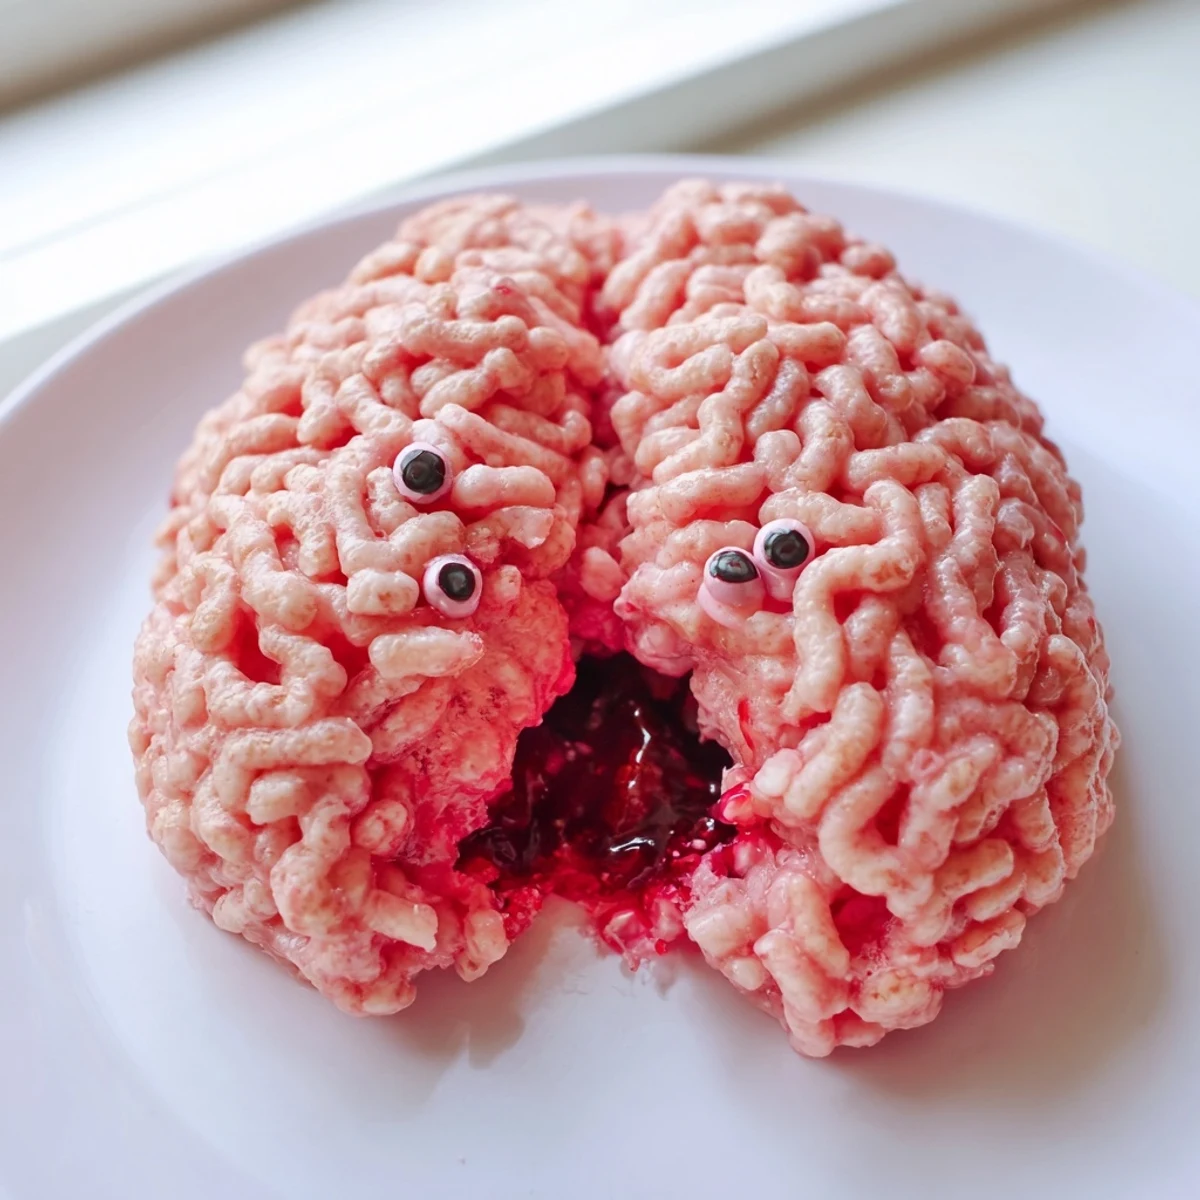
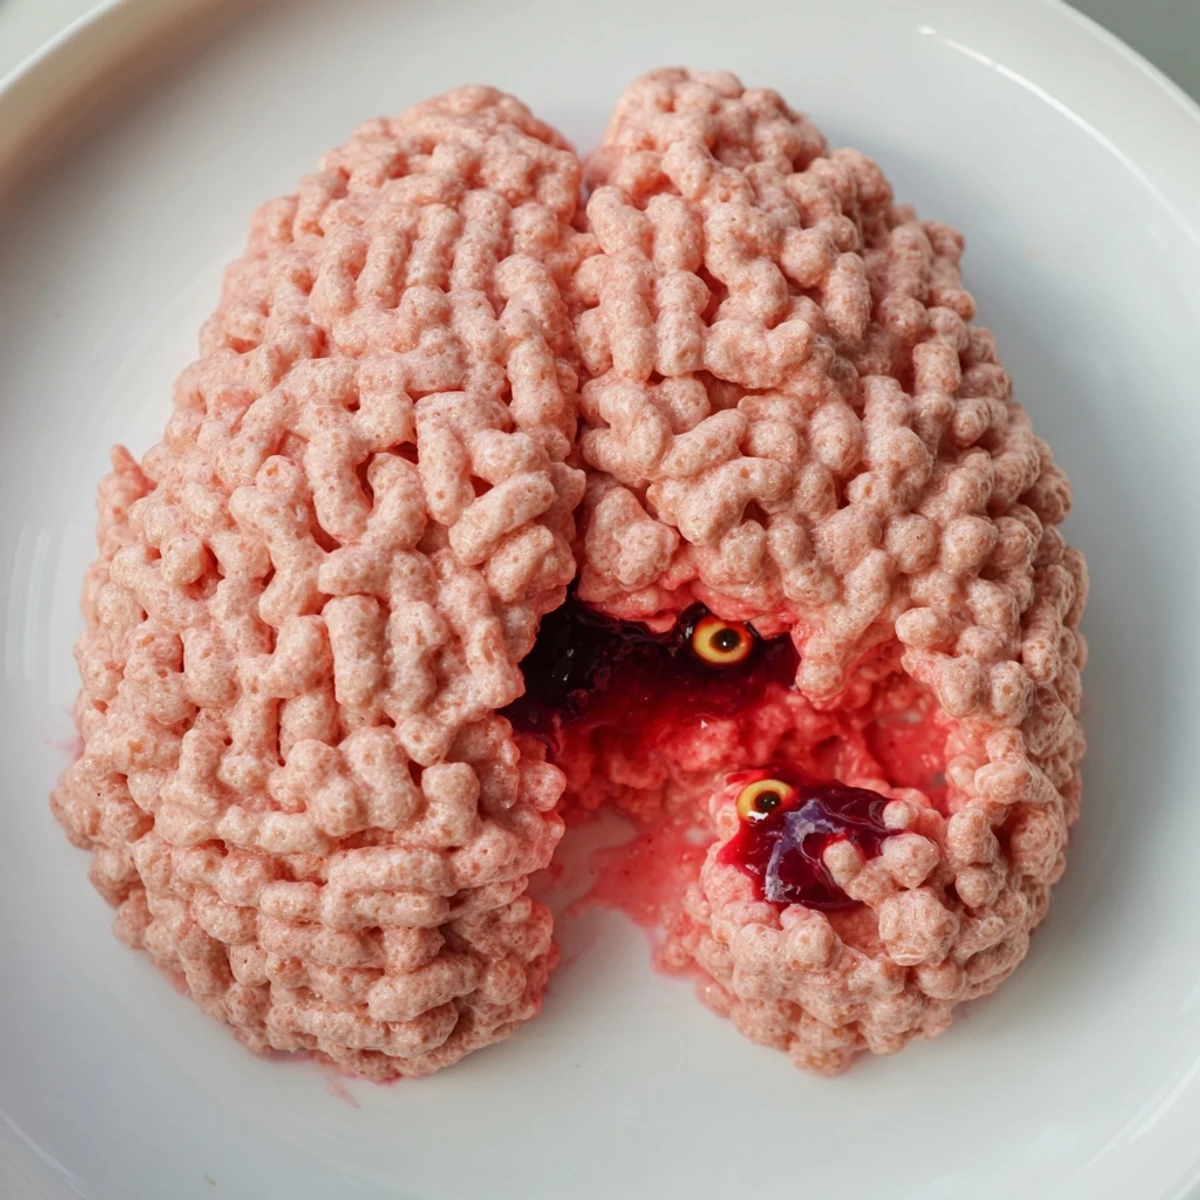
Save This delightfully creepy Halloween dessert transforms classic crispy rice treats into an edible brain shape with a surprise gooey berry filling inside. The marshmallow-coated cereal gets a pinkish brain-like hue before being pressed around a center of raspberry or strawberry jam that oozes out dramatically when sliced.
Ready in about 40 minutes, this spooky dessert yields eight servings and offers room for creative customization through optional food coloring details, candy eyes, and sprinkles. The combination of crispy, chewy exterior and sweet, tangy berry filling creates a fun texture contrast that party guests will love.
The year my youngest decided Halloween should be a three month event, I found myself crafting this bizarre creation on a humid September afternoon. My kitchen counter looked like a mad science experiment gone wrong, with streaks of red food coloring everywhere and sticky marshmallow strings connecting random objects. Something about squeezing warm cereal mixture into brain cavities felt surprisingly therapeutic, like playdough for adults who needed an excuse to embrace their weird side. That first brain came out lopsided and barely recognizable, but when we sliced it open and the red jam oozed onto the plate, my daughter let out the most delighted horrified scream Ive ever heard.
Last October, I brought this to a neighborhood potluck where most contributions were charming pumpkin cookies and elegantly decorated cupcakes. My brain sat on its platter looking vaguely medical and entirely out of place among the autumn themed treats. I watched people circle it nervously until one brave soul took the first slice and suddenly everyone was crowding around, phones out, demanding to know how I made something so delightfully grotesque. The hostess emailed me the next day asking for the recipe, because apparently nothing gets dinner guests quite as excited as eating something that looks like it belongs in a laboratory specimen jar.
Ingredients
- Crispy rice cereal: The classic choice creates the perfect crunch, though generic versions work just fine if you are feeding a crowd on a budget
- Unsalted butter: Salted butter works too, but controlling the salt level yourself lets the sweet berry filling shine without competing flavors
- Mini marshmallows: They melt faster and more evenly than the large ones, creating that smooth, pliable texture you need for shaping
- Red or pink food coloring: Start with less than you think you need, you can always add more but you cannot undo that radioactive coral shade
- Raspberry or strawberry jam: Seedless varieties create the most disgustingly realistic oozing effect without awkward textural interruptions
- Seedless raspberry or strawberry coulis: This optional addition makes the filling runnier and more dramatic when sliced, though jam alone works perfectly well
- Additional food coloring for detailing: A small clean paintbrush dedicated to food use lets you paint in those satisfyingly gross brain ridge details
- Candy eyes or sprinkles: These turn your anatomical model into a character, which somehow makes it both sillier and more appetizing simultaneously
Instructions
- Prepare your brain mold:
- Line a medium mixing bowl with plastic wrap, letting generous overhang drape over all sides so you can lift the finished brain out later without tearing it apart.
- Melt the butter:
- Warm it in a large saucepan over medium heat until it foams slightly, then dump in the entire bag of mini marshmallows before the butter starts browning.
- Create the marshmallow base:
- Stir constantly until the marshmallows completely disappear into a smooth, glossy pool, then add food coloring one drop at a time until you reach that unsettling fleshy pink that looks just wrong enough to work.
- Mix in the cereal:
- Pour in the cereal and fold it gently until every piece is coated, then let it cool for a few minutes until you can touch it without burning your fingers.
- Form the brain cavity:
- Press buttered hands into the mixture and shape half of it into your prepared bowl, working up the sides to create a hollow shell with thick, even walls.
- Add the bloody filling:
- Spoon your jam and coulis into the center cavity, keeping it away from the edges so it does not leak through the cereal walls prematurely.
- Seal the brain:
- Cover the filling with the remaining cereal mixture, pressing firmly to seal edges and shape the whole thing into a vaguely brain like oval with two rounded hemispheres.
- Set the structure:
- Let it cool completely at room temperature for at least twenty minutes, though thirty gives you a firmer brain that holds its shape better when unmolding.
- Add the finishing touches:
- Invert onto your serving plate and peel away the plastic wrap, then use food coloring and a small brush to paint in squiggly lines that suggest brain folds and crevices.
- Serve the spectacle:
- Slice through the brain in front of your guests and watch their faces as the red berry center slowly oozes out onto the serving plate.
 Save
Save My usually composed husband actually giggled like a child when he saw the first slices revealing their red centers, and now requests this every October regardless of whether we are hosting anyone. It has somehow become the thing our friends look forward to most at Halloween parties, with people actually asking weeks in advance if the brain will make an appearance. There is something uniquely satisfying about serving food that makes people simultaneously uncomfortable and delighted to eat it.
Mold Selection
While a lined mixing bowl creates perfectly passable brains, an actual brain shaped mold takes this from fun to disturbingly realistic. I have found silicone molds work best because you can pop the finished brain out without damaging those precious ridge details you spent so much time perfecting. If you cannot find a brain mold specifically, two small rounded bowls pressed together can create the two hemisphere effect reasonably well.
Color Mastery
Gel food coloring produces those intense, slightly unsettling colors that liquid drops cannot achieve without making your mixture soggy. I keep separate small dishes of lighter and darker pinks handy, then dab them onto the finished brain with a clean paintbrush to create shadows and highlights that add depth. The goal is not perfectly realistic, but rather that sweet spot where guests recognize it immediately as a brain while still being willing to eat it.
Make Ahead Strategy
This recipe actually improves slightly when made a day ahead, giving the flavors time to meld and the texture to firm up nicely. Store it covered at room temperature rather than refrigerating, as cold crispy rice treats lose their appealing chewiness and become disappointingly hard. When you are ready to serve, a quick ten minute rest at room temperature brings back that perfect tender crunch.
- Wrap the unmolded brain tightly in plastic wrap if storing overnight, then peel it back just before serving
- A light spritz of cooking spray on the plastic wrap prevents any sticking to the detailed surface
- Never refrigerate this treat unless absolutely necessary, as condensation will make the cereal soggy and unappealing
 Save
Save However elaborate or simple you make it, this brain brings something genuinely delightful to any Halloween gathering. Watching guests hesitantly try their first bite then immediately reach for seconds is the kind of kitchen moment that makes cooking feel like magic.
Recipe FAQs
- → How do I achieve the brain-like coloring?
-
Add red or pink food coloring drop by drop to the melted marshmallow mixture until you reach a fleshy, brain-like hue. Gel food coloring provides more intense, realistic results than liquid coloring.
- → Can I make this treat gluten-free?
-
Yes, simply use certified gluten-free crispy rice cereal and verify that your marshmallows are gluten-free. The butter and jam are naturally gluten-free.
- → How far in advance can I prepare this Halloween dessert?
-
You can make the brain up to 24 hours ahead. Store covered at room temperature, then add any final decorative touches with food coloring just before serving for the freshest appearance.
- → What other fillings work well in this spooky treat?
-
Cherry preserves create a darker, more dramatic oozing effect. You could also use strawberry jam, mixed berry preserves, or even chocolate ganache for a different spooky presentation.
- → Do I need a special brain-shaped mold?
-
No, you can line a medium round bowl with plastic wrap and press the cereal mixture up the sides to create a brain cavity. A brain mold simply makes shaping easier but isn't required.
- → How do I prevent the cereal mixture from sticking to my hands?
-
Butter your hands thoroughly before pressing the cereal mixture into the mold. You can also lightly coat your hands with vegetable oil or cooking spray for easy handling.
