 Save
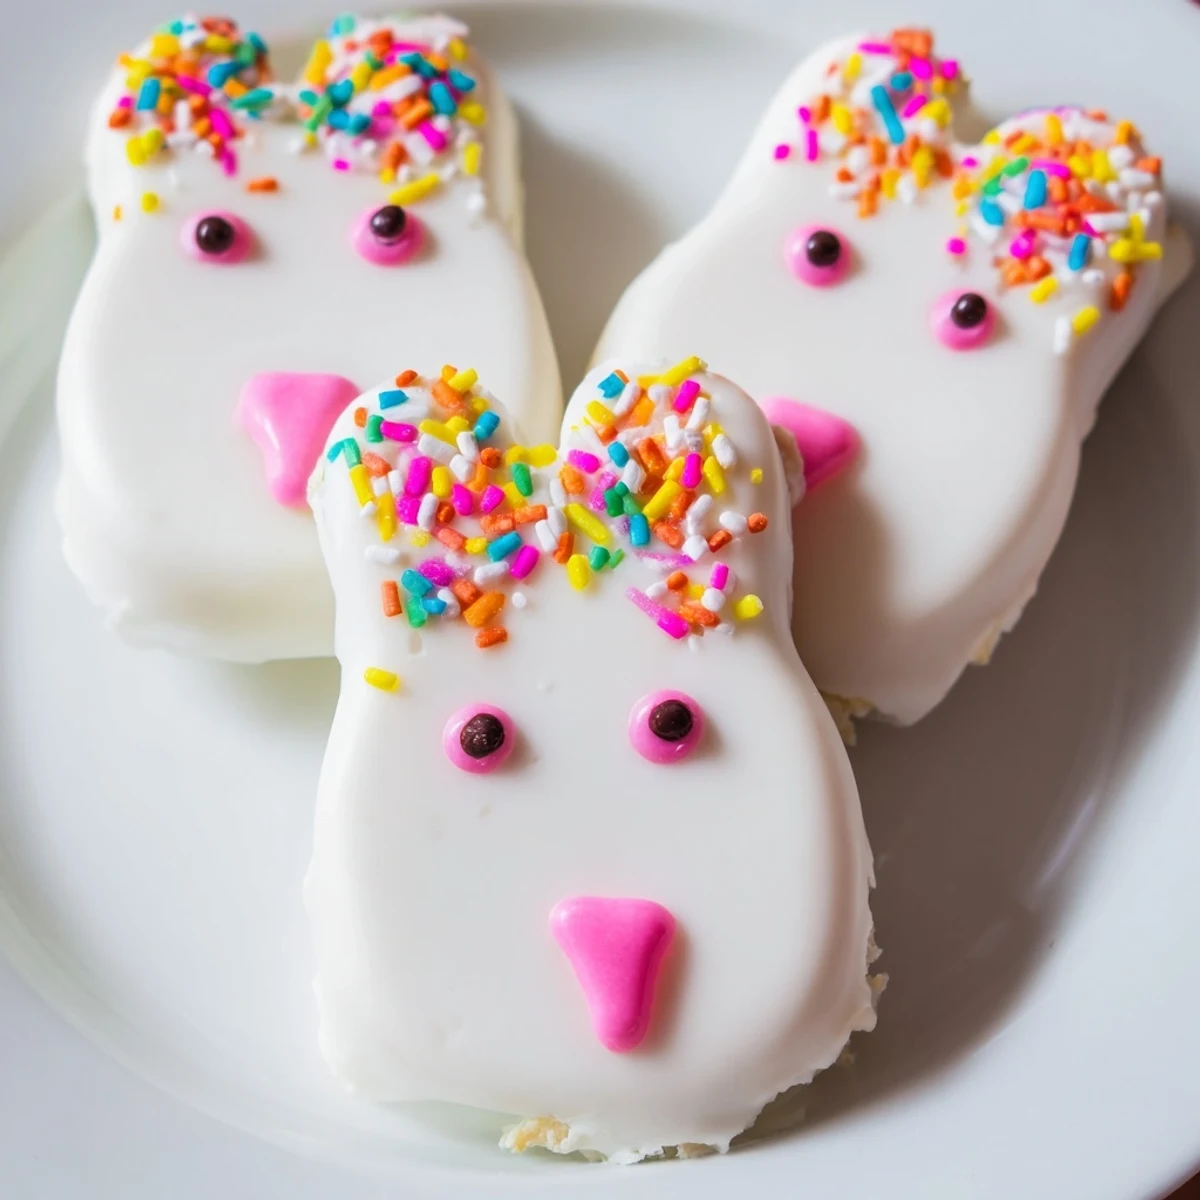
Save These delightful bunny-shaped treats combine moist vanilla cake crumbs with cream cheese frosting, dipped in luscious white chocolate and decorated with festive Easter embellishments. Perfect for spring celebrations, they're easier to make than they look and bring joy to any holiday table.
The dough-like cake mixture holds its shape beautifully when chilled, while the smooth white chocolate coating provides a satisfying crunch. Kids and adults alike will love customizing their bunny faces with candy eyes, pink noses, and colorful ears.
The first time I made these, I was scrambling for something cute to bring to my niece's Easter egg hunt. I had leftover vanilla cupcakes from a failed baking experiment the day before, and somewhere between measuring cream cheese and realizing I had zero proper molds, these bunny cakesicles were born. They disappeared faster than the actual eggs, and now my family requests them every spring.
Last year I set up a decorating station at our Easter brunch and let the kids go wild with candy eyes and pink food coloring. Some bunnies ended up with three eyes, one had bright green ears, and honestly, those lopsided, imperfect faces were the highlight of the entire day. The grownups were just as excited to decorate their own.
Ingredients
- Vanilla cake crumbs: Use leftover cake or cupcakes, either homemade or from a bakery, crumbled into fine pieces
- Cream cheese: Must be fully softened to blend smoothly into the cake mixture without lumps
- Unsalted butter: Softened butter helps bind everything together into a moldable dough
- Powdered sugar: Adds just enough sweetness to balance the cream cheese tang
- Vanilla extract: Pure extract gives the best flavor, but imitation works in a pinch
- White chocolate: High-quality melts or white chocolate bars coat evenly and set beautifully
- Edible gel food coloring: Use pink for bunny noses and ears, or any pastel colors you prefer
- Cakesicle sticks: Paper or wooden popsicle sticks work perfectly for holding these treats
- Sprinkles and decorations: Candy eyes, fondant pieces, or sprinkles make each bunny unique
Instructions
- Mix the cake base:
- Combine cake crumbs, softened cream cheese, butter, powdered sugar, and vanilla in a medium bowl. Mix with a spatula or your hands until everything comes together like a soft dough that holds its shape when squeezed.
- Shape the bunny faces:
- Divide mixture into 8 equal portions and form each into a flattened oval, slightly wider at the top for ears. Gently press a cakesicle stick into the bottom center of each shape, being careful not to push all the way through.
- Chill before coating:
- Place your shaped bunnies on a parchment-lined tray and refrigerate for 20-30 minutes until firm. Cold cakesicles coat more evenly and the chocolate sets faster.
- Melt the chocolate:
- Melt white chocolate in a microwave-safe bowl, heating in 30-second bursts and stirring between each. Stop when smooth and completely melted, about 1-2 minutes total depending on your microwave.
- Coat the cakesicles:
- Dip each chilled cake pop straight down into the melted chocolate, then lift and tap gently against the bowl edge to let excess drip off. Work quickly before the chocolate starts cooling.
- Add decorations immediately:
- While the coating is still wet, press candy eyes into place, add sprinkle whiskers, or attach fondant ears. Once decorated, place upright in a glass or styrofoam block to set completely.
- Final touches:
- Let cakesicles set at room temperature for about 30 minutes, or refrigerate for 10-15 minutes if you are in a hurry. Use food coloring gel to add pink noses or detail to ears once the base coating is firm.
 Save
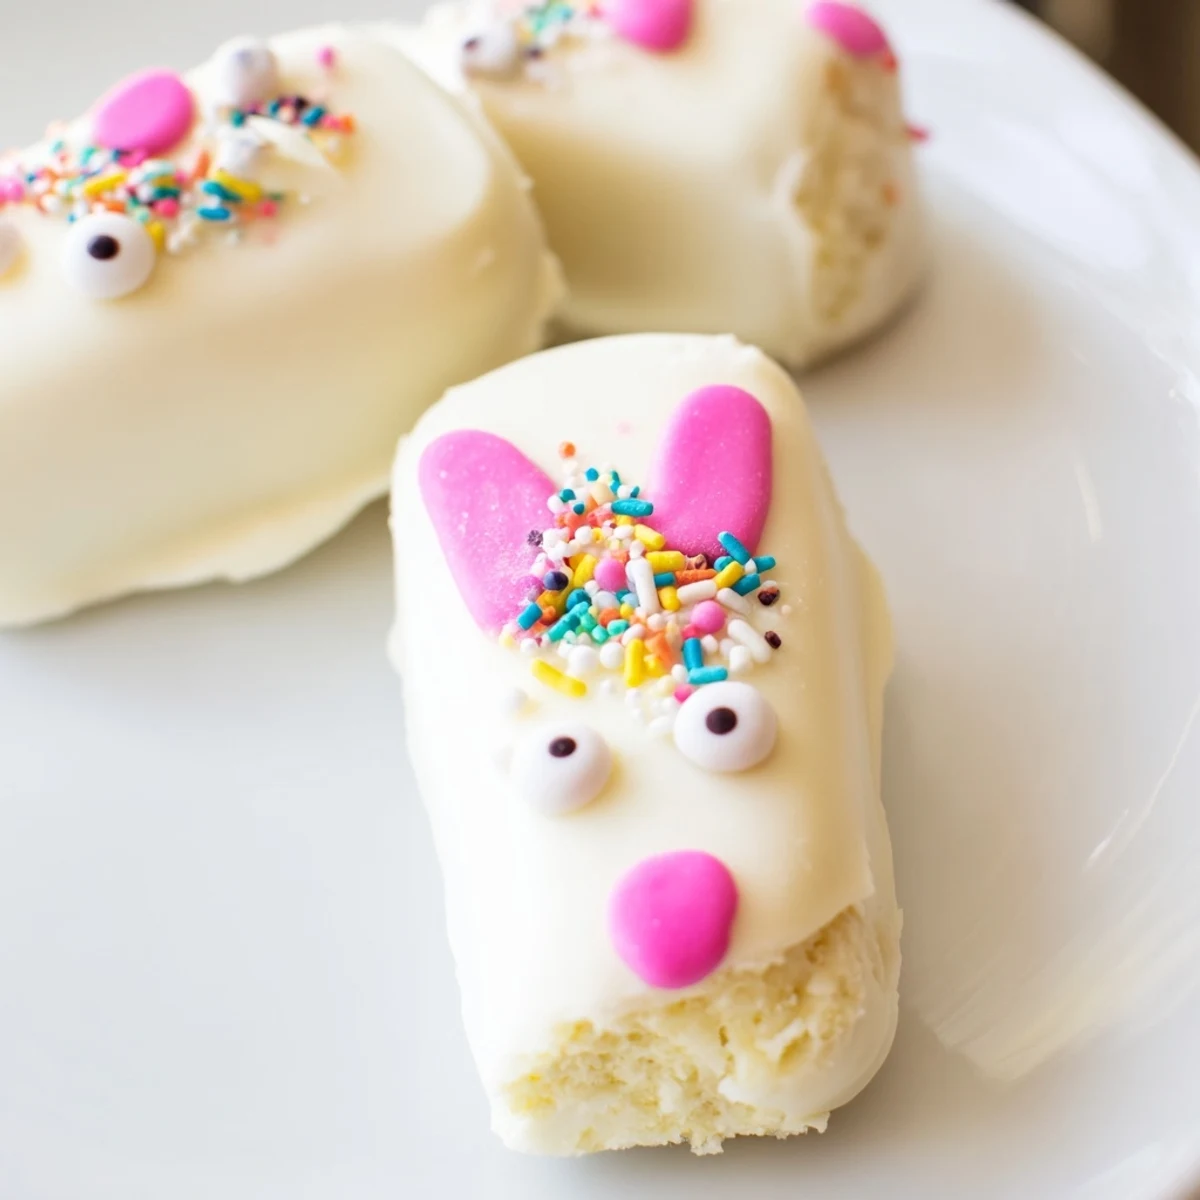
Save These became my go-to contribution for every spring gathering after my friend's daughter asked if I could make 'those bunny things' for her birthday in April. Now I double the batch and keep extras in the fridge, wrapped individually, for anyone who drops by during Easter week.
Making Them Ahead
You can shape and chill the uncoated cake mixture up to 24 hours in advance, wrapped tightly in plastic. Coat them the day you plan to serve for the freshest appearance, though they will stay perfect in the refrigerator for up to three days once decorated.
Coating Tips That Work
If your white chocolate seems too thick for dipping, stir in 1 teaspoon of vegetable oil to thin it. Deep bowls work best for full coverage, and holding the cakesicle at a slight angle while tapping helps gravity do the work of smoothing the chocolate.
Decoration Ideas
Beyond candy eyes, try pretzel sticks for ears, coconut flakes for fur texture, or colored white chocolate painted onto the set coating for blush on bunny cheeks. Fondant or modeling chocolate lets you create perfectly shaped ears that stand up nicely.
- Use a small paintbrush to dust pink luster dust on bunny cheeks for an extra sweet touch
- Stand finished cakesicles in small mason jars filled with jelly beans for a pretty display
- Wrap each one in clear cellophane tied with pastel ribbon if you are gifting them
 Save
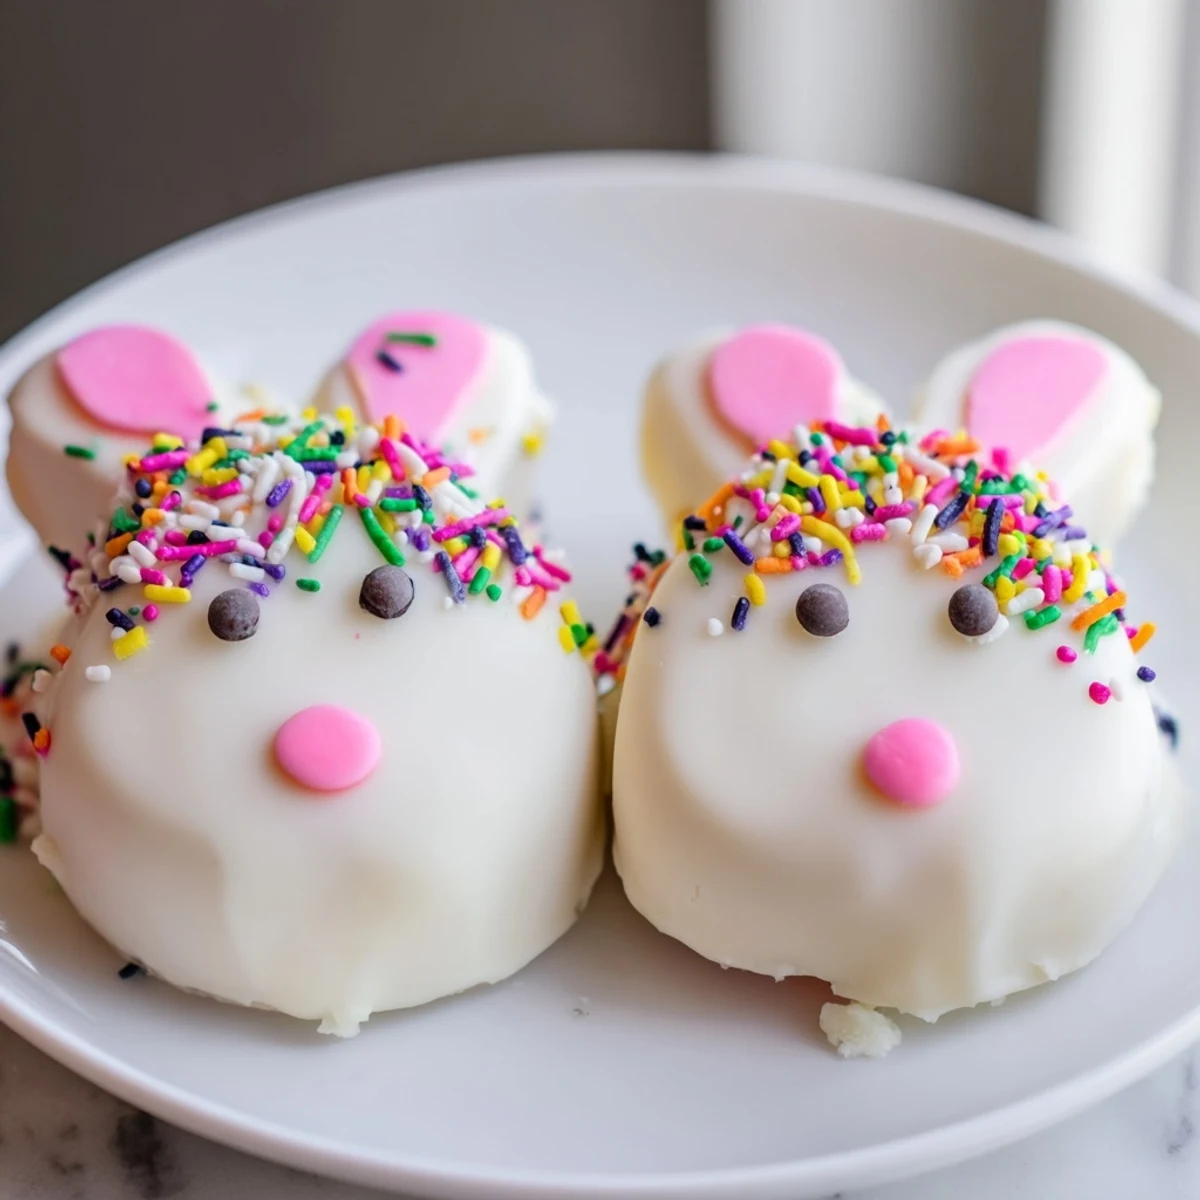
Save There is something genuinely joyful about handing someone a chocolate-covered bunny on a stick, watching their face light up before they even take a bite. These treats turn any ordinary spring day into a tiny celebration.
Recipe FAQs
- → How far in advance can I make these?
-
You can prepare the cake mixture and shape the bunnies up to 2 days ahead. Store them in the refrigerator, then dip and decorate the day before serving for best freshness.
- → Can I use store-bought cake for the crumbs?
-
Absolutely! Store-bought vanilla cake, cupcakes, or even pound cake work perfectly. Just ensure the crumbs are fine and evenly textured for smooth shaping.
- → What if I don't have a cakesicle mold?
-
No problem! Hand-shaping into flattened ovals works beautifully. Just ensure consistent thickness so they dip evenly and stand properly on the sticks.
- → How do I prevent the coating from cracking?
-
Keep the cake shapes chilled until dipping, and let the chocolate reach room temperature after melting. Avoid exposing finished treats to sudden temperature changes.
- → Can I freeze these for later?
-
Yes! Freeze undecorated dipped cakesicles for up to a month. Thaw in the refrigerator, then add fresh decorations before serving for the best appearance.
- → What other cake flavors work well?
-
Chocolate, red velvet, lemon, or strawberry cake crumbs all pair wonderfully with white chocolate. Just adjust the frosting ratio slightly for moister varieties.
