 Save
Save Achieve restaurant-quality fried chicken with this classic American method. The buttermilk marinade tenderizes and infuses flavor while creating the perfect base for the seasoned flour coating. The result is incredibly juicy meat with a shatteringly crisp exterior. Marinating overnight yields the best results, though 2 hours works too. The baking powder in the coating adds extra crunch, while the spice blend delivers that signature Southern kick.
The sound of chicken hitting hot oil still takes me back to my grandmother's tiny kitchen, where she'd fry chicken on Sunday afternoons while we played cards at the Formica table. I never understood why she insisted on bone-in pieces until I tried making it with boneless breasts myself—disappointing and dry. Now I know that bones and skin are what make fried chicken something people gather around, something worth waiting for.
Last summer I made a huge batch for a neighborhood potluck, setting up a frying station on my back patio. People started wandering over around 4 PM, drawn by the scent, and somehow we all ended up eating standing up around the platter while the sun went down. Chicken brings people together like nothing else I know.
Ingredients
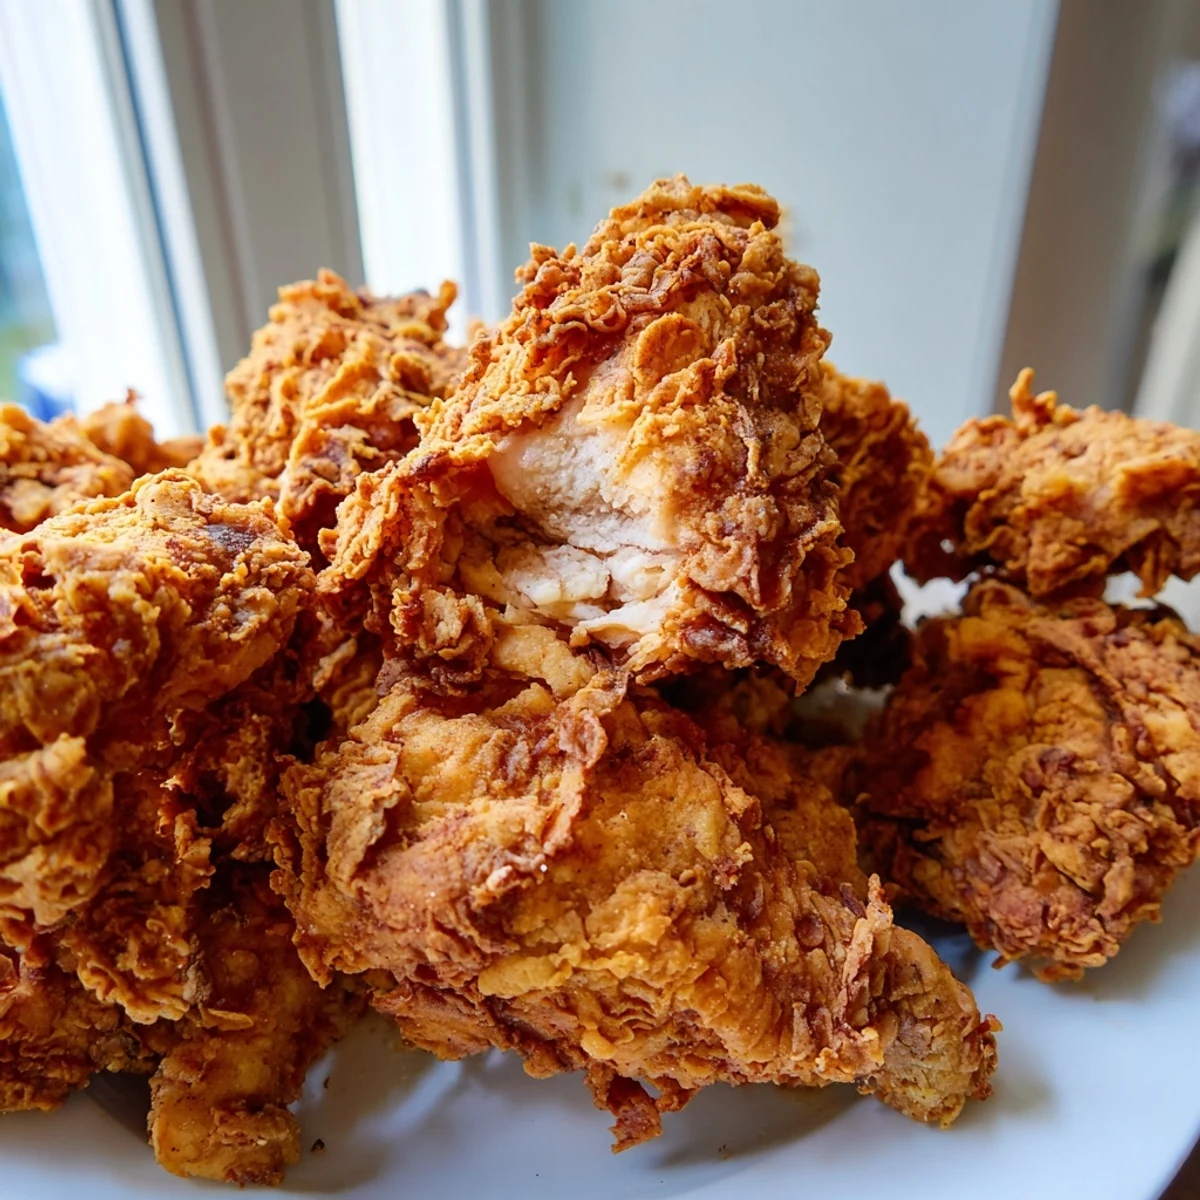
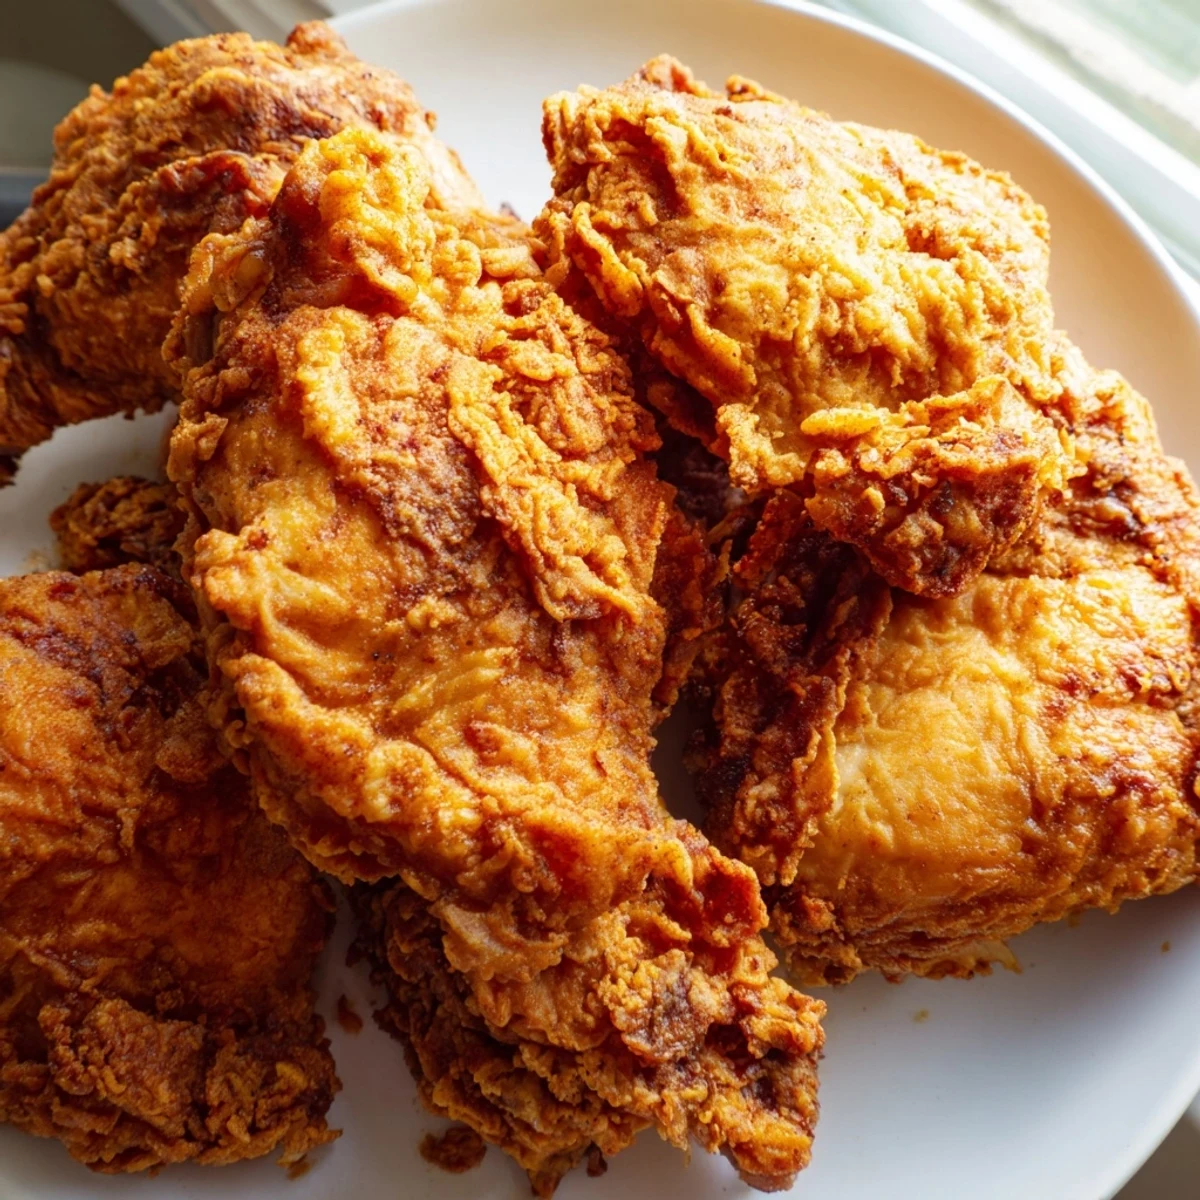
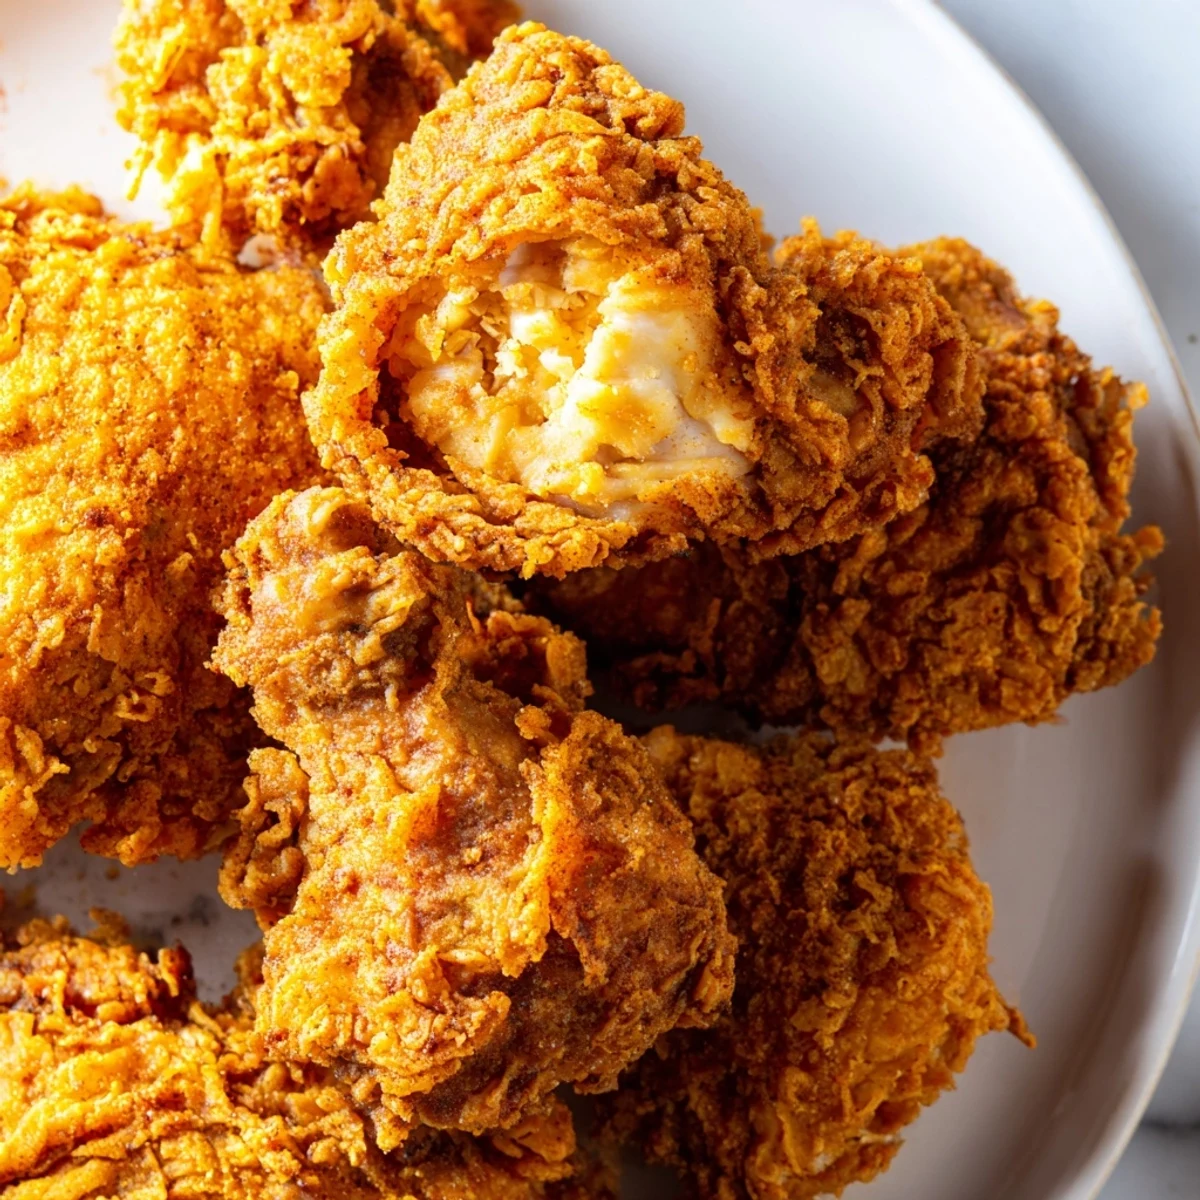
- Chicken: Bone-in, skin-on pieces are non-negotiable here—the bones keep the meat juicy and the skin creates that coveted layer between meat and crust
- Buttermilk: The acidity tenderizes the meat while creating the perfect adhesive surface for the flour coating to cling to
- Flour coating: Baking powder is the secret ingredient that makes the crust bubble and puff, creating those irresistible nooks and crannies
- Vegetable oil: You need enough depth to submerge the pieces completely without crowding, which would drop the temperature and make everything greasy
Instructions
- Create the marinade:
- Whisk the buttermilk with all your spices in a large bowl until everything is well combined. Submerge the chicken completely and refrigerate for at least 2 hours or overnight if you can plan ahead.
- Prepare the coating:
- In a separate bowl, mix flour with paprika, salt, pepper, cayenne, and baking powder until evenly distributed. This dry mixture is what creates that signature golden crust.
- Dredge the chicken:
- Lift each piece from the marinade, let excess drip off, then press firmly into the flour mixture. Place on a wire rack and let rest for 10 minutes to help the coating set.
- Heat the oil:
- Bring your oil to 175°C (350°F) in a deep fryer or heavy pot. Getting the temperature right is crucial—too low and you'll have greasy chicken, too high and the crust burns before the meat cooks through.
- Fry to perfection:
- Carefully lower chicken into the hot oil in batches, never crowding the pot. Fry for 12–15 minutes, turning occasionally, until golden brown and the internal temperature reaches 75°C (165°F).
- Rest and serve:
- Drain on a wire rack rather than paper towels, which keeps the crust from getting soggy. Let rest for 5 minutes so the juices redistribute.
 Save
Save My friend Sarah still talks about the time I accidentally set off the smoke alarm making this for her birthday dinner. We ended up eating on the front porch in the winter air, wrapped in blankets, passing around paper plates and laughing until it hurt. That's the thing about really good food—it creates memories that stick longer than the meal itself.
Getting the Crust Right
The double-dip technique mentioned in the notes is a game changer if you want extra crunch. After the first coating, briefly dip the chicken back into the buttermilk and then into the flour again. That second layer creates a thick, craggy crust that holds up beautifully even after the chicken has cooled down.
Temperature Control
I learned the hard way that frying without a thermometer is basically guessing with your dinner. Invest in a good digital one and watch it carefully between batches—each time you add cold chicken, the oil temperature drops and needs time to recover. That recovery period is why patience is actually a frying technique.
Serving Suggestions
This chicken deserves to be the star of the show, but the right sides make it a complete meal. Classic coleslaw with a vinegary dressing cuts through the richness perfectly. Creamy mashed potatoes are traditional for a reason. A crisp lager or chilled sparkling wine provides just the right contrast to all that crunch and heat.
- Warm your serving platter in the oven so the chicken stays crisp longer
- Season the chicken with a final pinch of salt right out of the fryer
- Never cover fried chicken with foil or it will lose its crunch
 Save
Save There's something deeply satisfying about making fried chicken at home, something that connects you to cooks across generations and kitchens. I hope this recipe becomes part of your own story.
Recipe FAQs
- → Why use buttermilk for the marinade?
-
Buttermilk contains lactic acid which tenderizes the meat and breaks down proteins, resulting in more juicy chicken. The tangy flavor also complements the savory coating perfectly.
- → What's the purpose of letting the coating rest?
-
Resting coated chicken for 10 minutes allows the flour mixture to hydrate from the marinade, creating a stronger bond that prevents the coating from slipping off during frying.
- → Can I bake this instead of frying?
-
Baking won't achieve the same crispy texture. For a baked version, coat with cooking spray and bake at 200°C (400°F) for 35-40 minutes, flipping halfway, though the crunch will be different.
- → How do I know when the chicken is done?
-
Use a meat thermometer to check the internal temperature reaches 75°C (165°F). Visual cues include golden-brown coating and clear juices when pierced at the thickest point.
- → Why is my coating not sticking?
-
The marinade might be too thin or you're not pressing firmly enough. Ensure chicken drips slightly but isn't dry before dredging, and press the flour mixture firmly onto each piece.
- → Can I make this spicy?
-
Absolutely! Increase cayenne pepper in both the marinade and coating, or add hot sauce to the buttermilk mixture. You can also add paprika or chili powder to the flour blend.
