 Save
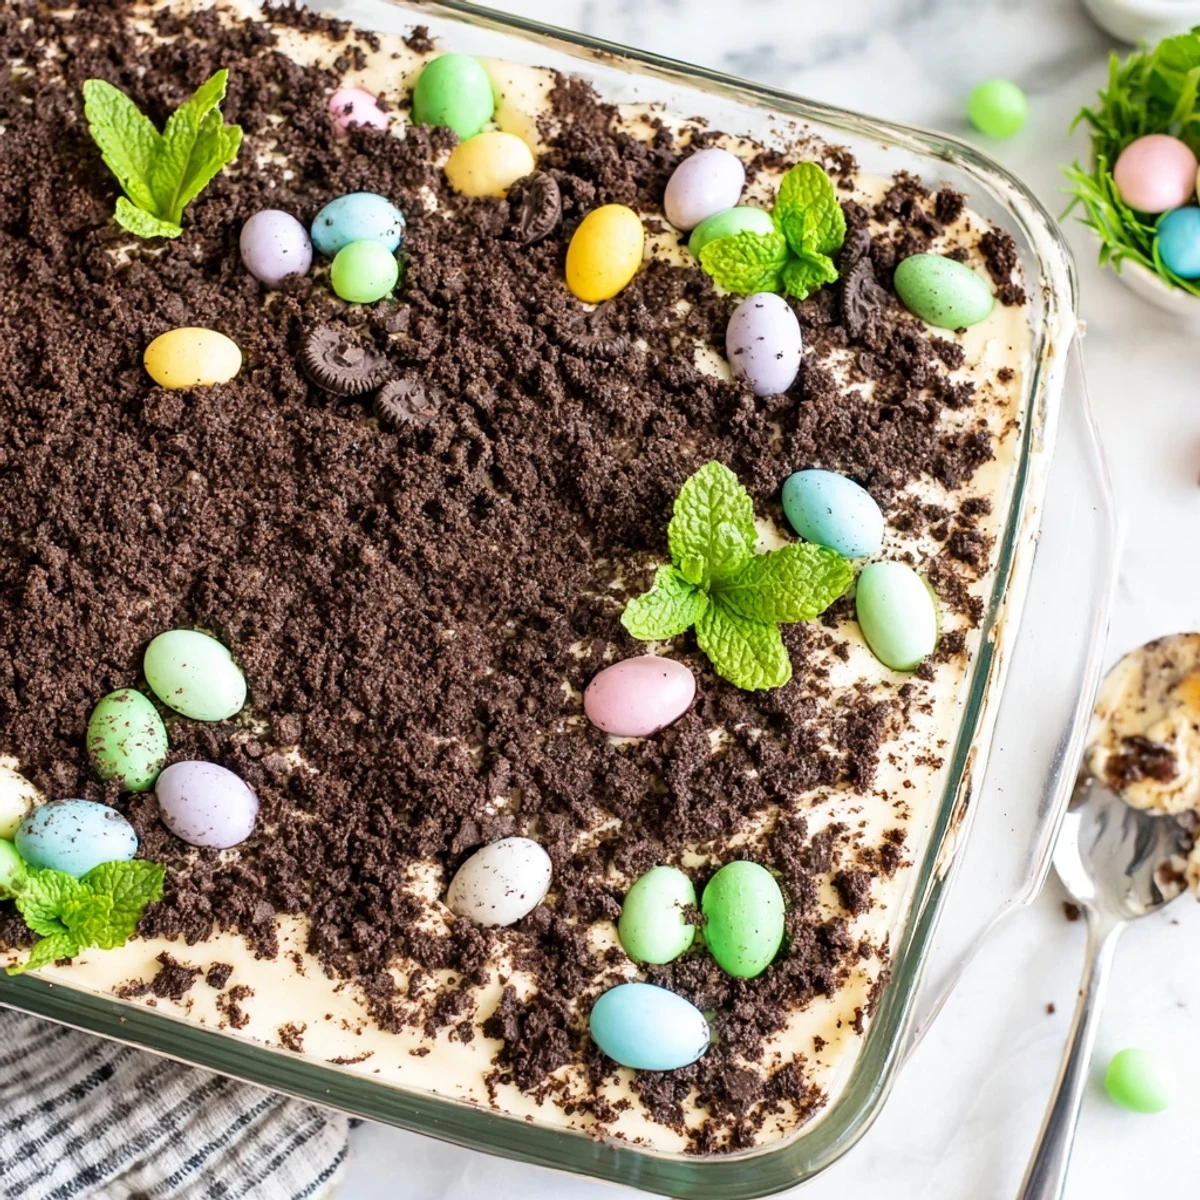
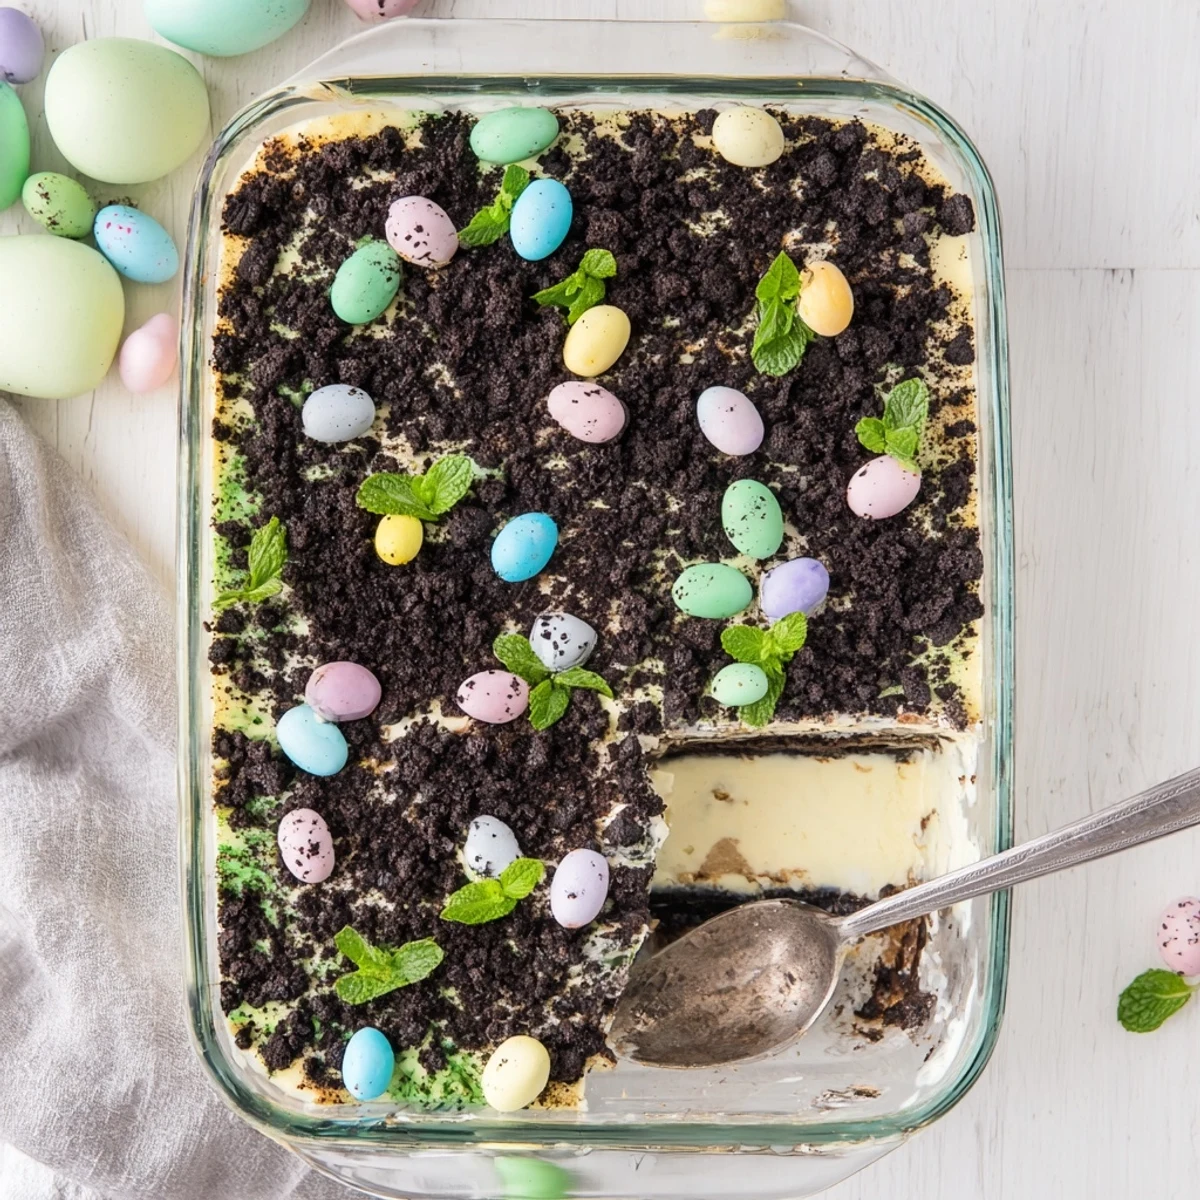
Save This whimsical Easter dessert features layers of velvety cream cheese mixture, vanilla pudding, and whipped cream nestled between beds of crushed chocolate sandwich cookies. The assembly creates a delightful 'dirt' effect that's both fun and delicious. Top with pastel chocolate eggs, candy-coated chocolates, and gummy candies to mimic Easter eggs hidden in a garden. Fresh mint leaves add the perfect touch of greenery. Best served chilled after setting for at least two hours, this no-bake treat comes together in just 25 minutes and serves 12 people.
Last Easter, my youngest caught me knee-deep in cookie crumbs and confessed she thought I was actually gardening in the kitchen. The whole counter was dusted with chocolate "dirt" and I had pastel candies arranged like tiny Easter eggs waiting to be discovered. Sometimes the best desserts are the ones that let you play with your food, and this casserole has become our family's most anticipated spring tradition.
I first made this for a potluck when I forgot until the morning of that I'd signed up to bring dessert. The casserole dish came back completely empty, and three different people asked for the recipe before they even finished their first serving. Now it's my go-to whenever I need something impressive but absolutely stress-free.
Ingredients
- Chocolate sandwich cookies: These create your dirt foundation, and crushing them is oddly therapeutic
- Cream cheese and butter: Room temperature is non-negotiable here or you'll end up with lumpy layers
- Powdered sugar: Sweetens the cream cheese mixture without adding graininess
- Instant vanilla pudding mix: The shortcut that makes this taste like you spent hours making custard from scratch
- Cold milk: Use it straight from the fridge for the best pudding texture
- Pure vanilla extract: Pure extract makes a noticeable difference in the final flavor
- Whipped topping: Lightens up the pudding layer beautifully
- Pastel chocolate eggs: The crowning glory that makes this Easter-worthy
- Easter gummy candies: Purely optional but adds such a fun pop of color
- Fresh mint leaves: Creates the most convincing grass effect you've ever seen
Instructions
- Crush your cookies:
- Seal them in a large zip-top bag and roll over them with a rolling pin until you have fine dirt-like crumbs. The food processor works too, but somehow crushing them by hand feels more satisfying.
- Whip the creamy base:
- Beat together softened cream cheese and butter until completely smooth, then add powdered sugar and mix until no lumps remain. This layer needs to be silky, not gritty.
- Make instant magic:
- Whisk pudding mix with cold milk and vanilla for about 2 minutes until slightly thickened. Gently fold in whipped topping until no white streaks remain.
- Build your garden:
- Sprinkle half the cookie crumbs in a 9x13 dish, spread cream cheese mixture evenly, layer all the pudding on top, then finish with remaining crumbs to create that dirt effect.
- Add the finishing touches:
- Arrange pastel candies like hidden Easter treasures and tuck in fresh mint leaves for grass. Chill for at least 2 hours before serving.
 Save
Save Watching my niece's face light up when she discovered the first chocolate egg buried in the dirt made all the cookie crushing worth it. Now every Easter, the kids argue over who gets to decorate the top and who gets the first scoop.
Making It Your Own
Once you master the basic layering technique, this recipe welcomes endless variations that can match any holiday or celebration theme.
Texture Secrets
The contrast between creamy pudding, smooth cream cheese filling, and crunchy cookie crumbs is what makes every spoonful interesting. Don't skip crushing some cookies into larger pieces for extra texture throughout the layers.
Assembly Tips From My Kitchen
I've learned that using an offset spatula gives the cleanest layers, though the back of a spoon works in a pinch. Work quickly once you start assembling, since the pudding layer sets up fast.
- Press the first cookie layer down gently to create a stable foundation
- Chill your casserole dish for 10 minutes before adding the final cookie crumb topping
- Add candies right before serving so they don't bleed color into the cream
 Save
Save There's something wonderful about serving a dessert that makes adults feel like kids again. Easter just wouldn't be the same without our dirt cake tradition.
Recipe FAQs
- → Can I make this ahead of time?
-
Yes, this dessert actually improves when made ahead. Prepare it up to 24 hours before serving and keep it refrigerated. The layers set beautifully and flavors meld together during chilling time.
- → What type of cookies work best for the base?
-
Chocolate sandwich cookies like Oreos are traditional and provide the classic 'dirt' appearance. You could also use chocolate graham crackers, vanilla wafers for a lighter look, or chocolate cookie crumbs for a deeper color.
- → Can I substitute the whipped topping?
-
Absolutely. You can use homemade whipped cream whipped to stiff peaks, or substitute with an equal amount of thawed frozen whipped topping for convenience. Both work equally well in the pudding layer.
- → How should I store leftovers?
-
Cover the casserole dish tightly with plastic wrap or transfer portions to airtight containers. Refrigerate for up to 3-4 days. The cookie layers may soften slightly over time but will remain delicious.
- → Can I make this gluten-free?
-
Yes, simply choose gluten-free chocolate sandwich cookies for the base and verify that your candy toppings are certified gluten-free. The remaining ingredients are naturally gluten-free.
- → What other toppings can I use?
-
Get creative with Easter-themed decorations. Consider shredded coconut dyed green for 'grass,' chocolate bunnies, jelly beans, peeps, or edible flowers. The topping possibilities are endless for seasonal fun.
