 Save
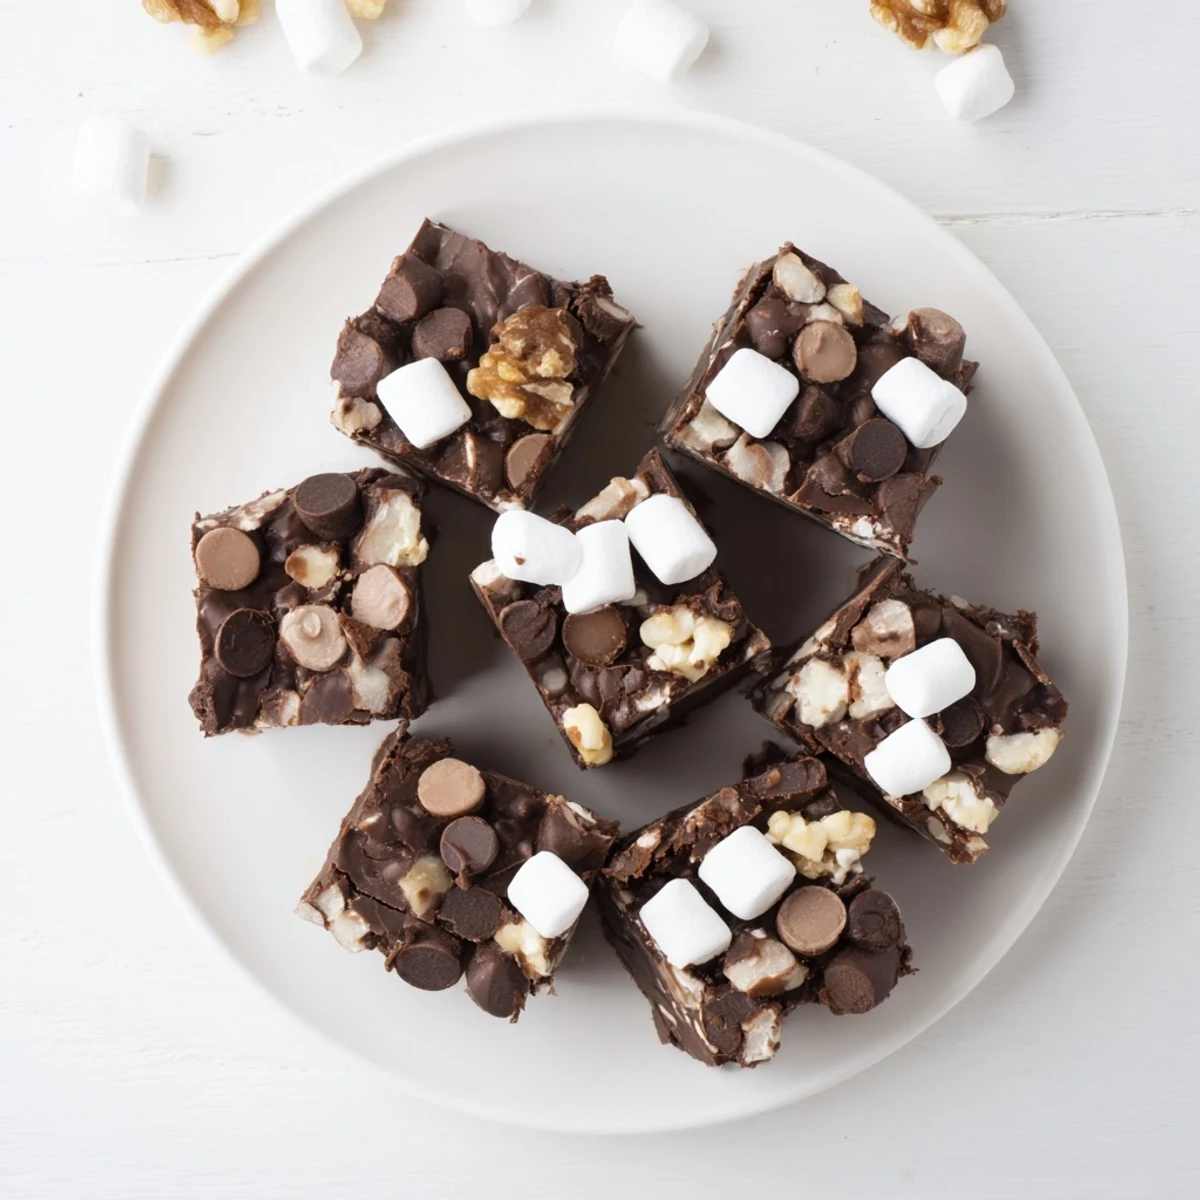
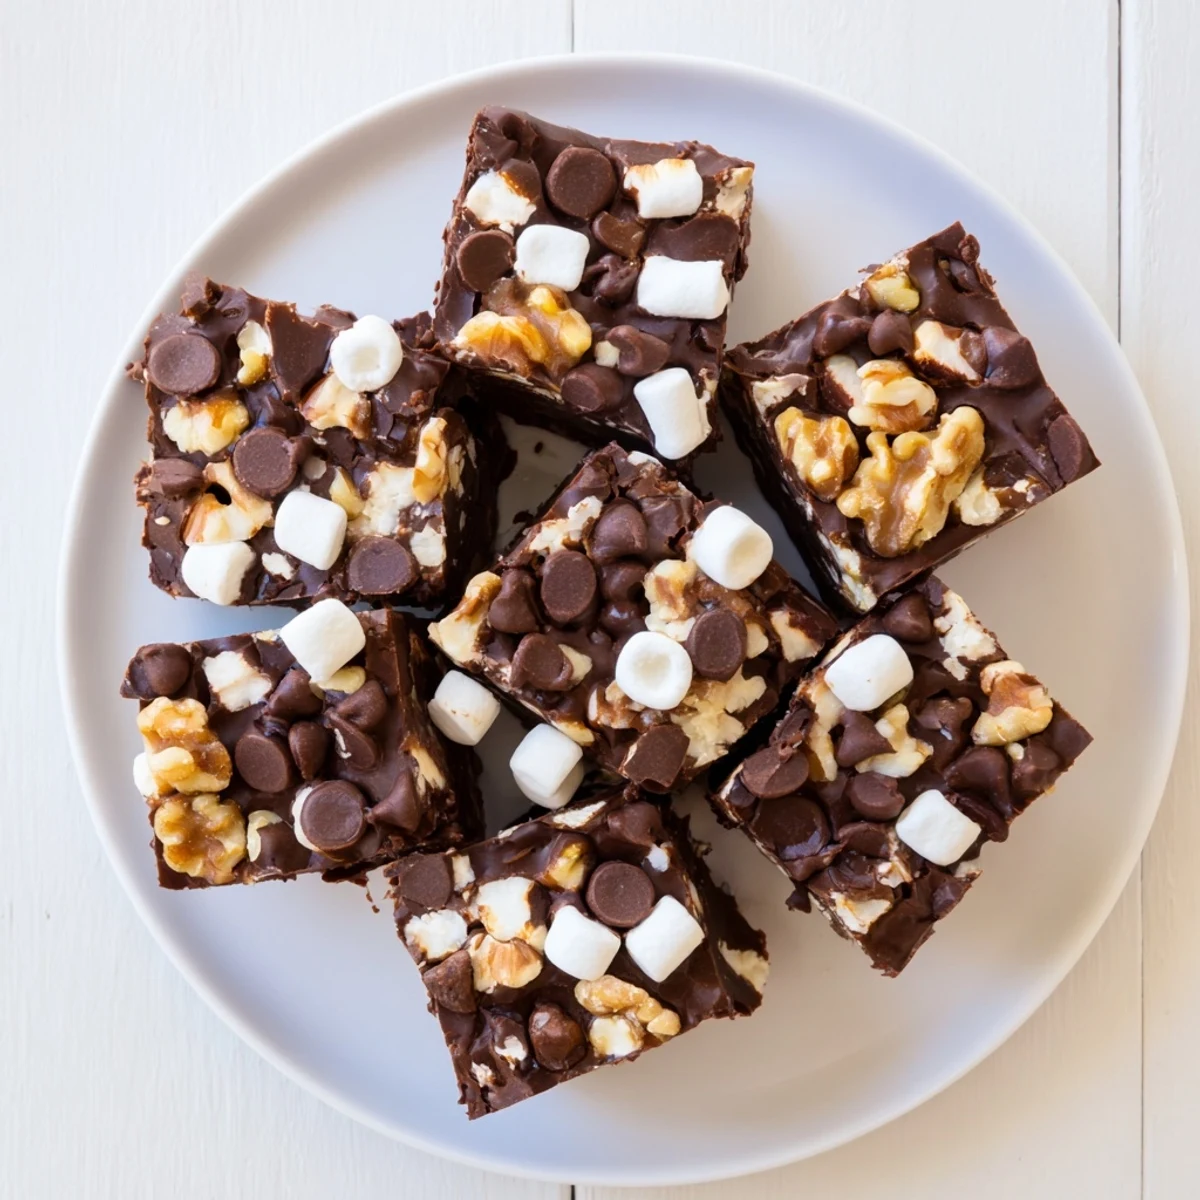
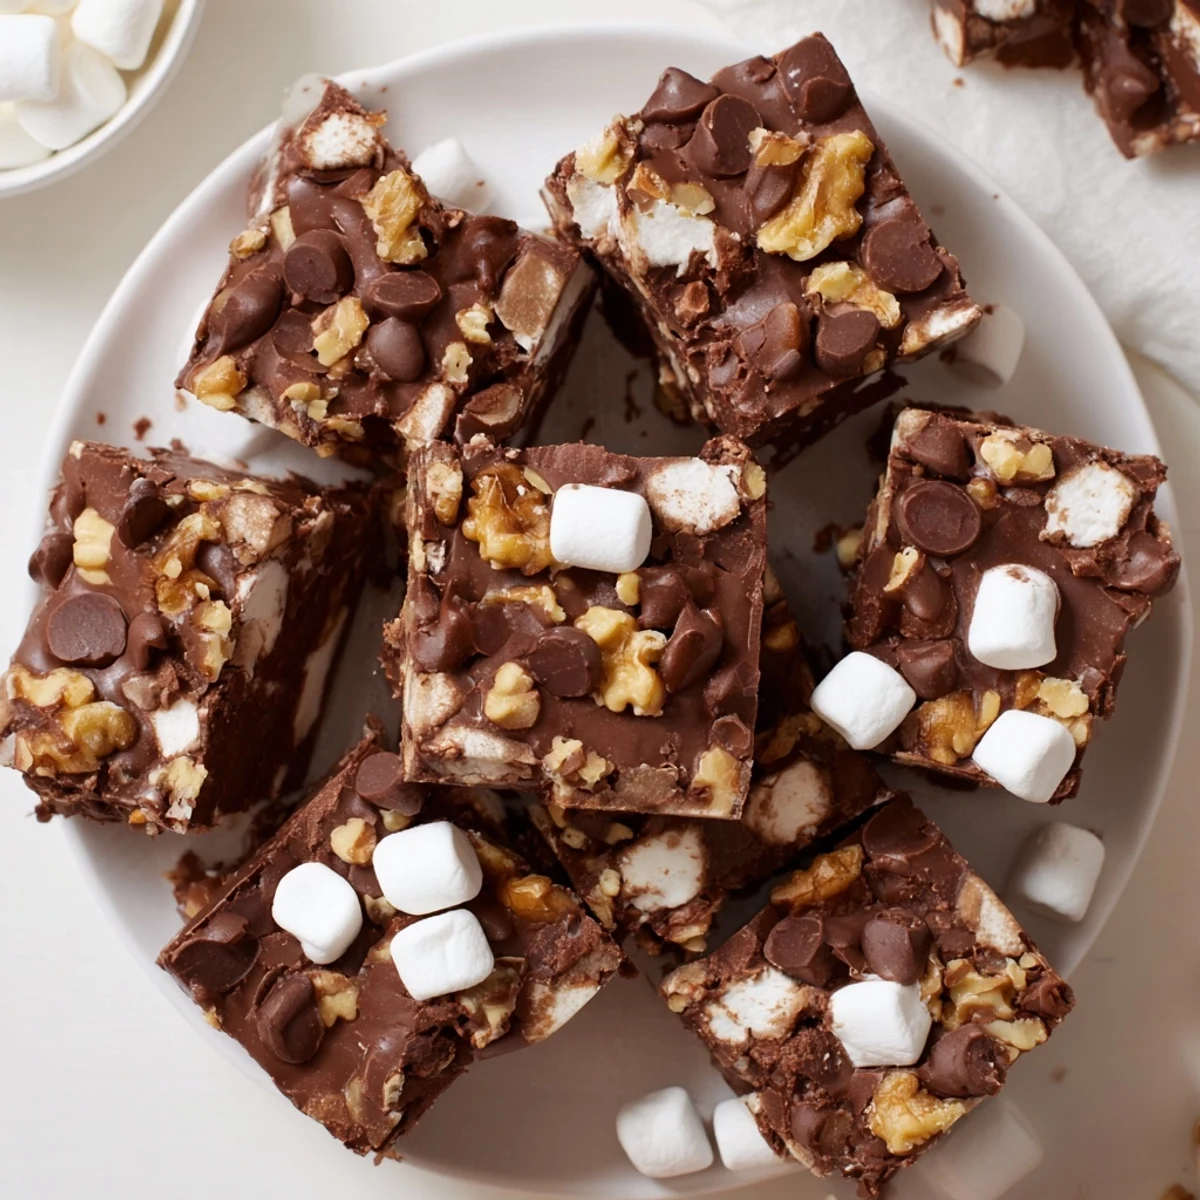
Save Create this classic American confection with just three base ingredients and your favorite mix-ins. Melt semi-sweet chocolate chips with sweetened condensed milk and butter until smooth, then gently fold in mini marshmallows, roasted nuts, and extra chocolate bits. After chilling for two hours, you'll have 16 decadent squares of rich, chocolatey perfection.
Last Christmas Eve, my kitchen became a temporary disaster zone thanks to a double batch of this fudge. Chocolate splattered across my favorite apron, marshmallows stuck to my hair like sweet decorations, and I could not stop laughing while trying to fold in the nuts before everything cooled down. Now, whenever I make rocky road, I think about my sister walking in, taking one look at the chaos, and immediately grabbing a spatula to help without saying a word.
I discovered this recipe during a college potluck where my contribution ended up being the only dish completely finished within ten minutes of arrival. My roommate ate three squares while trying to convince everyone she helped me make it, which she absolutely did not. That night taught me that simple food made with quality ingredients often wins over complicated dishes every single time.
Ingredients
- 2 cups semi-sweet chocolate chips: I use Ghirardelli because it melts into the smoothest consistency, but any good quality brand will give you that glossy finish
- 1 can sweetened condensed milk: This creates the creamy fudge texture without any thermometer work or candy making expertise required
- 2 tablespoons unsalted butter: Just enough to add richness and help the fudge set properly without becoming too soft
- 1 ½ cups mini marshmallows: The smaller size distributes better throughout the fudge than regular ones do
- 1 cup roasted unsalted peanuts or walnuts: Rough chopping creates better texture pockets than fine pieces would
- ½ cup milk chocolate chips: Totally optional but adds these lovely bursts of extra sweetness throughout
Instructions
- Prep your pan properly:
- Line your 8x8 inch pan with parchment paper, letting the edges hang over like a little sling for easy lifting later. Trust me, trying to remove fudge without parchment is not a battle you want to fight.
- Melt the chocolate base:
- Combine the chocolate chips, condensed milk, and butter in a medium saucepan over the lowest heat setting your stove offers. Stir constantly and gently until everything melts into a glossy, smooth mixture, then remove it from the heat immediately.
- Let it cool slightly:
- Wait about 2 or 3 minutes so the mixture is not piping hot, which helps prevent the marshmallows from melting completely into the batter.
- Fold in the good stuff:
- Gently stir in the marshmallows, nuts, and extra chocolate chips if you are using them, being careful not to overmix or deflate the marshmallows.
- Set and chill:
- Pour everything into your prepared pan and smooth the top with a spatula. Refrigerate for at least 2 hours until completely set.
- Slice and serve:
- Use the parchment overhang to lift the whole block out, then cut it into 16 squares with a sharp knife that you have run under hot water.
 Save
Save My dad now requests this fudge for every holiday, birthday, and random Tuesday, claiming the store bought stuff I bought years ago ruined him forever. Watching him sneak extra squares when he thinks no one is looking has become its own kind of tradition in our house.
Getting Creative with Variations
I have found that dark chocolate creates this incredibly sophisticated version that adults gravitate toward, while white chocolate makes an entirely different but equally delicious dessert. The nut free version with extra marshmallows and dried cranberries has saved me multiple times when feeding groups with allergies.
Storage and Make-Ahead Tips
This fudge actually tastes better after sitting in the refrigerator overnight, which makes it perfect for making ahead of parties. I have kept it for a week in an airtight container, though in my house it rarely lasts more than two days.
Serving Suggestions
A square of this fudge alongside a cup of peppermint tea feels like the ultimate winter comfort, though it works equally well as part of a dessert spread with cookies and brownies. I have also served it on its own on pretty plates with a dusting of cocoa powder when I want it to look fancy.
- Cutting the fudge while slightly chilled gives cleaner edges than cutting it straight from the freezer
- A hot knife wiped clean between cuts prevents messy edges and sticky buildup
- Room temperature fudge has the best texture, so let pieces sit out for 5 minutes before serving
 Save
Save Something about stirring melted chocolate and folding in fluffy marshmallows just feels like giving yourself a hug. I hope this recipe brings as much joy to your kitchen as it has to mine.
Recipe FAQs
- → How long does Rocky Road fudge need to set?
-
Refrigerate for at least 2 hours until fully set. For best results, let it chill overnight before cutting into clean squares.
- → Can I use different nuts in this fudge?
-
Absolutely. Roasted peanuts, walnuts, almonds, or pecans all work beautifully. Chop them into rough pieces for the best texture throughout.
- → What's the best way to store fudge?
-
Keep in an airtight container in the refrigerator for up to one week. Place parchment paper between layers to prevent sticking.
- → Can I make this fudge nut-free?
-
Simply omit the nuts and add more marshmallows or dried fruit like cranberries and cherries for extra texture and sweetness.
- → Why do I need to cool the chocolate before adding mix-ins?
-
Waiting 2-3 minutes prevents marshmallows from melting completely. This keeps them fluffy and distinct throughout the fudge for that classic rocky road texture.
- → Can I use dark chocolate instead of semi-sweet?
-
Yes, dark chocolate creates a richer, more intense flavor. Adjust sweetness to taste since dark chocolate has less sugar than semi-sweet varieties.
