 Save
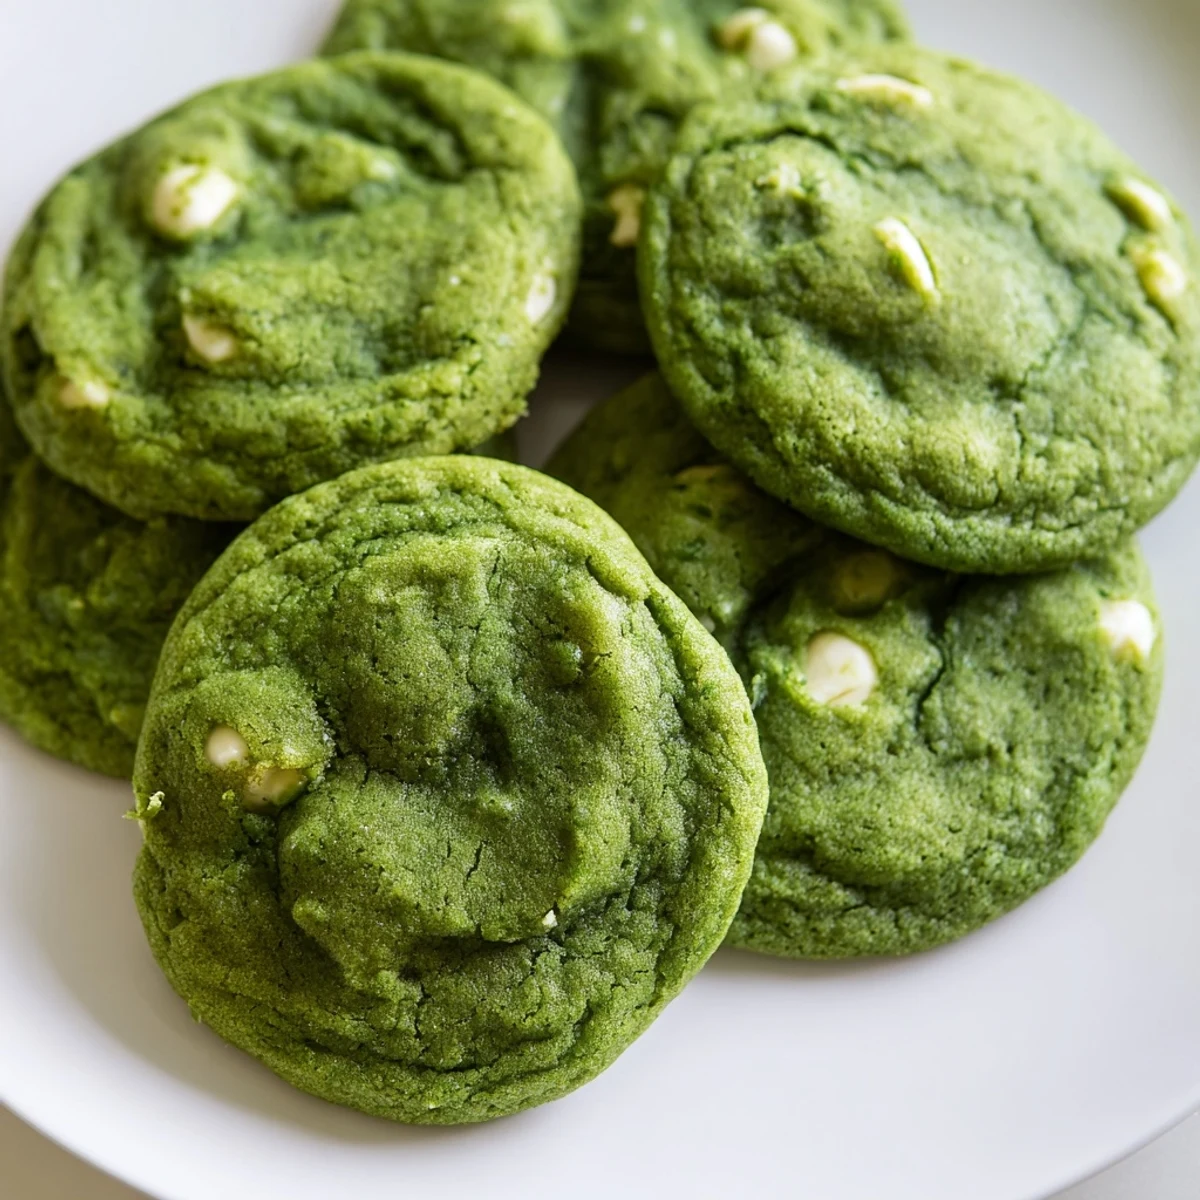
Save These soft, chewy green velvet cookies combine cocoa powder with vibrant green food coloring for a festive twist on classic treats. White chocolate chips add sweetness that balances the subtle cocoa notes.
The dough comes together quickly—just 20 minutes of prep before baking. The secret ingredient? White vinegar activates the baking soda for extra fluffiness while enhancing the green color.
Perfect for Christmas, St. Patrick's Day, or any celebration. Each cookie delivers crisp edges with irresistibly soft centers. The gel food coloring provides rich color without affecting taste or texture.
The first time I made these green velvet cookies, I was half convinced they would turn out some strange swamp color and I would have to pretend that was the plan all along. My kitchen counter looked like a science experiment gone wrong with green gel staining everything, including my favorite apron. But when they came out of the oven all speckled with white chocolate chips like little emerald studded clouds, I actually gasped a little. Now they are the one cookie my friends request for every St. Patricks Day gathering without fail.
Last December I brought a batch to a cookie exchange and watched three different people ask for the recipe before even trying them. There is something about that color against a winter white serving plate that just makes people gravitate toward them. My neighbor actually texted me the next day saying she had been dreaming about them, which might be the best compliment a cookie has ever received in this house.
Ingredients
- All-purpose flour: This provides the structure and gives the cookies that perfect soft chew without becoming cakey
- Unsweetened cocoa powder: Just enough to add depth and complement the sweetness without making these taste like chocolate cookies
- Baking soda: The key to getting those nice slightly puffed centers while keeping edges crisp
- Salt: Enhances all the flavors and balances the sugar so the cookies taste complex rather than just sweet
- Unsalted butter: Make sure it is properly softened to room temperature for the creamiest texture and best spread
- Granulated and brown sugar: The combination creates that chewy center and crisp edge we all want in a cookie
- Eggs: Room temperature eggs incorporate better and help create that tender velvety crumb
- Milk: Just a splash adds moisture and helps bring everything together smoothly
- Vanilla extract: Pure vanilla makes such a difference here and rounds out all the flavors beautifully
- White vinegar: This might seem unusual but it reacts with the baking soda for extra lift and tenderness
- Green food coloring: Gel coloring gives you that vibrant jewel tone without adding excess liquid
- White chocolate chips: The perfect creamy counterpart to the subtle cocoa and adds lovely texture throughout
Instructions
- Get your oven ready:
- Preheat your oven to 350°F and line two baking sheets with parchment paper so nothing sticks and cleanup is effortless
- Whisk the dry ingredients:
- In a medium bowl combine the flour cocoa powder baking soda and salt until well blended then set it aside
- Cream the butter and sugars:
- Beat the butter granulated sugar and brown sugar together until the mixture looks fluffy and pale about 3 minutes of mixing
- Add the wet ingredients:
- Mix in the eggs one at a time then add the milk vanilla vinegar and green food coloring until everything is fully incorporated
- Combine the mixtures:
- Gradually add the dry ingredients to the wet mixing just until combined so you do not overwork the dough
- Fold in the chocolate:
- Gently stir in the white chocolate chips until they are evenly distributed throughout the bright green dough
- Scoop the cookies:
- Drop tablespoon sized balls onto the prepared sheets leaving about two inches between each for spreading
- Bake to perfection:
- Bake for 10 to 12 minutes until the edges look set but the centers still have that irresistible softness
- Cool completely:
- Let them rest on the baking sheet for 5 minutes then transfer to a wire rack to finish cooling
 Save
Save These have become my go to hostess gift because they travel well and always seem to make people smile before they even take a bite. Something about that unexpected green color just feels festive and fun regardless of the occasion. I have started keeping a small stash of green gel food coloring in my pantry just so I can whip up a batch whenever the mood strikes.
Getting That Perfect Green
Start with less food coloring than you think you need because you can always add more but you cannot take it back. Gel coloring is much more concentrated than liquid so a tiny amount goes a long way toward achieving that rich vibrant emerald hue. I dip a toothpick into the gel and swirl it through the dough adding more toothpick dips until I reach the exact shade I want.
Storage and Freezing
These cookies stay surprisingly soft stored in an airtight container at room temperature for up to five days though they rarely last that long in my house. You can also freeze the baked cookies for up to three months layered between sheets of wax paper in a freezer safe container. Thaw them at room temperature for about an hour and they taste just as fresh as the day they were baked.
Serving Suggestions
These are delightful on their own but absolutely next level paired with a cold glass of milk or a hot cup of coffee. I have also served them alongside vanilla ice cream for an unexpected dessert that looks stunning on the plate. For holiday platters arrange them on a white serving dish with some fresh mint leaves to really play up the gorgeous green color.
- Try crushing a few cookies over vanilla or mint ice cream for a pretty topping
- Pack them in clear treat bags tied with green ribbon for edible party favors
- Stack them on a cake stand at your next gathering and watch them disappear
 Save
Save There is something purely joyful about biting into a cookie that looks this magical and tastes even better. Happy baking and may your kitchen be filled with the delicious aroma of fresh cookies and laughter.
Recipe FAQs
- → Why add vinegar to the dough?
-
White vinegar reacts with baking soda to create extra lift, making cookies fluffier. It also helps activate and enhance the green food coloring for a more vibrant hue.
- → Can I use liquid food coloring instead of gel?
-
Gel coloring works best because it provides intense color without adding excess liquid. Liquid coloring can alter dough consistency, though you can compensate by reducing milk slightly.
- → How do I store these cookies?
-
Keep in an airtight container at room temperature for up to 5 days. Place parchment paper between layers to prevent sticking. They also freeze well for up to 3 months.
- → What makes cookies green velvet instead of regular chocolate?
-
Green velvet combines the classic soft texture of red velvet with vibrant green color. The cocoa powder is subtle—just enough depth to complement the white chocolate without overpowering.
- → Can I make these ahead of time?
-
Scoop dough balls and refrigerate for up to 48 hours before baking. For longer storage, freeze raw dough portions and bake straight from the freezer, adding 1-2 minutes to baking time.
