 Save
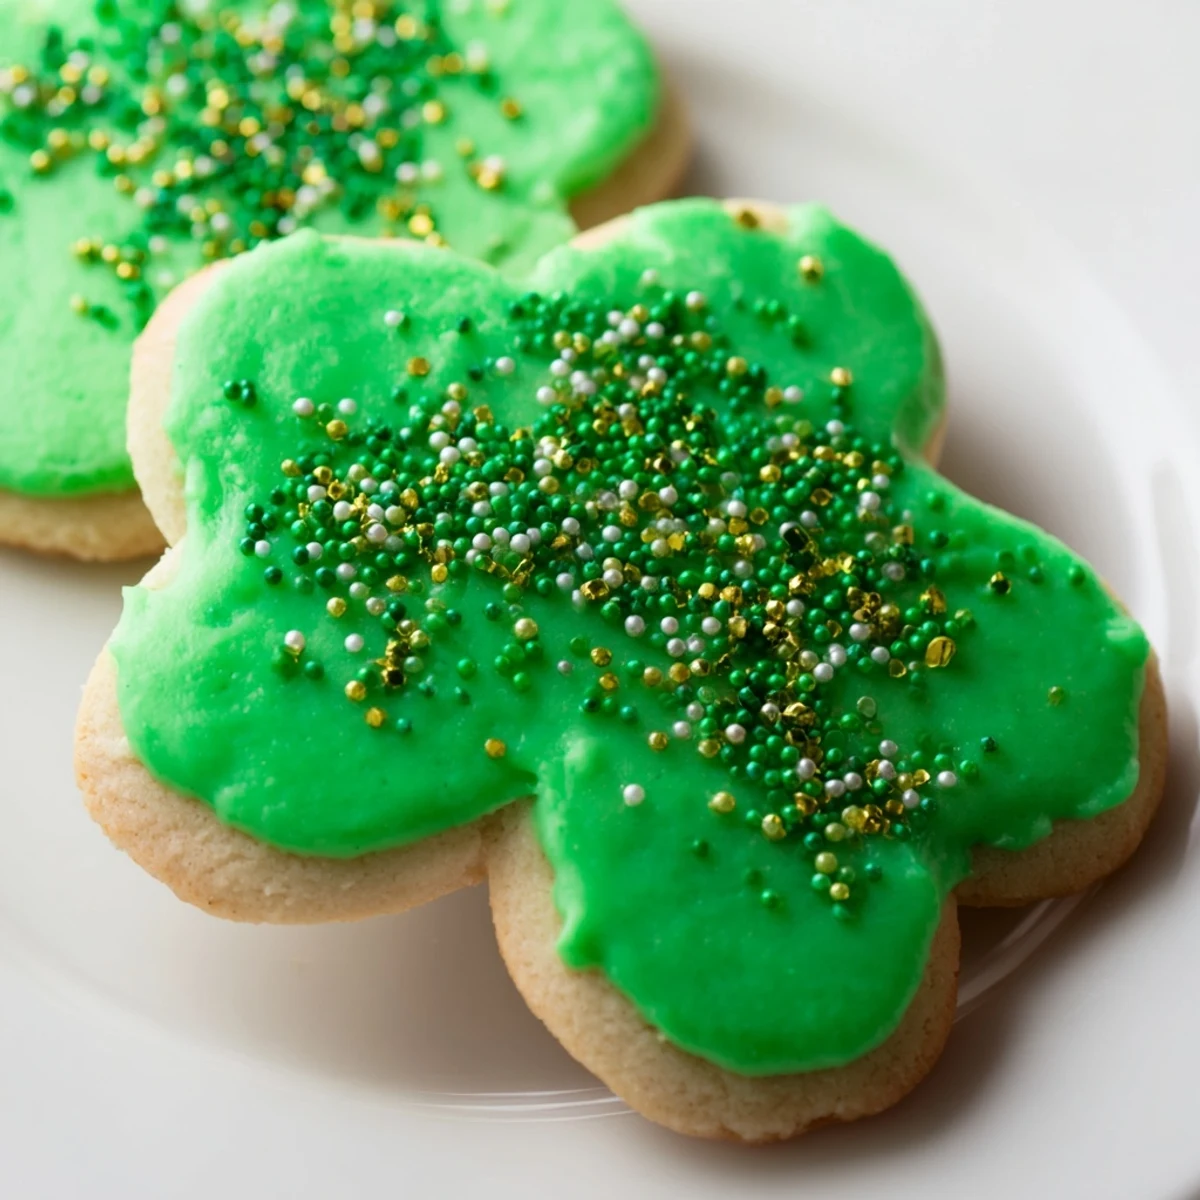
Save Create these soft, buttery sugar cookies topped with vibrant green icing for your St. Patricks Day celebration. The dough chills for one hour to ensure tender, easy-to-roll cookies that hold their shape during baking. After just 8-10 minutes in the oven, you'll have golden-edged cookies ready for decorating with smooth vanilla icing dyed in festive shades of green. Add sprinkles for extra celebration flair.
The almond extract optional addition gives subtle depth, while the basic dough comes together quickly with pantry staples. These decorated treats store beautifully for up to five days, making them ideal for preparing ahead of your festivities.
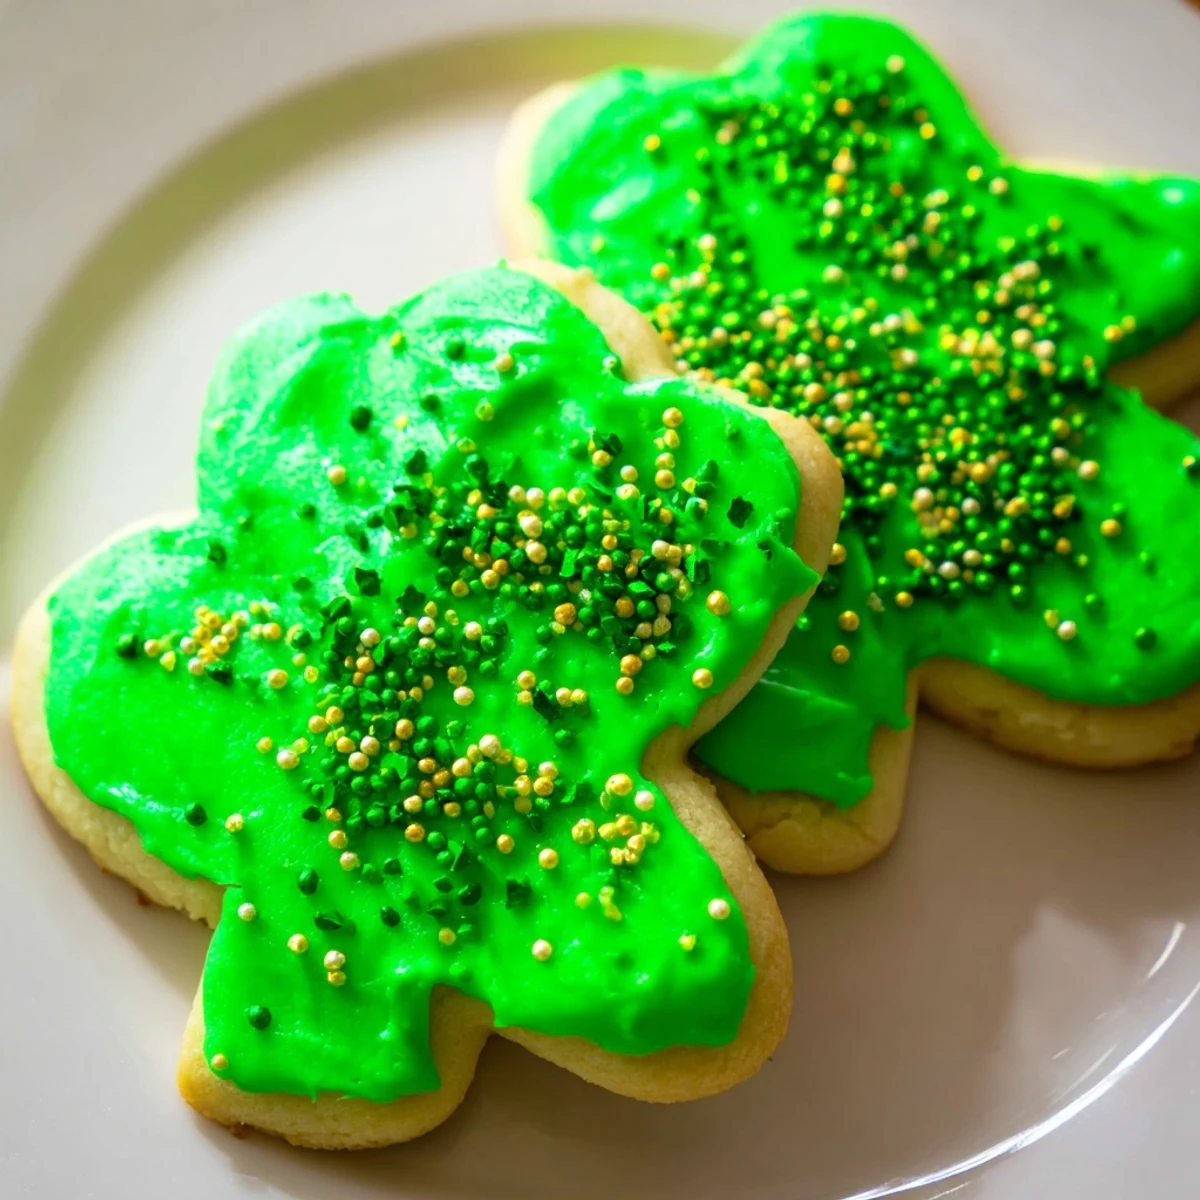
My kitchen once turned into an accidental sea of green when I decided last minute that plain sugar cookies wouldn't cut it for our St. Patrick's Day gathering. The shamrock cookie cutter I impulse bought years ago was finally seeing daylight, and I remember laughing while trying to get the perfect shade of emerald without making the icing taste like food dye. Those cookies disappeared faster than I could plate them, leaving behind nothing but happy green smiles and a few stray gold sprinkles on the counter.
I brought these to a friend's annual St. Patrick's Day party one year, and someone actually asked if I'd bought them from a bakery. Watching kids and adults alike reach for seconds while discussing which shade of green was luckier made all the chilling time worth it. Now it's not really a proper March celebration in my house until the butter is softened and the green sprinkles are within reach.
Ingredients
- Allpurpose flour: The structure of these cookies depends on properly measured flour, so spoon and level it instead of scooping directly
- Unsalted butter: Softening butter to room temperature takes about 30 minutes and creates the perfect texture for creaming with sugar
- Granulated sugar: Creaming this with the butter creates air pockets that make cookies tender rather than dense
- Egg: Using a room temperature egg helps it incorporate evenly into the dough for consistent baking
- Vanilla and almond extract: The combination gives a classic sugar cookie flavor with subtle depth that pairs beautifully with sweet icing
- Powdered sugar: This creates smooth icing without graininess, and the amount can be adjusted for your preferred consistency
- Green food coloring: Gel coloring produces more vibrant shades with less liquid, keeping your icing from becoming too thin
Instructions
- Whisk the dry ingredients together:
- In a medium bowl, combine flour, baking powder, and salt until evenly distributed, which prevents overmixing later
- Cream butter and sugar:
- Beat softened butter and granulated sugar for 2 to 3 minutes until the mixture looks pale and fluffy, creating tiny air pockets
- Add the wet ingredients:
- Mix in the egg, vanilla extract, and almond extract if using, scraping the bowl to ensure everything incorporates evenly
- Combine dough:
- Gradually add the dry ingredients on low speed just until no flour streaks remain, being careful not to overwork the dough
- Chill the dough:
- Shape dough into two disks, wrap tightly in plastic wrap, and refrigerate for at least 1 hour so the cookies hold their shape
- Preheat and prepare:
- Heat your oven to 350°F and line baking sheets with parchment paper for easy cleanup and perfect bottoms
- Roll and cut:
- On a floured surface, roll dough to ¼ inch thickness and cut shapes, dipping cutters in flour between presses
- Bake:
- Arrange cookies 1 inch apart on prepared sheets and bake for 8 to 10 minutes until edges barely show golden color
- Cool completely:
- Let cookies rest on the baking sheet for 2 minutes before moving them to a wire rack to cool fully before icing
- Prepare the icing:
- Whisk powdered sugar, milk, and vanilla until smooth, then add green food coloring one drop at a time
- Decorate:
- Spread or pipe icing onto cooled cookies and immediately add sprinkles so they stick before the icing sets
 Save
Save My niece helped decorate a batch last year and created her own signature style, leaving some cookies with just a dollop of green in the center like tiny lucky pools. The imperfections made them somehow more special, and she beamed every time someone reached for her creations first. These cookies have become less about following perfect technique and more about who you share them with while the icing is still slightly soft.
Making the Dough Ahead
You can prepare the dough disks and freeze them for up to a month, wrapped well in plastic and then foil. Let them thaw in the refrigerator overnight before rolling and baking, which means fresh cookies are always possible without starting from scratch. I've learned to keep a stash for those unexpected cravings or last minute celebration needs.
Getting the Perfect Green Shade
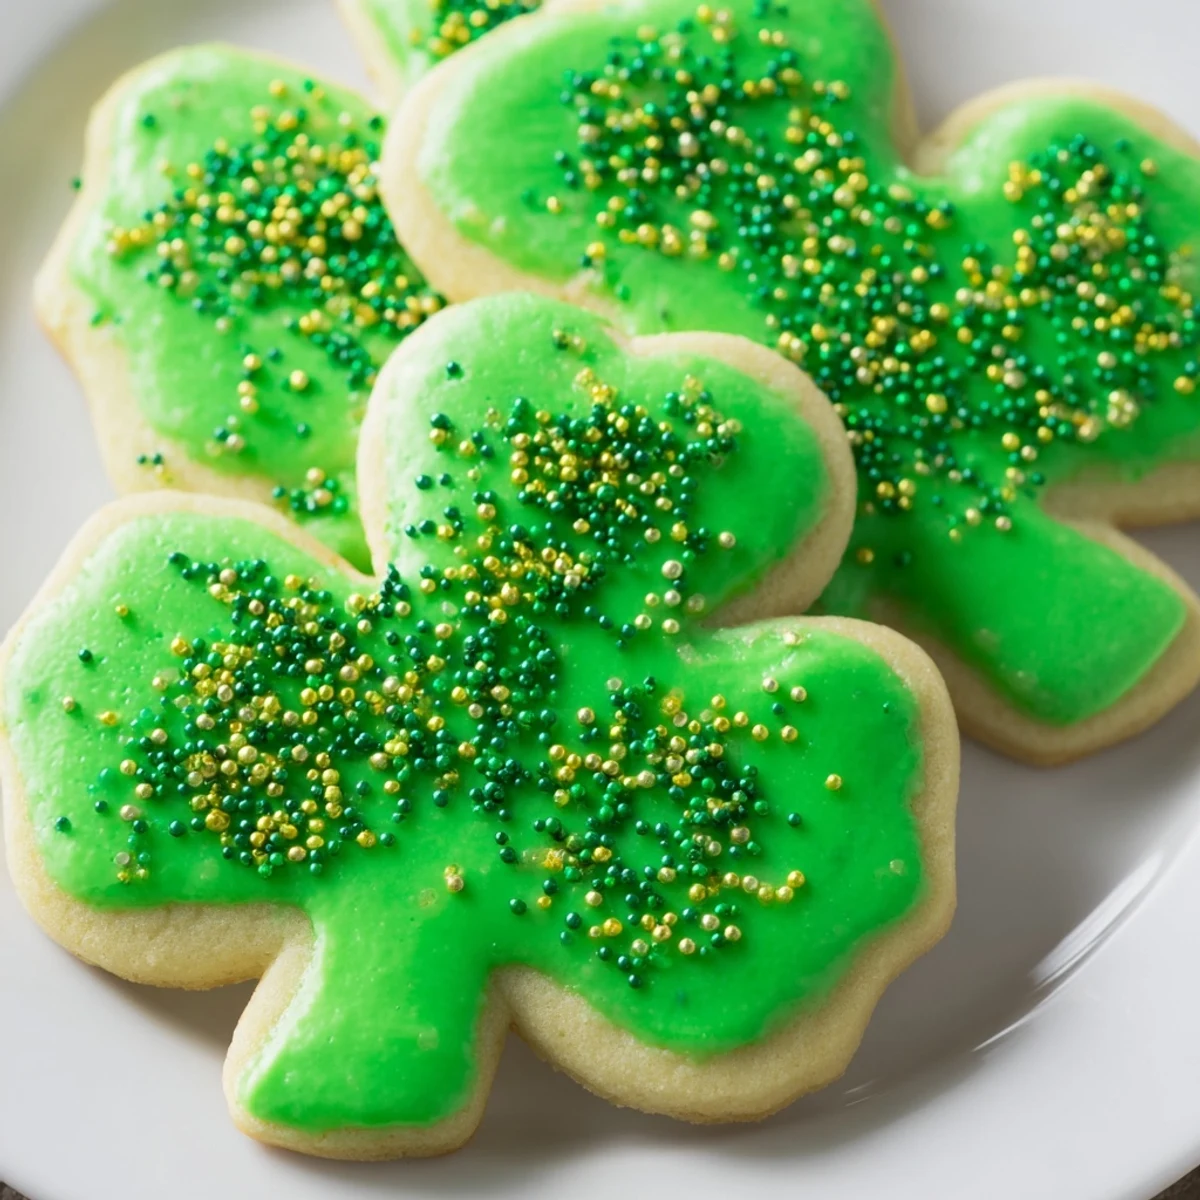
Start with less food coloring than you think you need because it's easier to deepen the color than to fix icing that's become too dark. I add coloring drop by drop, mixing thoroughly between additions, and stop when the shade reminds me of fresh spring leaves rather than artificial green. The natural lighting in your kitchen affects how the color appears, so check the icing near a window before committing.
Storage and Serving Tips
Once the icing has completely set, layer the cookies between sheets of wax paper in an airtight container to maintain freshness and prevent sticking. These actually develop a more complex flavor on day two as the vanilla deepens and the texture becomes even more tender. I've learned to hide a few for myself before bringing the rest to gatherings.
- Stack cookies only after icing is completely dry to avoid smudging your decorations
- Room temperature storage works best for maintaining texture unless your kitchen is very warm
- These freeze beautifully once iced if you need to get ahead for a big celebration
 Save
Save May your kitchen be filled with flour clouds, happy messes, and the kind of luck that tastes like butter and sugar. These cookies have become my favorite way to turn any ordinary day into something worth celebrating.
Recipe FAQs
- → How long should I chill the sugar cookie dough?
-
Chill the dough for at least one hour. This resting period firms the butter, preventing cookies from spreading too thin while baking and making the dough easier to roll out evenly without sticking.
- → Can I make the dough ahead of time?
-
Yes, wrap the dough disks tightly in plastic wrap and refrigerate for up to 3 days. For longer storage, freeze for up to 3 months. Thaw overnight in the refrigerator before rolling and baking.
- → What type of green food coloring works best for the icing?
-
Gel food coloring provides the most vibrant green shade without thinning the icing. Liquid coloring works but may require adding more powdered sugar to maintain the proper spreading consistency.
- → Why did my cookies spread too much in the oven?
-
Insufficient chilling time or warm dough causes excessive spreading. Ensure the dough is thoroughly chilled before rolling. Also, avoid overcrowding the baking sheets—cookies need space for proper air circulation.
- → How do I know when the cookies are done baking?
-
The cookies are ready when the edges just begin turning golden, about 8-10 minutes. The centers may appear slightly soft but will firm as they cool. Overbaking produces crisp rather than tender results.
- → Can I use royal icing instead of the simple glaze?
-
Absolutely. Royal icing creates a smooth, hard finish perfect for intricate designs. It dries completely, making these easier to stack and store. Adjust the consistency with additional water or powdered sugar as needed.
